Category: Advanced Massage Techniques/Information

  • How to Use Your Massage Stool

    How to Use Your Massage Stool

    In my one office I had spent 10 years without having a massage stool (or anything) to sit on when doing a massage.

    Yeah, I’m cheap, but that wasn’t the only reason I didn’t have a stool in my massage room.

    I thought that not sitting would make me stronger, tougher and a more durable massage therapist.

    Now, after 25+ years of doing massage, the massage stool is my bestie—and it’s one of the things that has helped me become more productive and durable now, at 57, than I was at 30.

    Just to be clear: On par with my male contemporaries, my testosterone is plummeting like the 2008 stock market. I don’t do Performance Enhancing Drugs. And I haven’t found the fountain of youth.

    I’m more productive now because I’m strategic when doing massage. And my massage stool plays into my scheming.

    How?

    A massage tool allows me to…

    1. Rest my legs.
    2. Rest my back.
    3. Rest my shoulders and arms.
    4. Rest my head. (Don’t tell anybody.)

    That’s a lot of resting, huh?

    Well, you may have guessed by now that my massage hardening philosophy has taken a 180 over time.

    Now it’s: Toughen your body in the gym, on a trail or in the water; preserve your body in the massage room.

    Resting is a way to give overworked muscles a break. And using a massage stool when massaging the head, neck, tops of shoulders and feet is a great way to rest.

    Resting your legs is a no-brainer. You sit down on the stool and your legs say aah.

    But what about resting your back?

    Use a Massage Stool to Rest Your Back

    It’s easy.

    Pull up a massage stool and put your butt down.
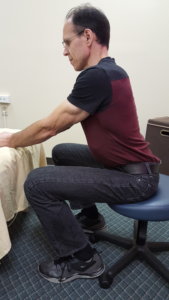
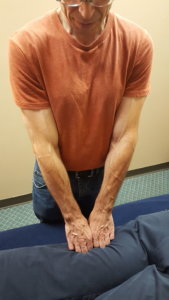
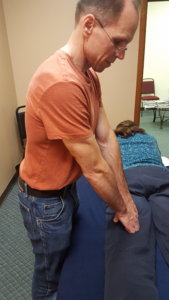
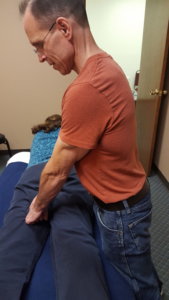
    And if you really want to rest your back, use your armrests.

    Your thighs.

    Here my forearms are on my thighs and my back is happy to be in a different position and to have the extra support of my arms.
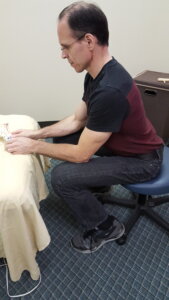
    To apply pressure effortlessly just lean in from the waist.

    Couldn’t be any easier.

    How about shoulders and arms?

    Use a Massage Stool to Rest Your Shoulders and Arms

    Same formula as back.

    Sit. Rest forearm(s). Lean.
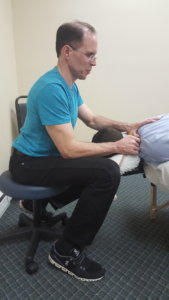
    That really takes the upper trap and levator scapulae out of the contraction zone.

    What if your armrest is too low?

    Just raise your armrest by pushing up to tiptoes while staying seated.

    I’ve also found it easy to sit and lean when working the IT band, peroneus longus/brevis, and tibialis anterior.

    Here’s a quick video I put together about sitting and leaning.

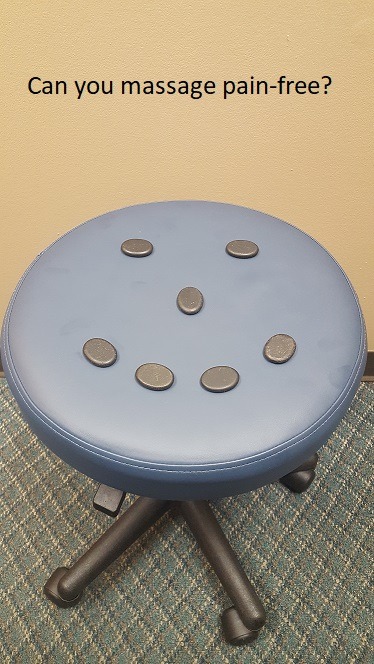
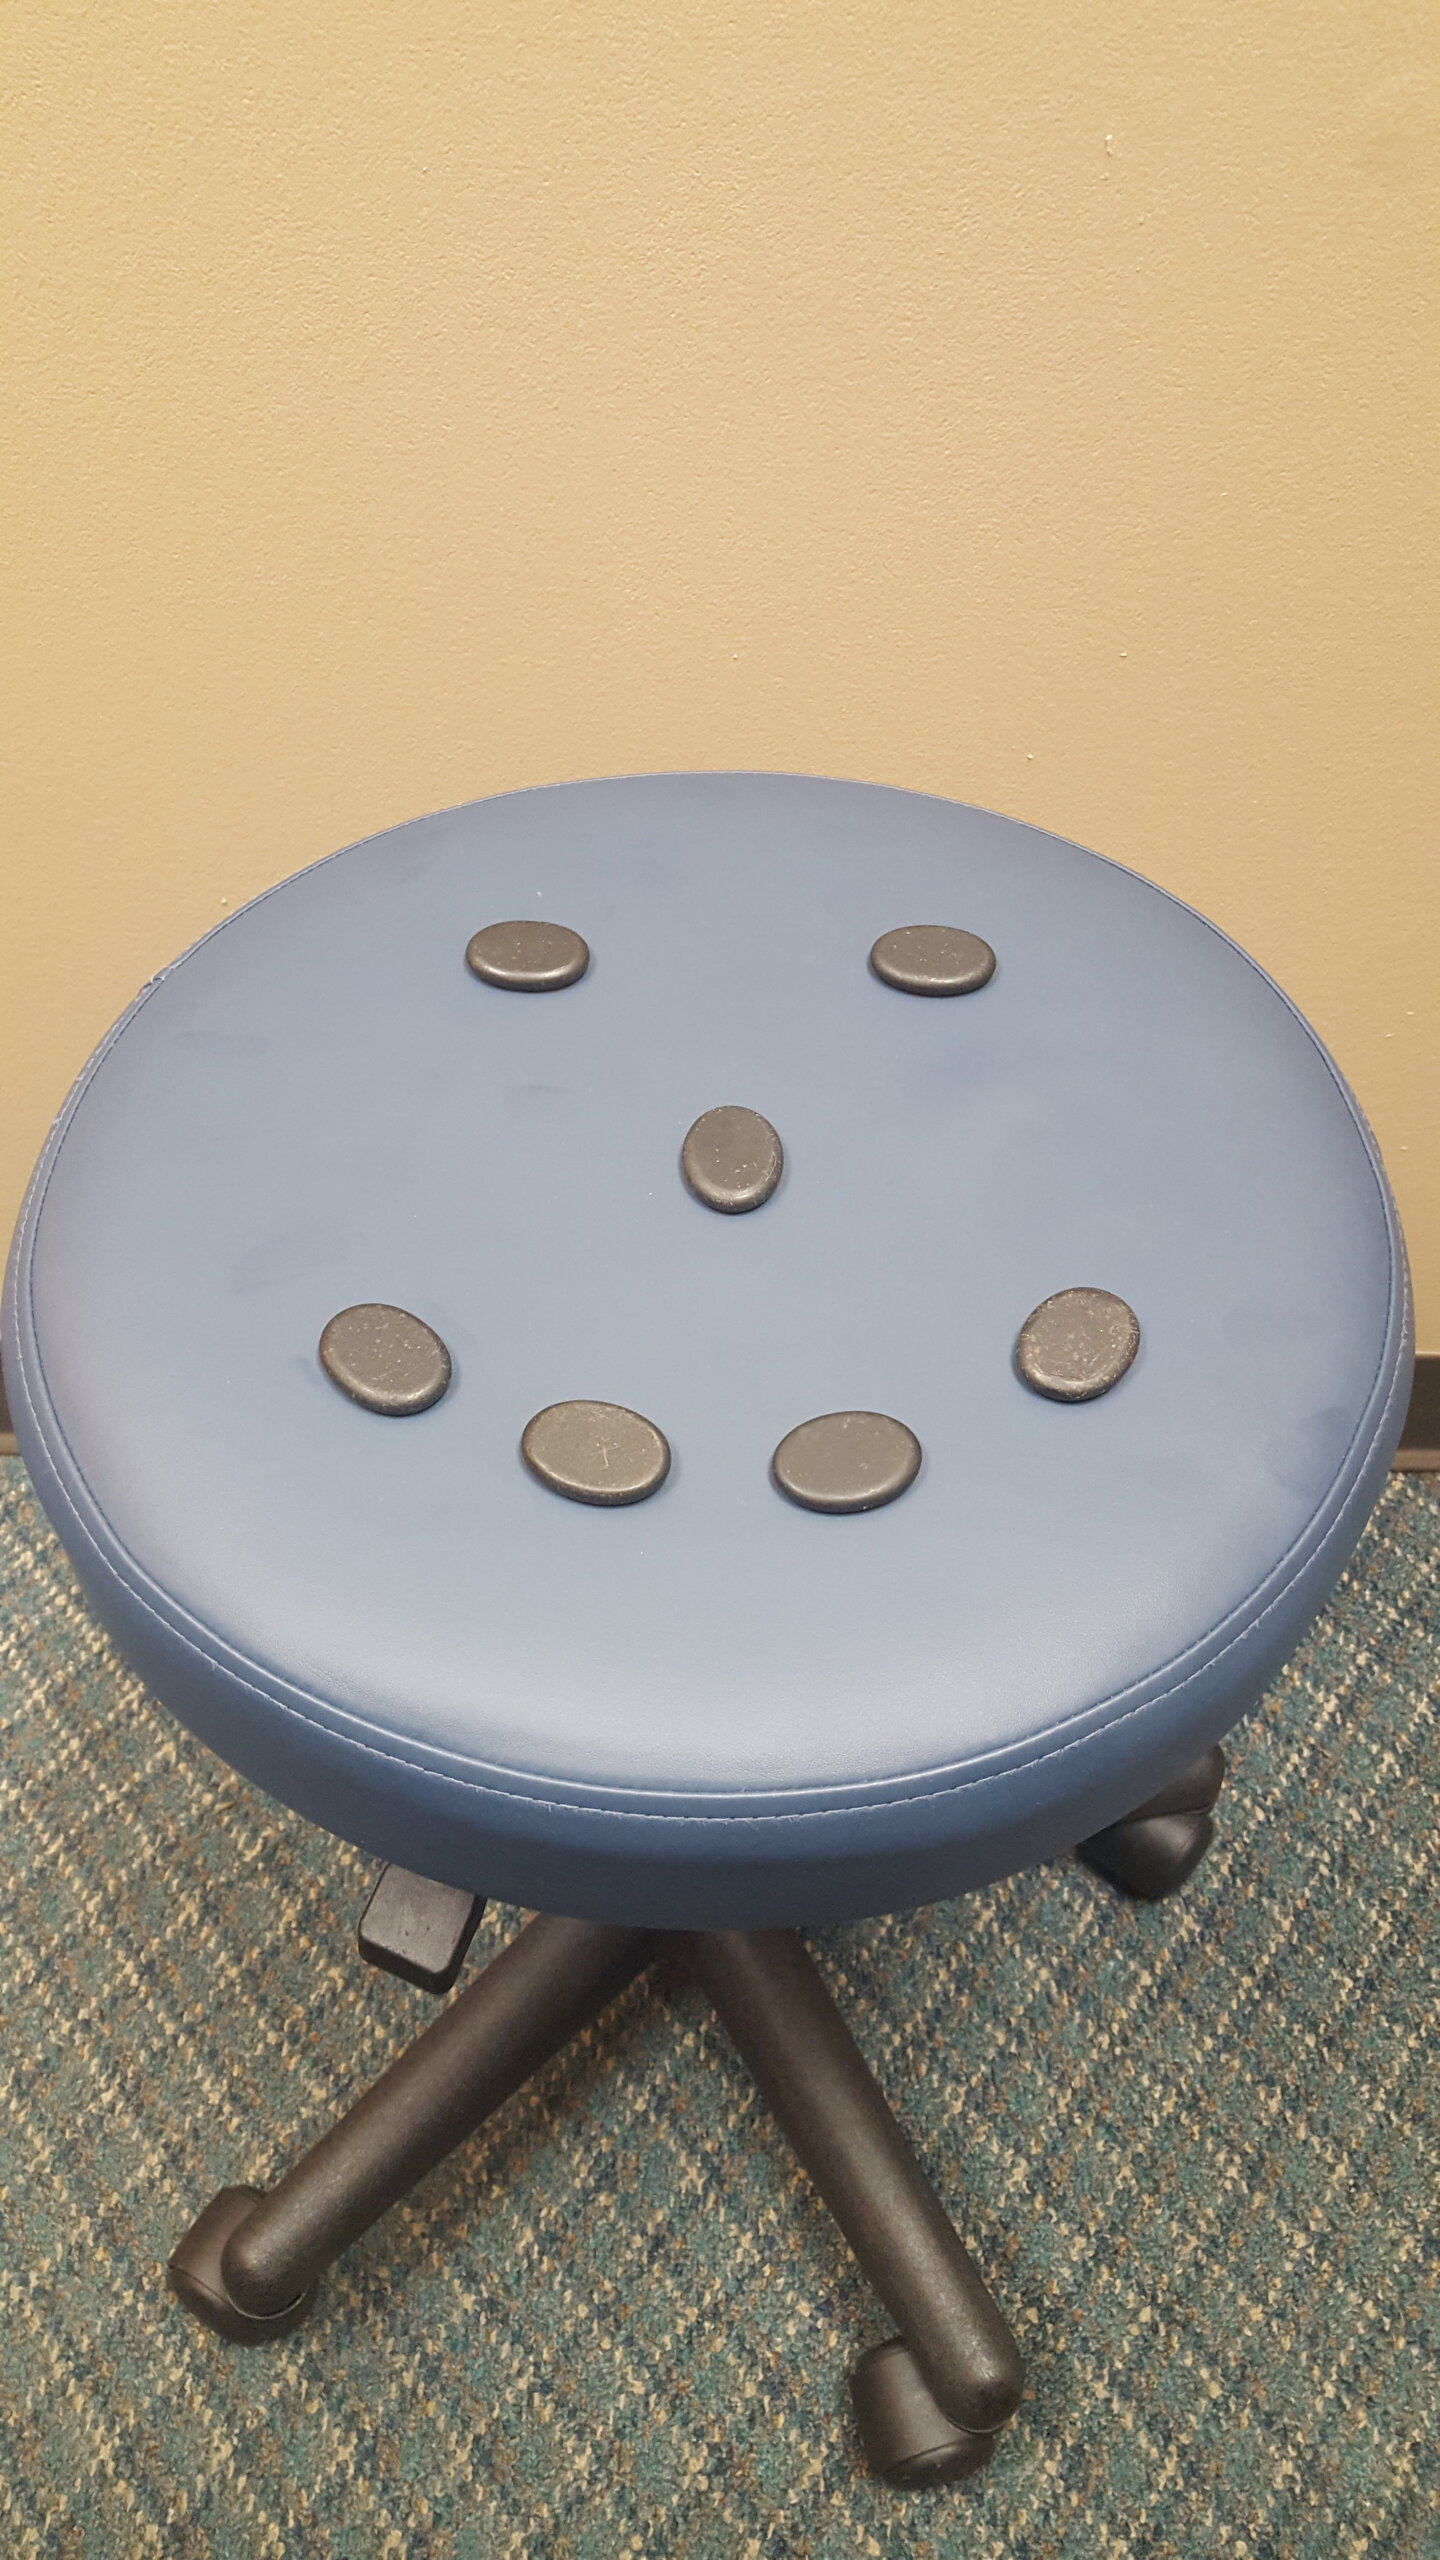
    By the way, the massage stool is the perfect moveable platform to put massage tools on.

    Okay, well that about does it….

    Aw hell naw, I wasn’t going to sneak out on you without showing you how (on rare occasions) I rest my head.

    Seriously, the massage stool (like the massage table) can save your body by giving you a chance to rest your overworked muscles.

    Find the times when sitting can work for you.

    Mine are: Head, neck, top of shoulder, IT band, tibialis anterior, peroneus longis/brevis, feet.

    Then…

    1. Sit.
    2. Forearm(s) on lap.
    3. Lean.

    Looking for a Stool?

    I got mine from Amazon. This is an affiliate link. I get a commission if you purchase a stool using my link, but you don’t pay extra for using my link. And you support my mission to help you build your dream business and never be in pain from doing massage with free articles, business classes and business coaching forever.

    Massage Body Mechanic Online Class

    If you want to stay out of pain when doing massage and increase your massage max (the number of massages you can do in a day pain-free), then I have an online class for you: How to Deliver Deep Pressure Without Hurting Yourself.

    It’s 3 CEUs and NCBTMB approved.

    It includes the strategies and techniques that saved my body and extended my massage career. Let me know what you think:-)
  • Take the Strain Out of Occiput Work

    Take the Strain Out of Occiput Work

    Over the years occiput work beat up my fingers and thumbs. At one point, my hands ached so bad that I thought about taking occiput work out of my massage.

    But instead I experimented for about a year and discovered that when I changed one bad habit and found other ways to get the job done, my hands felt better. Here’s what I did.

    The Supine Habit

    In massage school I learned how to do occiput work when the client was supine. The idea was this: the weight of the client’s head on your fingertips would be the force that “generated” the pressure. Do it this way and there would be less strain on your hands.

    But my hands told a different story. They ached from years of supine occiput work. When I started to pay attention to my hands, I realized that supine occiput work wasn’t just about supporting the weight of the client’s head with my fingers. More times than not it also involved pressing up into the client’s skull in order to generate enough pressure.

    It was time to try prone.

    Go Prone

    I was first introduced to prone detail work while training to be a neuromuscular massage therapist. We used a T-bar in the lamina groove.

    I liked prone work because I could generate the pressure I needed by simply leaning into the client with my body weight. Using the T-bar in the lamina groove inspired me to experiment with my thumbs and knuckles in the lamina groove.

    1. Thumbs and Knuckles

    A middle knuckle is a wonderful thing. It’s especially helpful for prone occiput work. Why? Because you can generate all the pressure you’ll ever need (and then some) by leaning in with your knuckle.

    Another great prone occiput technique is double thumbs braced together. I use double thumbs for light to medium pressure and I use my middle knuckle when I have to apply deeper pressure.

    The key to these techniques is to use the massage table to help support your body weight.

    In this video, 2 Prone Occipital Massage Techniques, I show you how to work the occiput using double thumbs and a middle knuckle.

    1. T-bar or L-bar

    6 Finger Pic

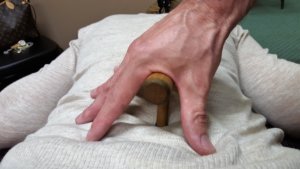
    A great way to give your fingers a break is to you use a T-bar or a L-bar. In the occiput, you can use a T-bar or L-bar even more precisely than you could use your thumb.

    In addition, you don’t need to exert a lot pressure because the tips of these massage tools are small and the pressure is focused. And when you position your hand so that it rests against the client’s upper trap, it couldn’t be easier on your hands.

    In this video, T-bar for Occiput and Back Muscles, I show you some easy-to-pick-up T-bar techniques for the lamina groove and occiput.

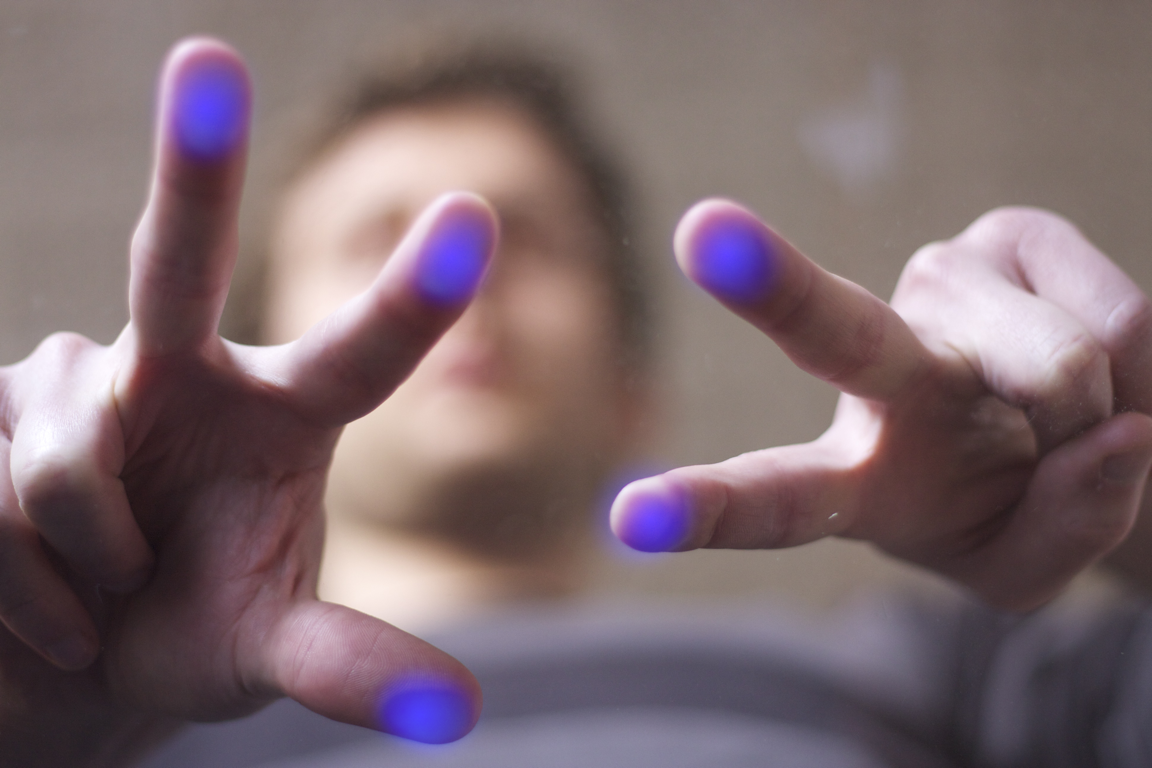
    1. Fourth and Fifth Fingers

    Take a look at your hands. Which fingers do you use most during a massage?

    My finger usage rating, from most used to least used, goes like this: 1. Thumb, 2. 2nd finger, 3. Middle finger, 4. Fourth finger, 5. Pinky.

    Another way to gauge finger usage during a massage is to ask yourself: if I only had time to cut three fingernails on each hand before I did a massage, which ones would they be? My guess is that your fourth finger and pinky would not make the cut. (Pardon the pun.)

    If you really love supine occiput work and don’t want to remove it entirely from your massage repertiore, try using your middle, fourth and 5th (pinky) fingers when doing supine occiput work.

    It will feel weird at first, but after a couple of times, you’ll fingers will adapt. Once they do, you can give your go-to fingers a break when doing supine occiput work.

    Where There’s a Will There’s a Way

    You can do some great occiput work without killing your hands. Here are my three favorite techniques:

    1. Prone occiput work with a knuckle or double-barred thumbs.
    2. Prone occiput work with a T-bar or L-bar.
    3. Occasional supine occiput work with non-dominant fingers (for me my 3rd, 4th and 5th fingers).

    I am 100% convinced that by breaking bad habits and thinking creatively you can do a great massage and stay out of pain.

    Save-Your-Body, Online, CEU Course

    A while back I almost quit massage because of pain and injuries.

    Then I spent a year revamping my massage to see if I could massage pain-free. That’s where incorporating the lower half of my body into the massage came in along with a bunch of other strategies that ultimately saved my massage career.

    I pulled all that first-hand experience together and made a live CEU class which I taught for about 5 years. During those 5 years I listened to the massage therapists taking the course and worked out the learning kinks.

    Now I have an online version of the live body mechanics class that is kink-free and will help you massage pain-free.

    Check it out here.


  • Minimal Effort Massage: More Massages, Less Pain

    Minimal Effort Massage: More Massages, Less Pain

    Remember when you first started massage and thought your earning potential was 40 hours x $60, $70 or $80? But then one day you hit your massage max and experienced pain (the built-in disincentive to making extra money through massage). Sad day, huh? Well, there’s a way to bump up your massage max without being in pain. It’s called minimal effort massage.

    Minimal effort massage? What am I supposed to fall asleep on my client now?

    Well, not actually asleep, more like pre-dozing.

    I’m sorta not kidding.

    When you’re working efficiently and using minimal effort to get the best results, you’re going to feel very relaxed, like you’re ready to fall asleep on your client.

    To get to the point of “almost falling asleep on your client” you need to do two things: (1) lean and (2) position yourself to lean.

    Minimal Effort Massage Step #1: Lean

    Why lean? When done right, leaning is less taxing on your body to generate force than pressing with your upper-body.

    Personally, I discovered the mechanical advantage of leaning as I worked through neck and shoulder injuries. Later I came across research which supported my experience. In this post, I’m going to cover leaning on a low table using fists.

    How to Lean

    To be able to lean effectively (transfer all of your body weight onto the client if you have to) if you’re massaging with your fists,  you’ll may need to lower your table.

    For more about setting your table height, check out Table Height Is Everything.

    Here’s a quick look at leaning in pics.

    This is a lean gone bad.

    My back is rounded and I’m using my upper-body to generate pressure because my table is not low enough.

    This is a good lean.

    My shoulder, elbow and wrist joints are stacked. And my table is low enough so that I can effortlessly transfer my body weight.

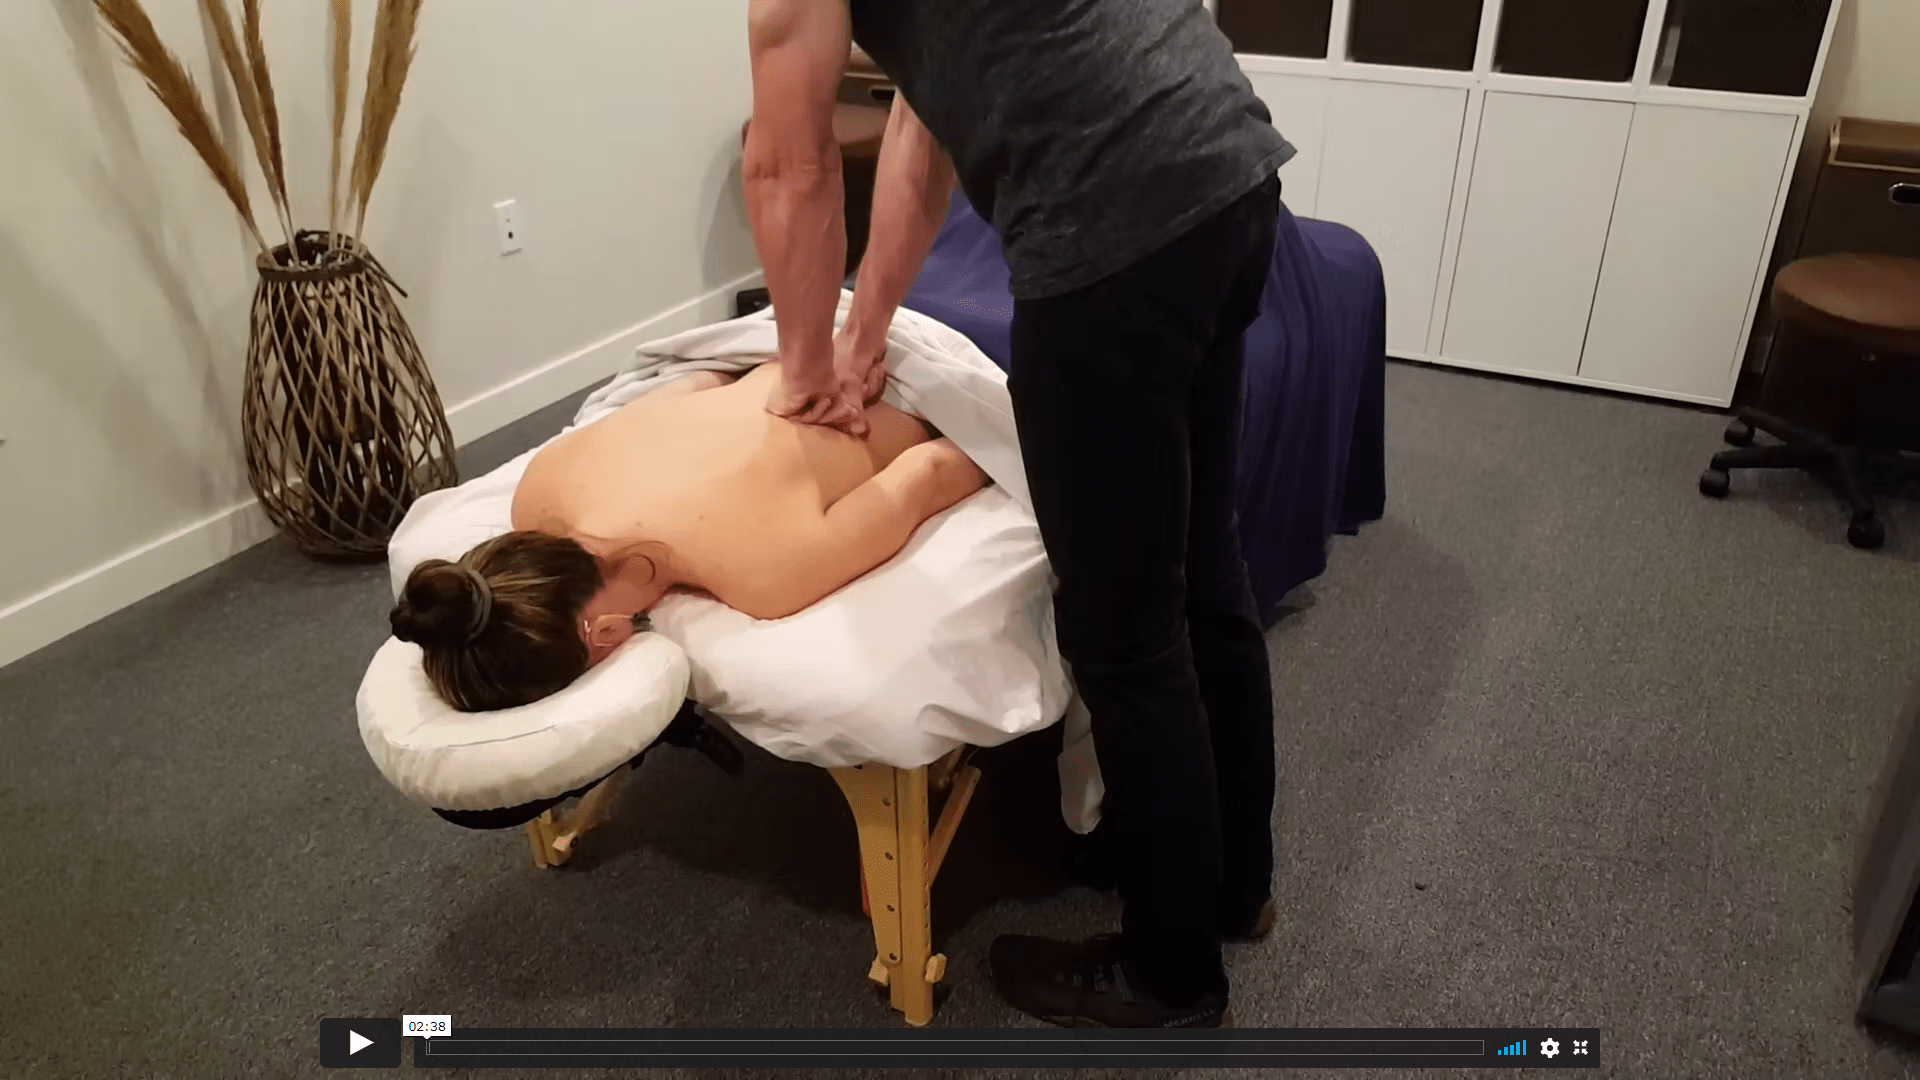
    Here’s what it looks like in action:

    Pretty easy so far, huh? Here comes the challenging part.

    Minimal Effort Massage Step #2: Positioning Yourself to Lean

    To maintain your leaning advantage throughout the massage you’ll need to put yourself in positions where leaning is easy to do.

    In other words, you’ll have to move.

    If you’re normally taking 250 steps (out of my butt #) around the table during the course of a massage, you might need to take 500 steps to be in the best positions to lean.

    If you don’t move to get into position, you’ll be over-extending and recruiting your upper-body to get the job done.

    The way to know it’s time to move your feet is when you feel that your leaning pressure is becoming less effective and/or you start to feel bodily discomfort.

    Lateral and Medial Positioning

    Positioning applies to working the lateral and medial aspects of muscles and muscle groups, too.

    For example, in the picture below I’m working hammies. In this position it’s easy for me to lean and work the biceps femoris.

    But to reach the semimembranosus, semitendinosis and adductors I have to extend my arms and my pressure is going more “out” and less “down”.

    Now, look what happens when I walk to the other side of the table and lean.

    I can easily lean all of my body weight into those muscles.

    Time for a siesta.

    Source: Schuger

    About Shortcuts

    One more thing, you’re going to want to take shortcuts. That’s human nature.

    When you get tired your feet will stop moving. Don’t let ‘em.

    It will take some energy to walk around the table, but once you do you’ll be in a position to deliver pressure effortlessly.

    You’re also going to want to keep the table height the same all the time because it’s a pain to change a manual table.

    My advice: For a month, adjust your table height whenever you need to without question.

    The Quick Version of Minimal Effort Massage

    Okay, let’s go over the basics one more time. To master minimal effort massage with fist (1) adjust your table so that you are able to transfer all of your body weight onto your client if you need to, (2) lean and (3) get in the best positions to lean.

    Online Class and Book

    By the way, I have an online class, that will help you to massage efficiently, effectively and with minimal strain to your body: Delivering Pressure Without Hurting Yourself.

    And here’s the book: The Pain-Free Massage Therapist.


  • The Key to Massage Longevity: Massage Options

    The Key to Massage Longevity: Massage Options

    Here’s the foundation to staying out of pain when doing massage: massage options (as in different ways to get the job done).

    I’m not talking about advanced massage techniques here.

    I’m talking about options for pressing, gliding, squeezing, stretching and vibrating soft tissue without causing yourself pain.

    For example, say you were taught to use your thumb to press on tight areas. Six months into massage you get pretty good with your thumb and it becomes waaaay comfortable to do, right?

    But guess what happens in a year?

    Your thumb hurts (trust me).

    Now what?

    Well, if you continue to be a one-trick-pony you’ll soon be talking about massage like this: “Back in the day, when I did massage….”

    Here’s an alternative to burning out your thumb(s): You find other options to pressing with your thumb, like two thumbs barred together, one thumb over a thumb, knuckle(s), knuckle and a thumb together, massage tools (like a T-bar, L-bar, My Precious, TheraPress, Effleurage T-bar, JackNobber II, Pointer) and the list goes on.

    But I need to be honest, having more massage options is not easy to do.

    In fact, here’s what’s probably going to happen. You’ll be gung-ho about finding more massage options.  Then you’ll do this.

    Nothing.

    No judgment here.

    I was the king of doing nothing when it came to acquiring more massage options.

    For one, I didn’t know what to try. And, two, I was afraid to try anything.

    Here’s how I changed that.

    To address “what to try” I broke down massage options into three categories: 1. Pressing, 2. Gliding, 3. Squeezing. Then I started experimenting.

    To get you started experimenting, I’m going to offer an alternative option to the traditional way of pressing, gliding and squeezing. Think of my suggestions as fodder to fuel your experimentation so that you can come up with your own strategies and techniques that work best for you.

    Pressing Option

    Instead of pressing with your thumbs use a massage tool. Here’s an example of what I mean:

    Gliding Option

    Instead of gliding with your palms or forearms, try fists.

    Squeezing Option

    Instead of squeezing with one hand, do a two-handed press.

    So, go ahead try one…I’ll wait…anytime…just pick up that massage tool…or put your fists down on that back…or press that trap between your knuckle and thumb…hmm…not happening, is it?

    I know, you’re afraid. 

    I was, too–because a mistake would mess up my flow.

    Here’s how my brain played out me interrupting the flow of the massage: I’m massaging along…I find a tight spot…I pick up the massage tool and jab it into the tight spot and the client screams, then gives me a bad review on Yelp…I lose my confidence, close my office and start hording cats…at least, they won’t know how crappy of a massage therapist I once was…

    Flow is everything to a relaxation massage, right? Mess up the flow and you mess up the massage.

    But is that really true?

    I mean, yeah if you’re doing a herky-jerky massage, absolutely. But if you have a couple of hiccups, no way.

    You can always get back in the flow AND you can practically avoid any flow interruptions while gaining more massage options by first (1) working on friends and colleagues, (2) working on a client who you can get feedback from without disrupting the massage, (3) initially trying out the new technique for a very short period of time (seconds). 

    Okay, we got flow under control, what else do you need to know?

    How about how many massage options do you need?

    More than when you started massage.

    More than 6 months ago.

    More than a month ago.

    In other words, the “more” should never stop.

    The more massage options you have, the less likely you are to overuse a joint or muscle. And the more prepared you’ll be to deal with adversity, like an injury or challenge.

    How to Deliver Deep Pressure Without Hurting Yourself

    Don’t over-think massage options.

    Try some of the options that I’ve suggested and get your brain churning.

    If you need more help, email me. I’m here to help:-)

    I also have a book and online, home-study classes.