Category: Firm Pressure Massage

  • Massage Deep Tissue Techniques

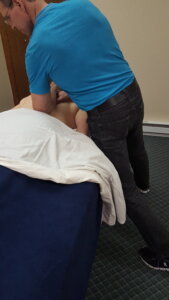
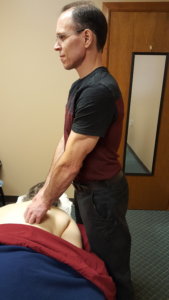
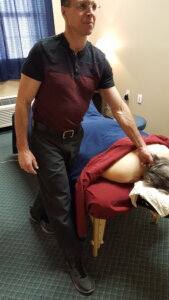
    Here are my favorite massage deep tissue techniques for pain relief and relaxation massage—that are effortless to do and don’t hurt my body.

    The “don’t hurt my body” part is vitally important because if you’re killing your body doing deep tissue massage you’re either going to stop doing deep tissue or you’re going to continue to kill your body and resent your clients who want deep tissue work.

    So, here are three deep tissue techniques that I do all day without being in pain.

    By the way, after I show you the techniques, I’m going to explain the strategy behind each one. Once you understand the strategy you can develop your own pain-free, deep tissue techniques.

    Here’s what we’re going to cover:

    (1) Upper-Trapezius Non-Squeeze Release

    (2) Rotatores and Multifidi Ischemic Compression Release

    (3) Seated IT Band Glide/Press Release

    1. Upper-Trapezius Non-Squeeze Release

    In neuromuscular massage therapy (NMT) training I learned a great technique for releasing the deeper tissue of the upper traps.

    The client is prone. With one hand you grasp the top edge of the trapezius so that your four fingers are wrapped around the superior, anterior edge and your thumb is on the posterior side of the upper-trap.

    In this hand positioning you’re going to grip the upper trap and then “unfurl” the trap edge by moving your fingers towards you and your thumb away from you.

    Once you get the technique down you can exert very focused pressure in the deeper tissues of the upper trap.

    The goals of the NMT trap release are to deactivate hard to get to trigger points and to change ischemic conditions in those areas.

    Though I don’t subscribe to NMT theory any longer, from a pain relief and relaxation massage perspective, I like the NMT trap release because it’s pain relieving and relaxing to clients.

    But there’s a problem with the NMT deep tissue trap release: It beat the dog poop out of my hands.

    This caused another problem. I couldn’t cut it out of my massage routine because a chunk of my clients were used to the NMT upper-trap release and loved it. So I needed to come up with a version that didn’t kill my hands. And that’s what I did.

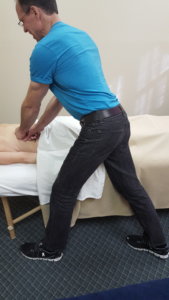
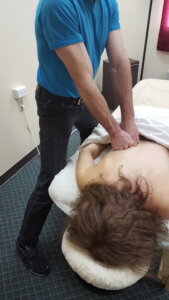
    Squeezing and rolling with one hand was what caused hand pain when doing the NMT Upper-Trap Release. So, instead of using one hand, I decided to use two. And instead of squeezing, I pressed with two hands.

    By using two hands I could still roll and “squeeze” (now press) the tissue with focused pressure which was what made this NMT technique so effective in the first place, but without straining my hands.

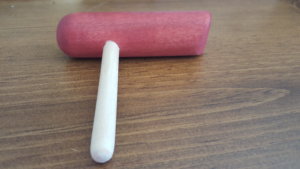
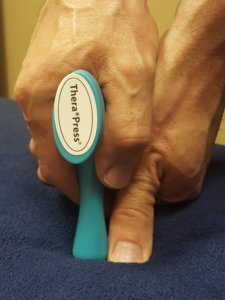
    In addition, for clients with very thick upper-traps, I added a massage tool which allowed me to press with enough force to reach the deeper tissues of the upper-trap.

    Here’s what that looks like:

    Play with getting really specific with your pressure. It’s amazing how focused your pressure can get when pressing between two hands.

    Now, I want to show you a deep tissue technique for back muscles, specifically for rotatores and multifidi. It’s my favorite deep tissue technique.

    2. Rotatores and Multifidi Ischemic Compression Release.

    The multifidi and rotatores are in the lamina groove. Early on in my career, I shied away from anything close to the spinous processes. But neuromuscular therapy taught me that these muscles can be influenced and clients REALLY like getting them worked.

    The Deep Back Muscles

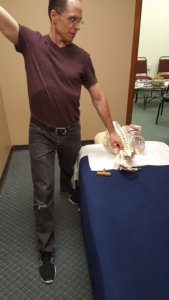
    Here are the multifidus and rotatores:
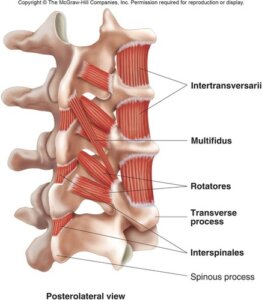
    They multifidus stabilizes joints within the spine. The rotatores lie underneath the multifidus and are involved in postural control.

    The great thing about the deep tissue technique that I’m about to show you is that you can do this technique through clothes (like when doing demo massages). Being able to deep tissue massage during a chair massage event is a great way to market your skills and has helped me net clients.

    4 Steps for Deep Tissue Rotatores and Multifidi

    Here’s how to get comfortable working these deep muscles.

    Step #1: Find the spinous processes.

    Once you find the spinous processes, you’ve won the battle.

    By the way, don’t be scared of the spinous processes. They are your friends (reference points).

    Step #2: Go just lateral of the spinous processes (maybe 1/2 inch).

    For extra assurance, keep in contact with the spinous processes. You can use fingers from your pressing hand or non-pressing hand to maintain contact.

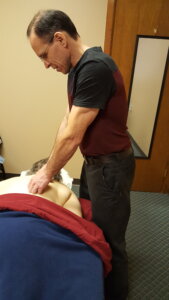
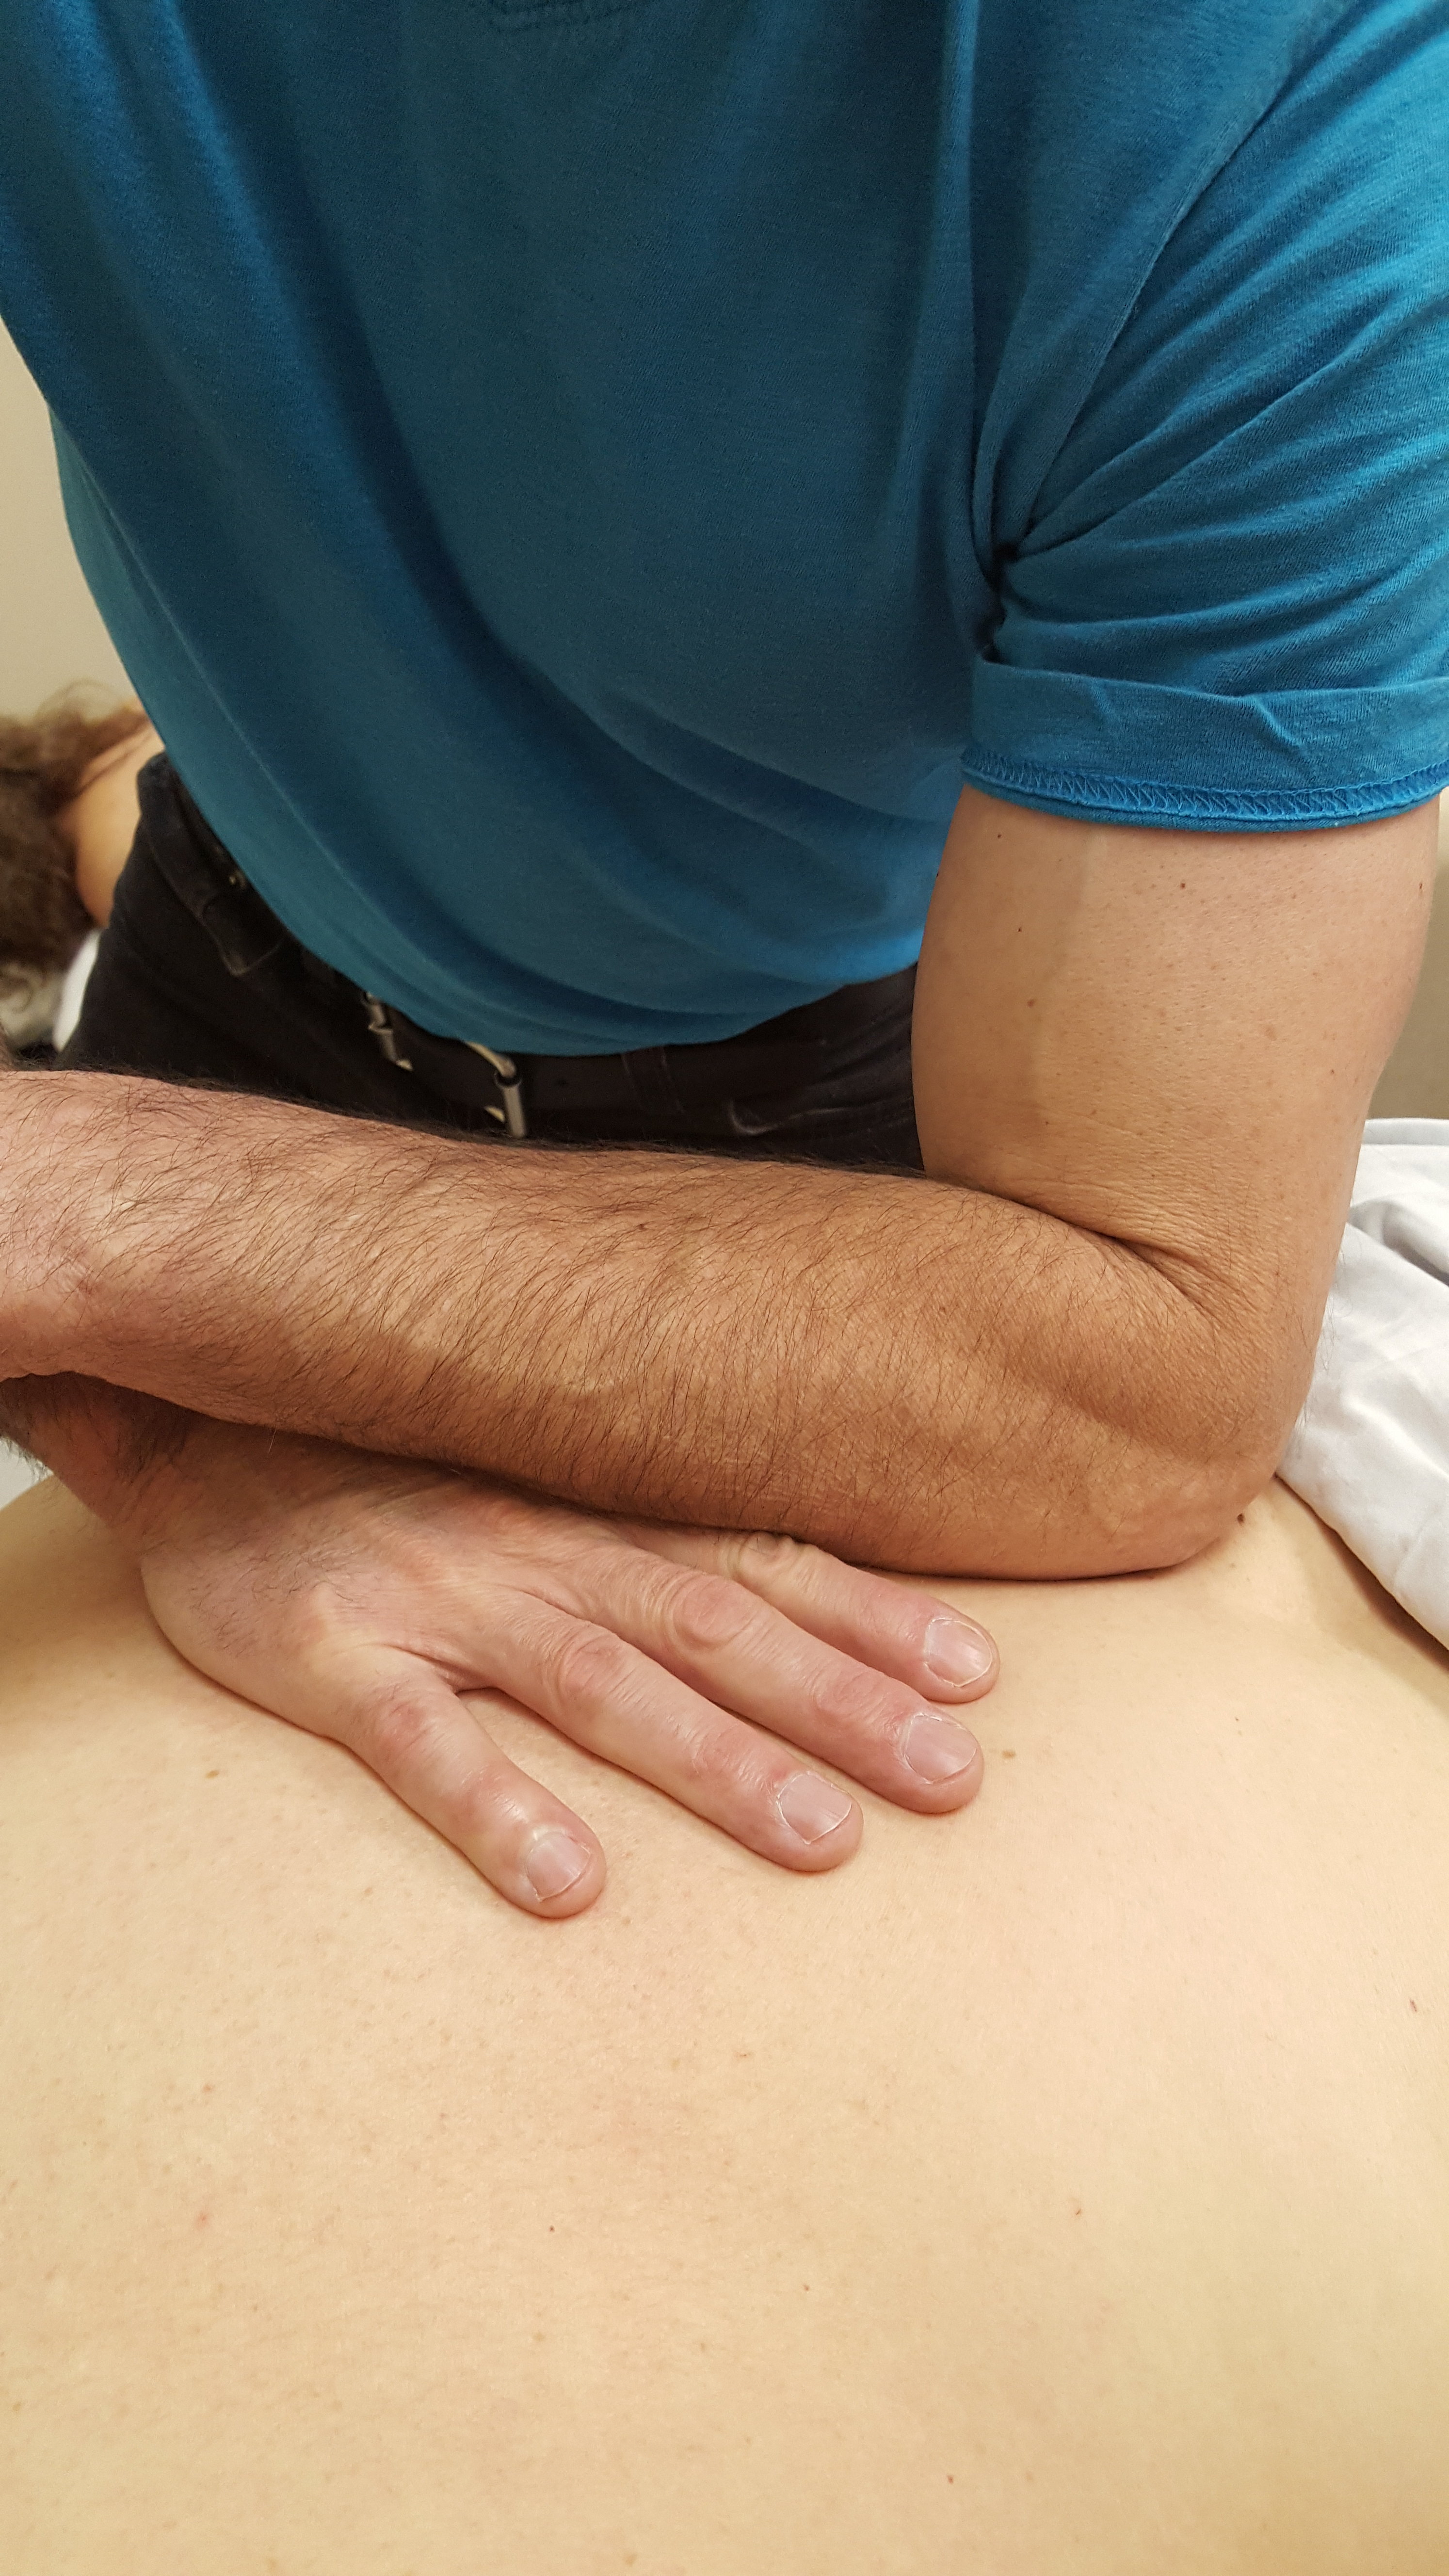
    Step#3: Press down into the lamina groove with a thumb/finger or body parts combination.

    Here’s what that looks like:

    (In the video I use the term power tools.  Now I call power tools “body part combinations”.)

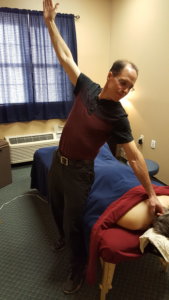
    You may have noticed that in the video that my table is low and that I’m leaning generate deep pressure.

    Why?

    Because when you lean you can transfer your body weight into the area you want to work. In other words, you can use your body weight to generate pressure.

    Leaning makes delivering static pressure in the lamina groove effortless.

    To learn how to lean to generate pressure, go here.

    As you’re learning to calibrate your pressure in the lamina groove, you may first want to use a pain scale system.

    Here’s the pain scale system I use: I tell the client to think of a pain scale from 1 to 10 where 1 is not much pain and 10 is a lot. When you press on an area, you want your pressure to feel like it’s registering in a 3 to 4 range (in acute pain areas) or a 4 to 5 (in non-acute pain areas).

    Here’s my pain-scale-system tutorial video if you want to take a deeper dive: Pain Scale Video.

    When I have a client who responds well to deep pressure in the lamina groove, I use a massage tool to save my hands.

    The massage tool also allows me to deliver deeper and more focused pressure.

    The disadvantage of using a massage tool is that you will lose some sensitivity, but that can be remedied if you use a guide finger.

    Go here if you want to learn how to use a massage tool in the lamina groove.

    Step #4: Be thorough and relaxing with each press.

    When I say thorough, I mean really explore the tight and/or painful areas with ischemic compression. Sometimes you may find the “that’s it!” spot, which when pressed with the appropriate amount of pressure may provide instant pain relief.

    When I say make it relaxing, I’m talking about the speed you move from point A to point B.

    Don’t rush it.

    Zen it.

    The focused, deep pressure can be very relaxing to many. Jump from point to point quickly and you’re undoing the relaxation benefit.

    Here’s a trick for moving at a relaxing pace: Stay relaxed yourself because if you’re relaxed when doing deep tissue work, then you’re probably moving at a pace which is relaxing to your client.

    Though ischemic compression in the lamina groove is my favorite deep tissue technique, this next one is a close second.

    3. Seated IT Band Glide/Press Release

    For most of my massage career I hated working IT bands because they were so hard to get to without having the client turn on her/his side. Then I’d have to deal with the sheet and the IT band was now on an angle and if I was using my forearm it was looking more like I was trying to block a linebacker than do a massage…and the list went on.

    Give me an IT band deep tissue release that is easy to do, doesn’t hurt my body and is effective.

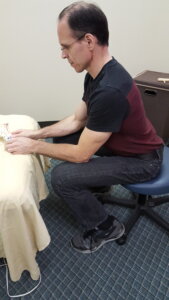
    Here it is—the Seated IT Band Glide/Press Release.

    Wait, Mark, how can you generate enough pressure in the IT band when you’re sitting?

    You lean.

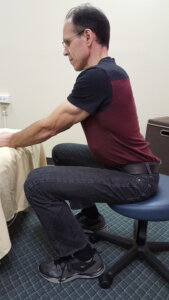
    Just like when you were standing and leaning, you can lean when you’re sitting, but when you’re sitting, you’re leaning from the torso.
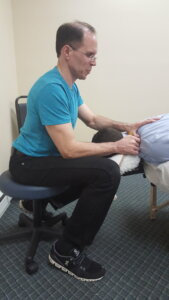
    And, yes, you will be able to generate all the pressure you need to and then some.

    For a broad glide, you can use your fists or knuckles or a fist-palm.

    For more focused pressure you can use a knuckle, thumb or a massage tool.

    Or you can use body part combinations like a knuckle thumb.

    The great thing about seated deep tissue IT band work is not only is it easy on your body, but the body part combinations and tools that you can use to get the job done are practically endless.

    Here’s how I do the Seated IT Band Deep Tissue Release:

    Remember that in the beginning of this article I had said that the three deep tissue techniques that I was about to show you had strategies behind them and that you could use these strategies to develop your own deep tissue techniques that wouldn’t hurt your body?

    Well, I want to explain those strategies to you so that you can walk away from here armed with the building blocks to help you create deep tissue techniques just for you.

    Strategies for Pain-Free Deep Tissue Massage

    Here are the strategies behind my deep tissue techniques that save my body:

    1. Squeeze less. Press more.
    2. Lean to generate pressure.
    3. Use multiple body parts (and use tools) to deliver focused pressure.

    Let’s take these three strategies and start experimenting.

    TFL Deep Tissue Release

    The TFL is a tough muscle to access. It’s small and requires very  focused pressure, which begs the question: How do I massage the TFL  with deep pressure without killing my hands?

    In the video below I take the 3 strategies—squeeze less, lean and use multiple body parts/tools—to create a deep tissue technique that doesn’t hurt my body.

    Are you starting to see how these 3 strategies can be applied universally to all body areas that you are massaging?

    Here’s another example of deep tissue work in the tibialis posterior where I use the 3 strategies (more press, lean and use multiple body parts/tools).

    By the way, this massage example is not part of what I would do during a relaxation massage. It would be what I would do if someone came in with a tibialis posterior issue.

    Massage Deep Tissue Techniques In a Nutshell

    So, I showed you three of my favorite deep tissue techniques—(1) upper-trap non-squeeze release, (2) rotatores and multifidi ischemic compression release, and (3) seated IT band glide/press release.

    To get to the deep tissue of a muscle, you need to be able to exert a certain amount of pressure. Sometimes that pressure needs to be precise.

    Once you can exert the appropriate amount of pressure you can hold that pressure, glide with that pressure or do other movements with that pressure, like cross-fiber work.

    To be able to hold that pressure consistently your body can’t be straining. In fact, your body needs to be relaxed which means you need to be using strategies that make deep tissue work easy.

    Leaning, less squeezing and more pressing, and using multiple body parts/tools to deliver pressure are strategies that will take the strain out of your body when doing deep tissue work.

    If you work with these 3 strategies you will not only save your body when doing deep tissue work, you’ll start to develop your own techniques that are unique to you and your style of massage.

    Online Deep Tissue CE Class

    If you want more help, I have a online, home study, CE course that will give you the platform to create your own deep tissue techniques and get competent with deep tissue work without hurting yourself.

    It’s NCBTMB-approved and you can check it out here.

    And if you have a question about my deep tissue techniques or anything else, email me anytime— mark@makethemostofmassage.com. 🙂
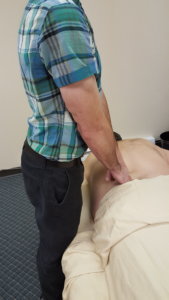
  • How to Do Deep Tissue Pressure Massage (Without Hurting Yourself)

    How to Do Deep Tissue Pressure Massage (Without Hurting Yourself)

    How do you do deep tissue pressure massage—without hurting yourself? Lean to generate force. In this article, I’m going to show you how to deliver deep-tissue pressure on a low table.

    Step #1: Lean to generate force.

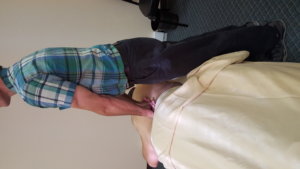
    Let’s get into the nuts and bolts of leaning. When teaching I refer to leaning as “fall” and “catch” massage. You let your body “fall” and the client (and/or table) “catches” your body.

    Your body weight provides the pressure. And with good body mechanics there’s minimal strain to your neck and shoulders.

    I should mention that we’re talking about controlled falling. No black and blue clients.

    Here’s what I mean by controlled falling.

    You’re going to…

    Initiate the fall with your feet.

    By simply shifting your weight from your heels to the balls of your feet you begin the fall.

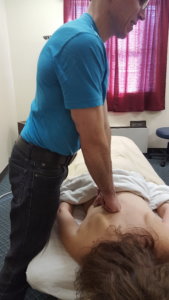
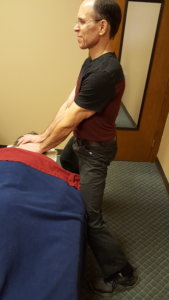
    In this pic I’m positioned to fall with my fists. My weight is towards my heels.

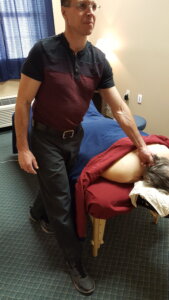
    Here I’ve fallen by shifting my weight to the balls of my feet.

    .

    Catch your weight on the table and/or client.

    The catching part is practically imperceptible because the body parts you’re massaging with (palms, fists, forearms, thumbs, or knuckles), should be in contact with the person.

    You’re simply transferring your body weight forward by shifting your weight from your heels to the balls of your feet.

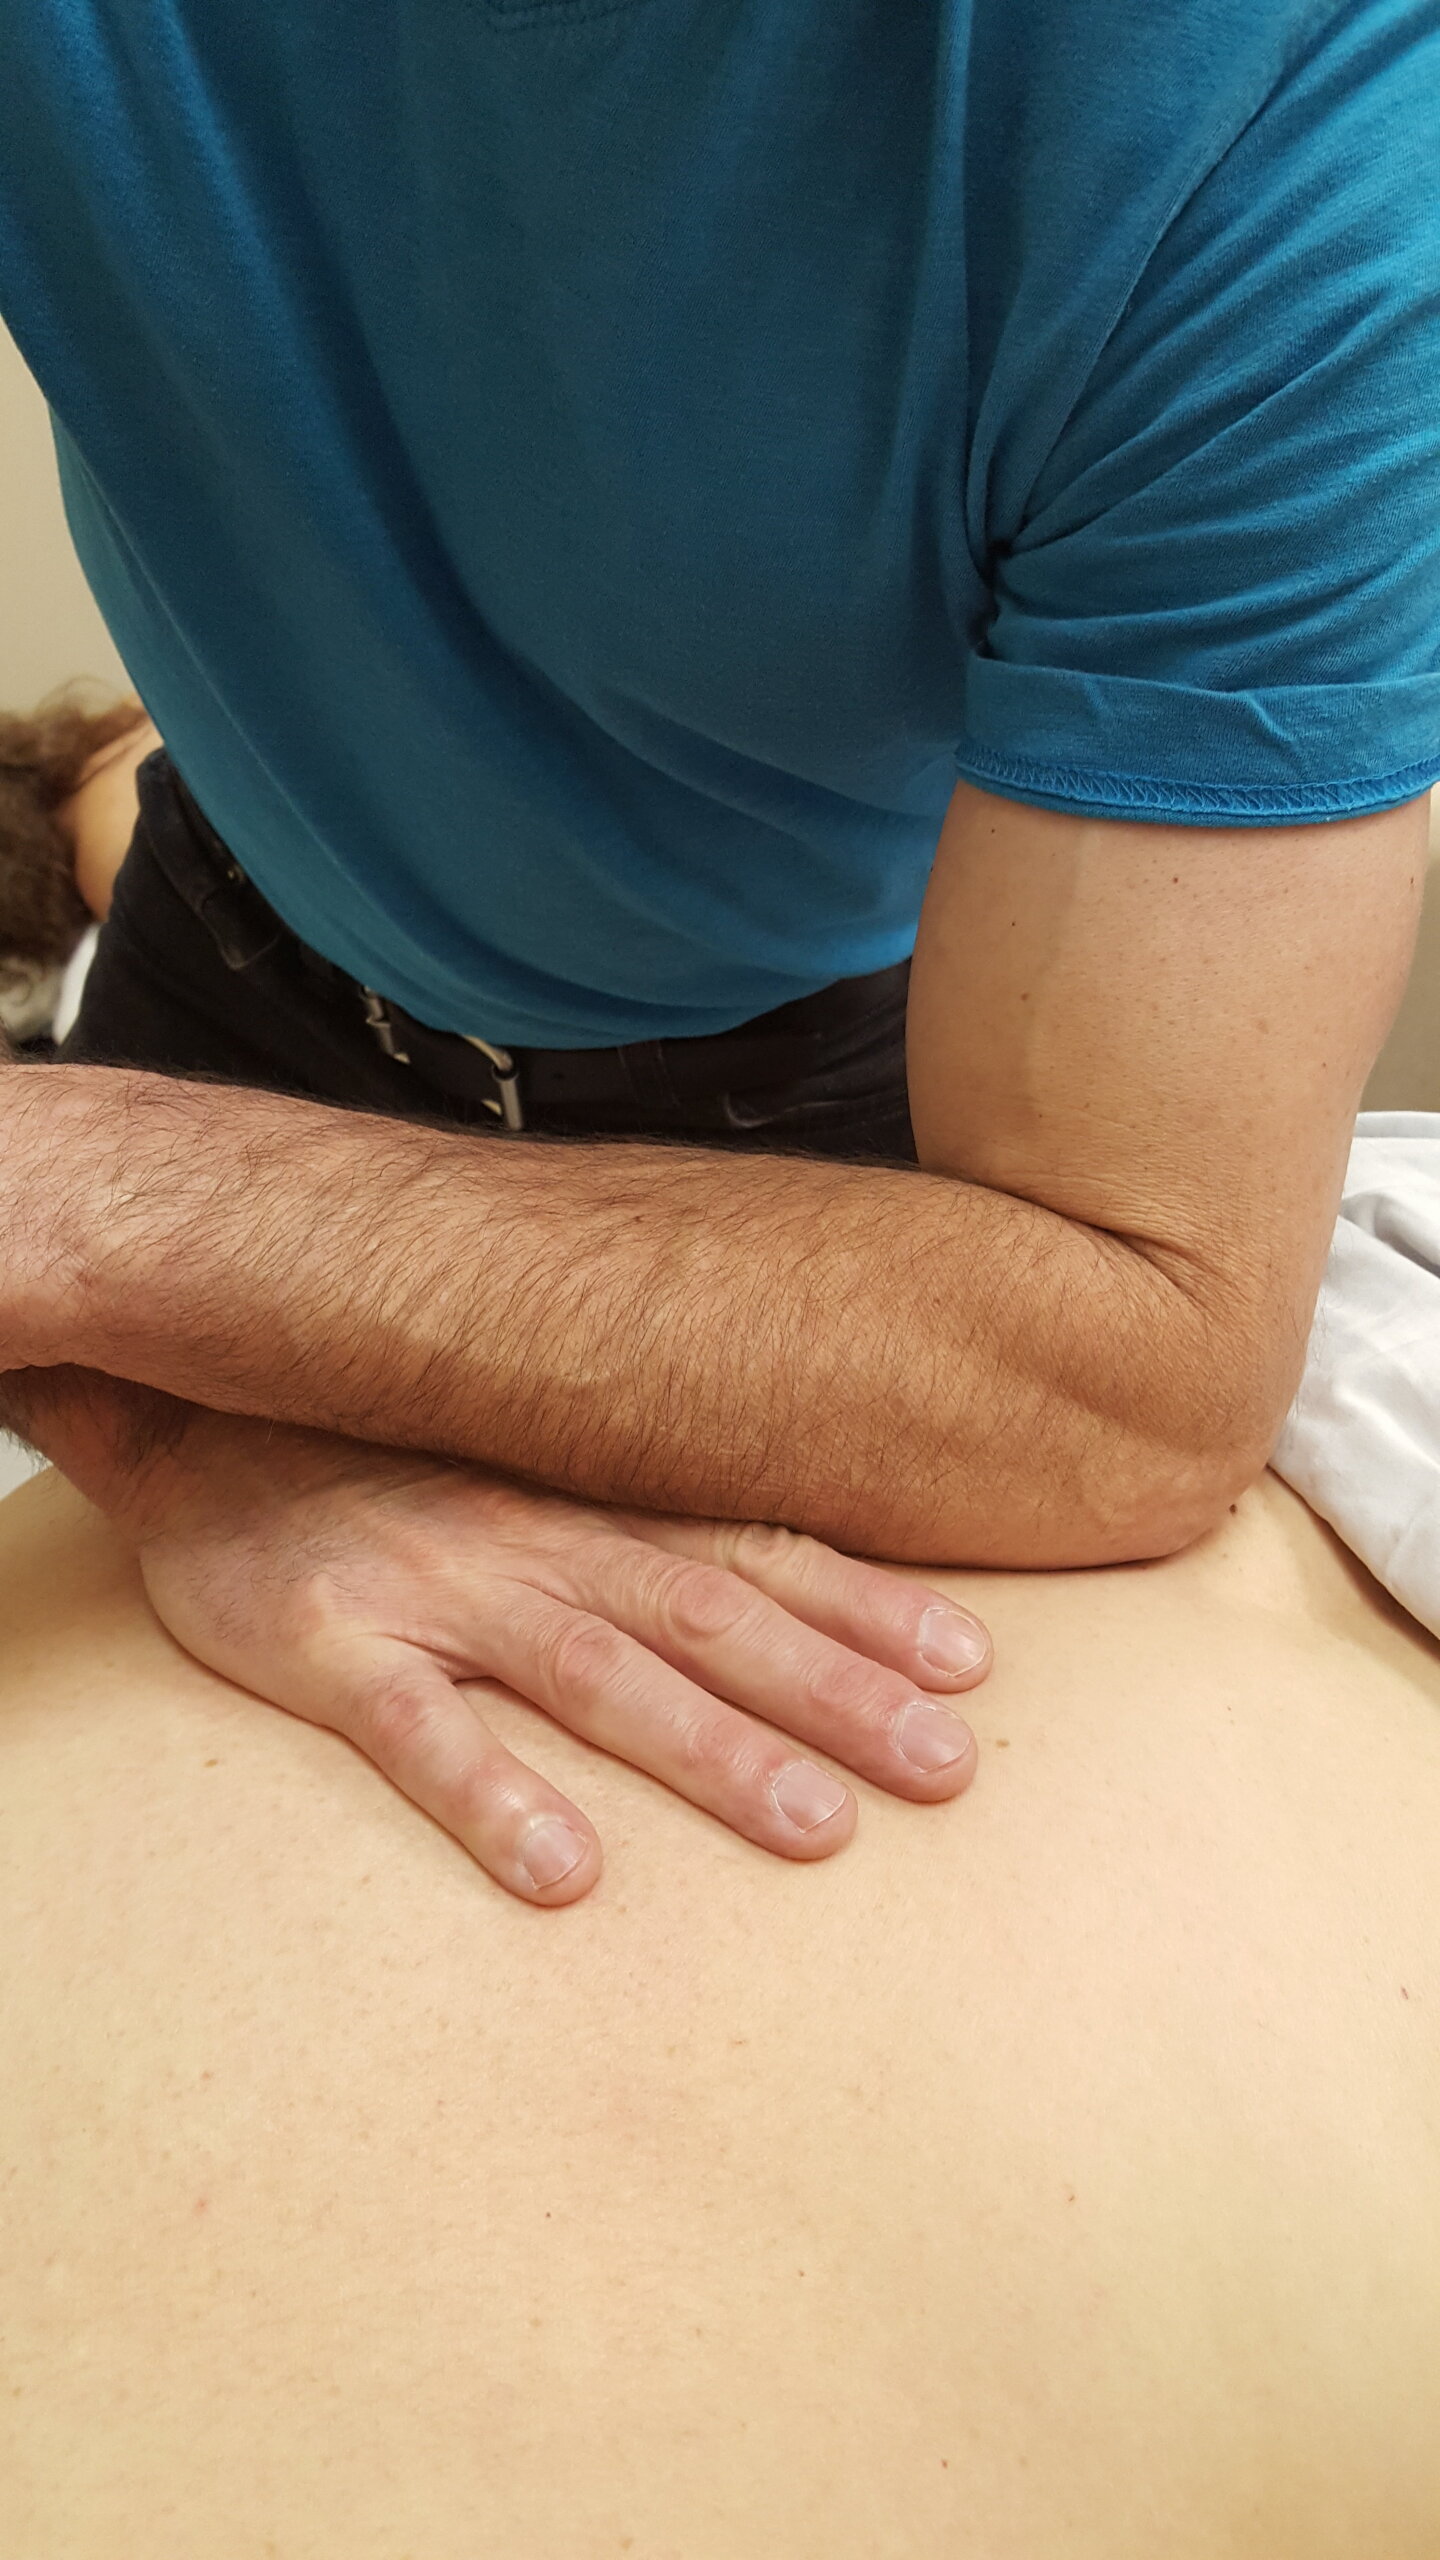
    By the way, look at my shoulders, elbows and wrists in the picture above. Notice how those 3 joints are stacked one over the other. Stacking joints puts less adverse stress in the joints than not having them stacked. It’s a strategy that’s important to execute throughout the entirety of a deep pressure massage.

    Okay, to do light to medium pressure, direct some of your body weight into the table as well as the client.

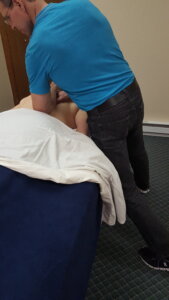
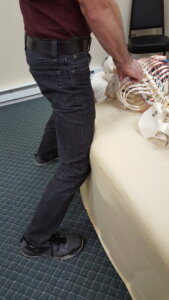
    See my leg leaning against the table in this pic? I’m primarily leaning into the table and exerting light pressure through my forearm. (80% into the table; 20% into the client).

    For deep pressure direct all of your body weight into the client.

    If you “fell” too deep, shift some of your weight back off the balls of your feet.

    If you’re having trouble figuring out how much falling (transferring your body weight onto the client and/or table) you should do, keep this in mind: If you are leaning and someone suddenly moves the massage table, you should fall.

    Remember that you if you want to put less pressure into the client, lean more into the table than the client.

    Okay, here’s the next thing that’s going to save your body when doing deep pressure:

    Step #2: Do short strokes.

    It’s time to rethink what a makes a stroke relaxing especially when working at a really deep pressure. My opinion in the past was that a relaxing stoke is done at a slow pace and covers a long distance. But over time I realized that it’s difficult, if not impossible, to maintain consistent deep pressure during a long stroke and maintain alignment between your shoulders, elbows and wrists.

    On the other hand, if you segment a long stroke, do short strokes instead of long ones, you can maintain consistent deep pressure while staying in good alignment.

    I tested this idea out on clients and fellow MTs and no one complained. In fact, they loved it.

    The reason why a short stroke allows you to maintain consistent deep pressure is because you’ll never be out of position to lean into the client.

    Here’s how I’d segment a long back stroke. Divide the back stroke up into 3 parts—upper, mid and lower. Stand at the side of the table and lean into the area in front of you.

    You can position your body so that you are facing the direction of the stroke.

    Or you can position yourself so that you aren’t facing the direction of the stroke.

    Glide just in the segment area.

    Okay, so you did a short stroke, so now how do you get in position to do the next short stroke while remaining in alignment.

    Step #3: Move your feet.

    Moving your feet is important because that puts you in position to do your next stroke.

    Here’s how moving your feet looks: You’re at the end of your short stroke and ready to start your next short stroke. Keep your hands/forearm on the client as you move your feet to get in position to do your next short stroke. This may seem choppy, but it’s not. By having your hands/forearm on the client as you re-position yourself, you’ll maintain contact and consistent pressure. Also, you will keep the same relaxing stroke speed during the next short stroke.

    Here’s a video of what moving your feet to get in position for the next short stroke looks like:

    Now there is one more key thing you need to know to be able to do deep pressure without hurting yourself.

    Step #4: Use the table for support.

    When you lean onto your client with all your body weight to deliver deep pressures there should be no strain in your upper-body because your body weight is doing the work.

    However, not all my body parts may be happy.

    Your back could start talking to you because you’re working on a low table, especially when the client requires less pressure (light to medium).

    Less pressure means that you can’t lean all your body weight onto the client so your back and legs have to do more work.

    There’s a solution to potential more strain in your back. It’s lean into the table.

    How?

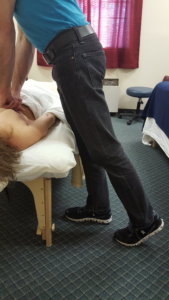
    Look at the picture below. Do you see how my one leg is pressing into the table?

    The leg against the table provides extra support.

    That means less work for my back to do and, ultimately, it allows me to change positions so that I won’t be in the  massage-hunchback position all the time.

    Leaning into the massage table has become a central feature to my body mechanics, so much so that if you randomly pulled the massage table away from me when I was standing during a massage, I would fall on my face 90% of the time.

    Here’s what you need to know to experiment with leaning into the massage table.

    (1) You can lean into the massage table for support with all sides of your legs (front, back, side, inside).

    It doesn’t take much leaning to provide enough support to be able to get you out of massage hunchback.

    Here I’m leaning into the table using the inside of my left leg.

    In this next picture I’m leaning into the table with the side of my leg.

    Here’s classic leaning into the front of a leg.

    And here’s what you’ve been waiting for: Leaning into the back of a leg(s).

    This back of legs leaning position is also a what I call a get vertical position.

    Anytime you can lean into the table to support your body weight so that you can straighten your torso is a vertical position.

    Here’s another example of getting vertical:

    Getting vertical during a massage helps with breaking up static postures, the postures a massage therapist tends to get stuck in during a massage, like hunchback posture.

    I’ll go into that in more detail below. Here’s the next tip you need to know about leaning into the table:

    (2) Think plank when leaning into the table for deeper pressure.

    Deeper pressure is going to require more weight onto the client rather than onto the table.

    So you’re contact leg that’s leaning into the table is going to help stabilize your “planking”.

    Don’t worry about getting more vertical when leaning and doing deep pressure.

    Here’s what leaning into the table delivering deep pressure looks like:

    That’s about a 90% lean into the client and 10% lean into the table. The table is helping to stabilize me and the client’s body is supporting most of my weight.

    Last leaning into the table tip:

    (3) Straighten up and change back positions with light to medium pressure and/or when using one hand to massage.

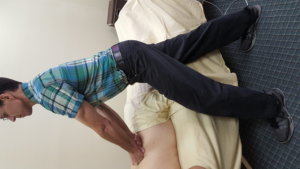
    For light to medium pressure my stances widen because I don’t want to transfer all of my body weight onto the client.

    The combination of not needing to exert a lot of pressure and having the support of the table is the perfect opportunity for me to unbend my back.

    Here’s a one-hand massage example where I’m applying light to medium ischemic compression while taking the opportunity to unbend.

    You can also give your legs and back a break by sitting and leaning.

    If you want to also give your upper-back and traps a rest, rest your forearms on your quads and lean:

    Now that you got the get the basics of leaning, moving and using the table for support, here’s something else that will help you deliver deep pressure effortlessly.

    Lean with a Massage Tool

    Ever think about using massage tools when doing deep pressure?

    If not, you should.

    A massage tool can save your hands and elbows, especially if you’re doing deep and focused pressure.

    But you can’t be gripping the massage tool like a screwdriver if you want to make deep pressure massage easy on your body. Instead you need to relax your hand(s) and lean.

    Lean with a massage tool?

    Yep. Just like when you’re using body parts (hands, forearms and fists) to deliver deep pressure, leaning is how you make using a massage tool for deep pressure effortless.

    Here are the basics for using a massage tool to deep-pressure focused massage work (aka, saving your thumbs):

    (1) Lean into the massage tool to generate pressure.

    (2) Use a guide finger to maintain sensitivity.

    (3) Use a non-holding hand to stabilize the massage tool.

    Take a look at this video. I want you how having two hands on the massage tool makes for some easy going:

    Not as scary looking as you thought it might be, right?

    My advice for perfecting your deep pressure massage would be to get the leaning down first so that you know how to leverage your body weight. Then it will be easy for you to lean into the massage tool and get comfortable with massage tools.

    Massage Mindsets and Physics

    Working deep without being in pain comes down to mindsets and physics. We often get locked into beliefs, like “I have to do long back strokes with every relaxation massage”. But that belief can be harmful to your body especially when doing deep-tissue pressure massage.

    A better approach to long strokes when doing deep-tissue pressure is short strokes. For example, divide a back stroke up into upper, middle and lower, and only work one segment at a time. By doing so you can effectively lean into the client using your body weight to generate the force. Make sure to stack your arm joints (shoulder, elbow and wrists). Move your feet when you want to start the next short stroke and pivot when you’re out of position to effectively lean. Lean into the table to support your back, adjust your pressure and/or straighten up to get out of hunch-back posture.

    Deep-Tissue Pressure Online CEU Course

    I have an online, home study How to Deliver Pressure Without Hurting Yourself class.

    There are lots of videos and if you have any questions while you’re taking the course, you can always ask me (mark@makethemostofmassage.com).

    Check it our here: How to Deliver Deep Pressure Without Hurting Yourself.

  • Will a Low Massage Table Hurt Your Back?

    Will a Low Massage Table Hurt Your Back?

    Will working on a low massage table hurt your back?

    Not if you adopt these strategies:

    (1) use the table for support,

    (2) take wider stances when doing lighter pressure,

    (3) incorporate seated work and

    (4) avoid static posture positions.

    When you do those four things you’ll be able to deliver all ranges of pressure efficiently and with minimal strain on your body.

    I know, I sound pretty confident with that answer.

    Here’s why: For about 20 or so years my massage table height was normal.

    Hold on there, Mark, what’s normal?

    Good question.

    Normal to me was setting my table height so that the first knuckle of my middle finger would touch the top of the table.

    Edward Mohr recommends figuring out your table height by first trying your table at half your height.

    Bottom line, there is no consensus on what normal should be, but we can say this about normal: It has recognizable boundaries.

    In other words, we all recognize when a massage table height is out of the normal range.

    All least my clients do: “Hey, Mark, is your table too low? Isn’t that gonna hurt your back?”

    So, for about 20 years I set my massage table height within the normal range and clients weren’t worried about my back.

    Then about 5 years ago all hell break loose. I was diagnosed with cervical radiculopathy, cubital tunnel syndrome and shoulder instability.

    The way I was doing massage was killing my body, and I needed to find another way to get the job done.

    Here’s the short version of what happened next. Because my neck and shoulder hurt when I did deep work with my forearm, I needed to find an alternative to my forearm.

    Enter fists.

    Massaging with Fists

    But there was a problem with fists at the normal table height. I couldn’t transfer my body weight onto the client. So, I’d have to use a whole lot of pressing action with my upper-body to generate deeper pressure which meant more stress in my neck and shoulder.

    So, I lowered the table so that I could lean (transfer) my body weight through my fists onto the client.

    Bingo!

    Deep pressure was easy do when I did that.

    But no one is just going to use fists throughout an entire massage, right? And when fingers and palms and forearms start to come out, the table is going to be too low. One case of back strain coming up!

    That’s 100% true UNTIL you learn how to adapt to a low massage table.

    My adaptation process was accelerated last year when I decided to do a Can My Massage Table Be Too Low? experiment. For 7 days, I set my table on the lowest setting possible for each client I saw, no matter if they were big or small, thick or thin.

    Guess what happened to my body?

    Nothing.

    Now I’ve taken it even a step further and two months ago I set my massage table at the lowest setting possible for each and every massage.

    I don’t plan on ever changing that.

    Why Stay Low?

    I’m sticking with low for two reasons. One, I can generate pressure effortlessly by simply transferring my body weight onto the client.

    And, two, I know how to adapt to a low table so that my back is fine.

    Here’s a quick primer on how to lean when using a low massage table.

    [embedyt] https://www.youtube.com/watch?v=NhBh2cdGz6A[/embedyt]

    And here’s how you adapt to a low massage table.

    Low Massage Table Hurt Your Back NOT – Adaptations

    A low table looks scary, like it’s going to hurt your back–but it won’t.

    The Can My Massage Table Be Too Low? experiment put a spotlight on 4 things that had to be done in order to successfully adapt (no strain in your back) to a lower table.

    Let’s tackle these four things right now.

    1. Bend your legs.

    Here I’m delivering deep pressure with my knuckles and fists. The table is low so that I can lean into client.

    But when I want to lighten the pressure it gets more complicated. I can either bend at the back and cripple myself OR bend my legs like I’m the Karate Kid.

    It will feel a little weird at first when you start doing Karate Kid stances, but you’ll love the results. No back pain.

    During the experiment I took bending my legs to whole new level. But I didn’t fatigue because of thing number #2.

    2. Use the table for support.

    Think of the table as a wall to lean against. Use it to support your weight.

    Look at my back leg in this pic. A lot of my weight is being directed into the table through my leg.

    Here I’m leaning into the table in a Karate Kid stance. (Notice how I can really get into the lamina groove on this person….haha…)

    Once you get that “the table can help hold you up”, you start looking for ways to rest against the table. And you begin to…

    3. Approach massage as dynamic work, not static work.

    By dynamic I mean moving and flowing with a purpose in mind–to effortlessly do a good massage.

    Here’s a movement sequence that happens naturally when you bend your legs and use the table as support.

    Deep pressure first.

    Relax your back.

    Then I bend my legs for light pressure on the neck.

    In this light pressure situation I switch to one hand and get vertical. Notice my leg against the table. I’m still using the table as support.

    And at the end I throw in a stretch.

    It may look like a lot of work, but if you’re at one with your massage table (using the table to support some of your weight), massage becomes effortless.

    4. Sit when you can.

    I have to come clean. The reason I perfected seated massage was because my toe hurt at the end of long work days and I was tired of adjusting the massage table for each client.

    So, one day I kept my table height on the lowest setting for everyone. And when a light pressure client came in guess what I did?

    You got it. I sat down for a lot of the massage.

    It worked great. (And later with other clients I discovered how to generate deeper pressure when sitting, especially in areas like the traps.)

    Want to know more about sitting on your butt to do massage? Check out How to Use a Massage Stool.

    A Low Massage Table Won’t Hurt Your Back in a Nutshell

    After you use the strategies that I’ve talked about for working on a low table the question actually changes to: Can your massage table be too high?

    And my answer is yes.

    If your massage table is too high for you to lean to generate pressure then you’re going to have to press really hard with your upper-body.

    You may be able to get the job done, but at what cost?

    Your hands, arms, shoulders and neck will let you know.

    Whereas, if you have a low massage table, medium and deep pressure is a slam dunk.

    And during times when a low table is not optimal for your back (like thin people and light pressure), you can easily adapt to a low table by bending your legs, using the massage table for support, breaking up static posture positions and sitting to do massage when you can.

    This video brings it all together:

    Read my articles and watched my videos, but deep pressure still kicks your butt?
    I can help.

    From 1,000 miles away?

    Actually, yes. Click here.

  • Deep, Detail Work—Bring It On!

    Deep, Detail Work—Bring It On!

    How do you do a TFL massage that’s detailed without killing your thumbs and fingers?

    1. Pinpoint the exact area in the TFL that you want to work with a massage tool.

    2. Guide the massage tool with your non-holding hand as you press, pull, reciprocate and/or vibrate that exact area until you create the desired effect that you’re looking for.

    My favorite massage tools for the TFL are simple (and inexpensive), but effective.

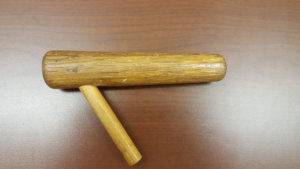
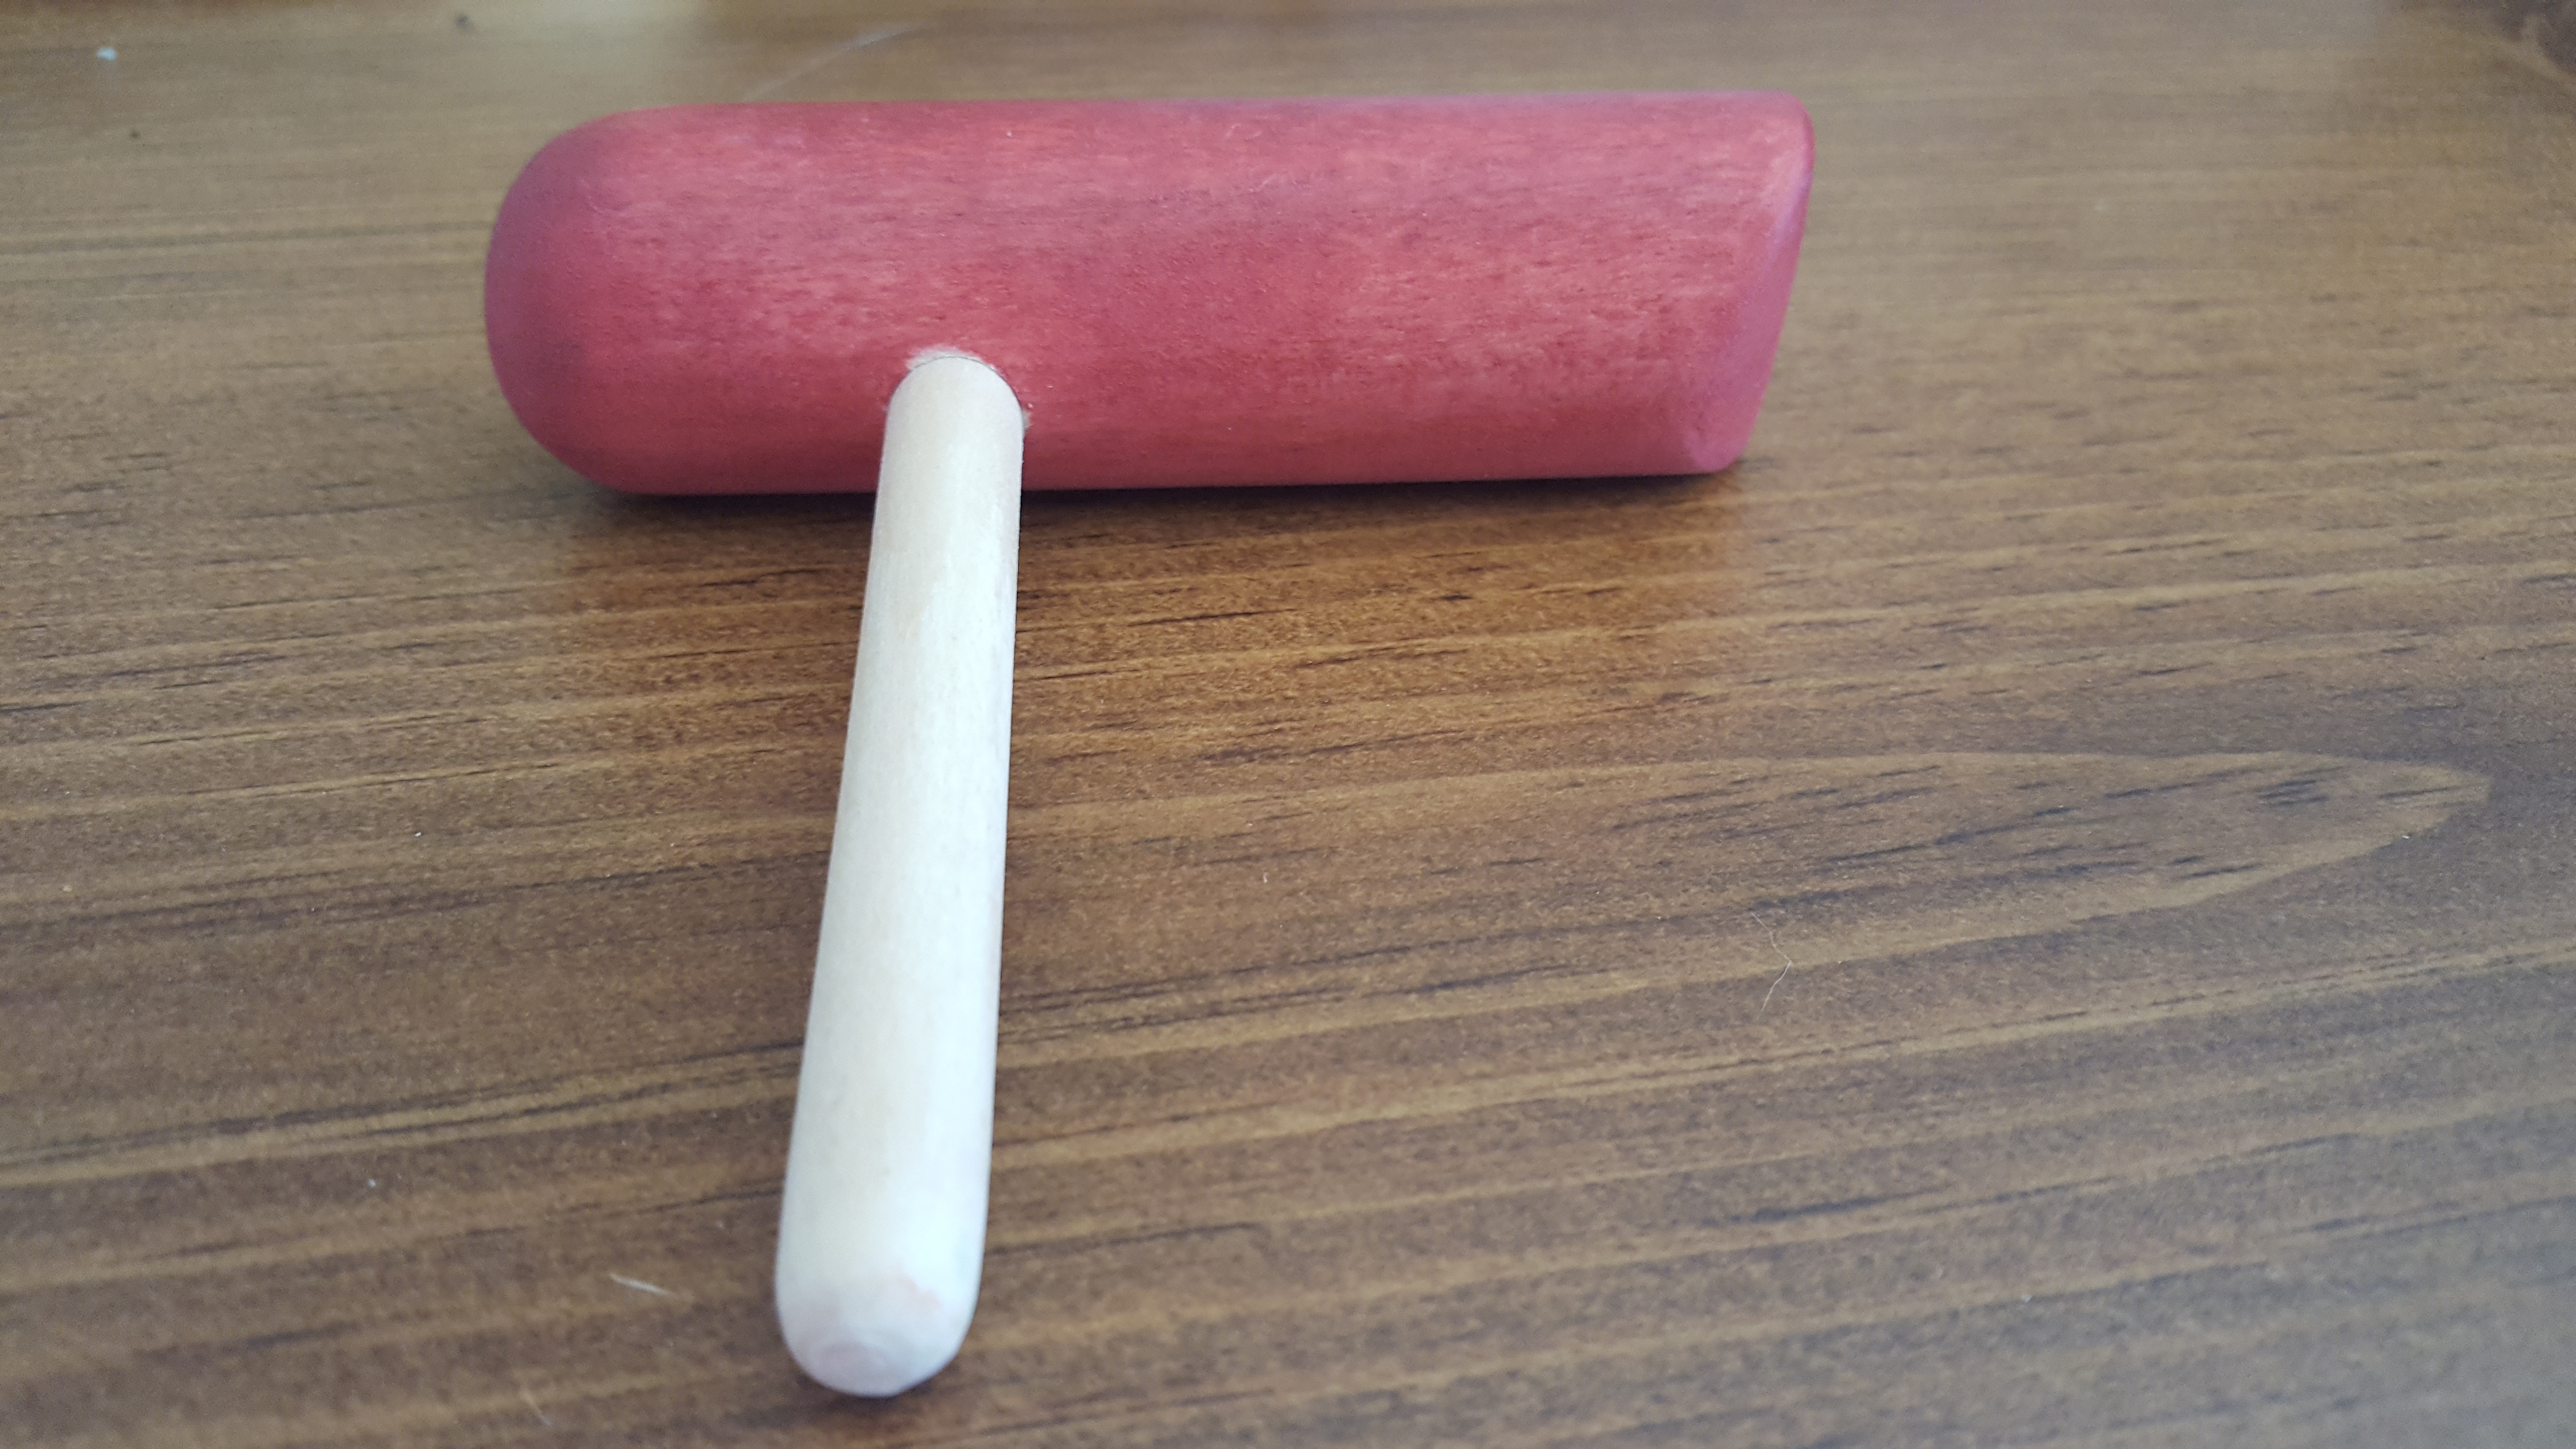
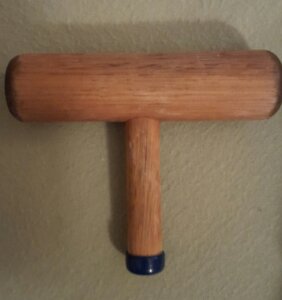
    They are a T-bar…

    …and an L-bar.


    1/3 of the Trick

    The T-bar is an important tool for neuromuscular massage (NMT), and is waaaay better than thumbs for doing detail work on tough to reach muscles like the multifidi and rotatores deep in the lamina groove.

    But when I started practicing NMT, I soon learned that if I gripped the tool too hard, my hand hurt.

    Over the years, I’ve developed ways to grip the T-bar that are easy on my hands. You can check them out on this post, Tools Can Save Your Hands.

    The T-bar was better than thumbs for precision for sure, but I’m greedy and I wanted something even more precise. 

    2/3 of the Trick

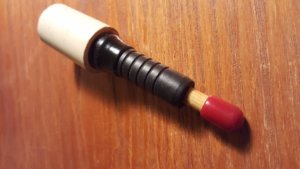
    So I went to my dad and asked him to make some tools for me that would allow me to work muscles super-precisely. Here’s an early model of something that he made that didn’t work out so well.

    PopPop V-Bar Pic

    Not pictured is the massage tool that was about 18 inches long and rested between my shoulder and armpit. This was a removable tip that you could put on the end of it.

    Scary looking, huh?

    Promise I never made anyone bleed.

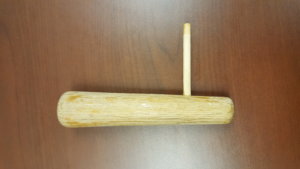
    However, this one was a winner!

    Pop TBar Pic

    The stem diameter was narrower than the T-Bar which gave me greater precision.

    And the stem was offset (the tool sort of looks like an “L”; that’s why I call it an L-Bar).

    That allowed me to get into tight spaces like the neck.

    The Whole Trick

    As my Dad’s health deteriorated over the years, I backed off asking him to help me with new designs. Then one day I was teaching a class on delivering deep pressure without hurting yourself.

    I was demonstrating the tools and explained that I use a massage tool as if it were an extension of my hand.

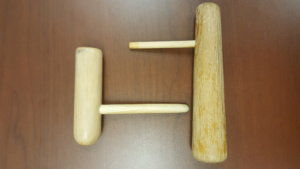
    Matt Johnson, who was taking the class, took me up on what I had said—literally. He designed a tool with a longer stem that actually extended beyond my finger tips and thumbs. This modification allowed me to access hard to get to areas, like the TFL, with precision and ease.

    PopPop&Matt LBars

    By the way, Matt makes customized massage tools. If you want him to make one for you, let me know, and I’ll put you in touch with him.

    Now, I had the whole trick: a T-Bar and L-Bar that allowed me to deliver precise pressure with my fingers simply acting as guides (no strain).

    Detail work—deep work included—was now a walk in the park.

    TFL Massage

    So, let’s put these tools into action. In this video I’m using a long stem T-bar to pinpoint tender spots in the TFL.

    Wait, Mark, isn’t that supposed to be an L-bar?

    It doesn’t matter if it’s a T-bar or L-bar as long as the stem is long enough to provide enough clearance between the handle and the TFL so that the tool can be held effortlessly.

    Here we go!

    [embedyt] https://www.youtube.com/watch?v=-G7QQuM8V4s[/embedyt]

    Rotatores and Multifidi Massage

    The deep rotatores and multifidi are no are no problem with a T-bar or L-bar.

    In this video I tackle traps and rhomboids, too.

    [embedyt] https://www.youtube.com/watch?v=3yoHT9EM0Lw[/embedyt]

    Using a massage tool, like the T-bar or L-bar is not hard, but it does take some practice.

    Here’s a recap of what you need to do:

    TFL Massage and Rotatores/Multifidi Massage Recap

    1. Pinpoint the area you want to work with a T-bar, L-bar or massage tool of your choice.
    2. Use a guide hand to sense pressure and support the massage tool as you press, pull, reciprocate, and/or vibrate the area with the massage tool.

    The Massage Tool Era

    I believe it’s a new era in massage. We no longer have to accept that pain, injury and burnout are the natural consequences of working hard at massage.

    Massage tools like the T-bar and L-bar are go-to tools for me.

    But they are not the only tools that save my hands and help me do better work.

    In fact, I take no less than 7 tools into a massage with me, like this one:

    Okay, so I’m a massage tool addict.

    But here’s the advantage that massage tools give me:

    1. They save my fingers and thumbs.
    2. I can access difficult areas that require a precise and focused pressure better than I can with fingers.
    3. I have more tissue contact options than I do with fingers.  

    How to Use Massage Tools Fearlessly and Effectively (2.5 CEU)

    If you want to learn how to use massage tools so that you can do more massages, make more money and save your fingers and upper-body, then check out How to Use Massage Tools (Fearlessly and Effectively).

    It’s an online, home-study course that you can take at your own pace. In other words, you can practice what you learn in the class as you go along because you have life-time access to the course.

    Yes, it is a NCBTMB-approved 2.5 CEU course, so you can get some of your continuing education credits, but more importantly, it’s a practical course with lots of videos and real massage-life applications. Let me know what you think:-)