Category: Massage Pain-Free

  • -ITIS vs. -OSIS: Why You Need to Know the Difference

    -ITIS vs. -OSIS: Why You Need to Know the Difference

    Research has shown that most people diagnosed with conditions like plantar fasciitis actually don’t have inflammation (-itis) anymore. Instead they have a condition (-osis), like tissue degeneration.

    The medical treatments for tissue inflammation and degeneration are different and may negatively impact treatment outcomes if misapplied. By understanding the difference between the two diagnoses, you can not only fine-tune your massage, but you can also help your client get the correct diagnosis and find the best medical treatment.

    The Past

    It’s a common misconception that inflammation is always associated with tendon/fascia problems. But when researchers examined the tissue of people with conditions diagnosed as plantar fascittis (research study), they didn’t find a lot of inflammation. Instead they primarily found collagen degeneration.

    [bctt tweet=”Most plantar fasciitis cases are degenerative not inflammatory. This changes treatment.” username=”Mark LiskeyMarkLiskey”]

    So What?

    This is big. For one, if a tendon/fascia condition is not an inflammatory condition, then “corticosteroid injections and nonsteroidal antiinflammatory medications (NSAIDS) may not be the most effective options”.

    This could mean that your client who has persistent plantar fasciitis may never have had the appropriate treatment plan.

    What May Help?

    Preliminary research (plantar fasciitis study, hamstring tendinopathy study) suggests that eccentric strengthening exercises may be helpful with -osis conditions (which is what most people have).

    But since many doctors still bundle the terms tendinitis and tendinosis together, they may not appreciate what this can mean for the person in terms of treatment and treatment outcome.

    What’s It Mean for Us?

    Knowing the difference between –isis and –osis changes how I work with a client before, during and after the massage.

    Pre-Massage

    For example, let’s say Sabrina is a runner and she comes to my office with a diagnosis of tibialis posterior tendinitis. First, I’m going to check for visual evidence of inflammation. Is there swelling in the tendon/attachment areas and are they warm?

    During the intake, I will find out if her condition has been persistent (staying the same or getting worse over a course of many weeks). What treatments has she had? Did she have injections that gave her temporary relief? Typically, the positive effects from injections are short lived when it’s a tendinosis condition (Treatment of Tendinopathy: What Works, What Doesn’t and What’s on the Horizon).

    If there are no visible signs of inflammation and Sabrina has had the condition for a while, I’m going to treat her condition as an –osis.

    During the Massage

    This means that I’m going to massage the tendon and foot attachments, rather than avoid them. However, using a 1 – 10 pain scale, I will only work within a 3 – 4 to reduce the pain in these areas. In the surrounding area and the body of the tibialis posterior, I will work in a 4 – 5.

    For a quick tutorial on the pain scale system I use, check out this Pain Relief Massage: How to Find the Right Pressure video.

    Post-Massage Recommendations

    Here comes the tricky part. If you suspect that your client is misdiagnosed and she should get rechecked, you’re going to want to put that bug in her ear. Here’s how I do it.

    First, I lay the groundwork during the intake. After I look for inflammation and consider my client’s injury history, I explain my treatment plan. This is the perfect time to mention the research around “-itis” versus “-osis”.

    Next, since I use a pain scale approach when working tendon/fascia conditions, I’m regularly interacting with the client throughout the massage. This would be another opportunity to talk about “-isis” versus “-osis”.

    I’ve found that during this time the client will often circle back to the pre-massage conversation of finding a solution for her condition. At this point, I go deeper into the topic of “-isis” versus “-osis”.

    After the massage, I do a wrap up. In the wrap up, I tell the client what I did and what I think might be helpful going forward, like getting rechecked to make sure she has the correct diagnosis. It’s not uncommon for me to start by saying, “If it were me…” or “If it were my (fill in the body part)…”.

    Follow-Up

    Finally, I follow up 2 to 3 days after the massage. In this conversation, I don’t press the client about going back to make sure the diagnosis is accurate, but I will give her my opinion if she asks for it.

    Ultimately, my goal is to provide my client with the most current information so that she can make an informed decision about her tendon/fascia condition.

    Getting it Done In 3 Steps

    If you think your client has an “-osis” condition instead of an “-isis”, help her this way:

    1. Tailor your massage to reduce her pain by using a pain scale system and appropriate pressure.
    2. Make her aware of the symptom and treatment differences between “-osis” and “-isis”.
    3. Follow up and answer her questions.

    At times, you may feel like an outsider because you’re operating with the most current information which, in this case, challenges conventional thinking. But your client will thank you for your effort—especially if you can help her get out of pain.

    If you want my latest information about pain relief massage and growing a massage business, sign up for my email group. It’s free:-)

  • Massage Body Mechanics: How to Use Your Legs

    Massage Body Mechanics: How to Use Your Legs

    If you’re coming out of a massage and your arms and shoulders are shot, you’re doing one thing very wrong. You’re not using your legs.

    I don’t mean you should be sticking a knee in the lumbar erectors. (Though I have thought about that…) What I mean is that you’re not using your legs to generate pressure.

    To generate pressure using your legs, you’ll need to lower your table, move your feet so that you’re in a position to work muscles effectively, and push from your feet for super-deep pressure.

    Lower Your Table

    For the first 10 years of my 25 years in massage, I did massage on my terms, using any technique that I wanted to. But after a while my body started to talk back—and I developed pain issues in my neck, shoulders and arms.

    My main problem could be essentially boiled down to this: my table was too high. This meant that I relied on my upper body (shoulders and arms) to deliver medium to deep pressure.

    The Lower Table Basics

    When I lowered my table, I was able to generate medium to deep pressure simply by leaning. Here’s a quick tutorial on how to lean to deliver pressure: Table Height is Everything.

    By the way, you won’t need to worry about your back with a lower table, as long as you remember to squat when lighter pressure is required.

    Drive From Your Feet

    As I experimented with using a lower table, I learned that I could generate super-deep pressure by pushing up to the balls of my feet as I leaned.

    But, in order to do this, I needed to have my feet positioned correctly—under my base.

    Move Your Feet All the Time

    Once I started to work on getting my feet under me, I realized that there were many times during the massage—including many non-deep pressure times—when my feet were out of position (not under me).

    During these times, I would sometimes tweak my shoulders and neck because I was over-reaching as I pressed. Once I saw this, it made sense that I should move my feet all the time during the massage so that I was always in the best position to execute any massage stroke and all ranges of pressure.

    Get in Position for the Put-Away Shot

    Tennis is a great analogy for having your feet in the right position. In tennis, it’s always better if you can get to the ball, set yourself, then swing as opposed to reaching to make a shot. Why? Because when your feet are under you, you can get your whole body into the swing, and you’re less likely to injury your shoulder.

    The same holds true for massage. You can’t get your whole body into the lean and maintain good mechanics unless your feet are in the correct position.

    3 Keys to Good Footwork

    Here are 3 keys to good footwork that will allow you to easily deliver pressure and take the strain out of your upper body:

    1. Listen to your feet.

    If you haven’t heard your feet move in a minute or two during a massage, you’re probably reaching. Also, if you’re tired and/or hungry, you’re less likely to move your feet. At the end of a long day of massage I’m constantly reminding myself to move my feet.

    1. Pause, move, lean.

    When you feel yourself reaching, it’s time to pause, move and then lean. As long as you have a hand(s) on the client, pausing then repositioning your feet won’t seem disruptive.

    In this video, I show you what I mean: Massage Body Mechanics: Pause, Move, Lean.

    1. Drive from your feet.

    When you need extra pressure, drive from your feet. To drive from your feet, you need to push up on the balls of your feet.

    Think of your arms as the connectors between your power source (lower body) and tools (finger, knuckle, thumb, fist, elbow) that you’re pressing into the client.

    The connectors (arms) only need to stabilize the tools. So your arms should be relatively relaxed. Your legs, on the other hand, are contracting as you push from your legs.

    In this video, Massage Body Mechanics: How to Use Your Legs, I demonstrate how I generate additional pressure by pushing from my feet.

    It’s Feels Good When It’s Flowing

    As you start to get comfortable using your legs to generate pressure, you may get the feeling that your dancing or doing yoga or Tai Chi.

    When I’m on with moving me feet, I feel like I’m getting paid to do a massage and work on my posture at the same time.

    The 15 Minute Crash Course

    Here’s how I would handle getting a quick jump on incorporating my legs into my body mechanics:

    1. If you don’t already lean, read Table Height Is Everything. It’s a quick read.
    2. Watch Massage Body Mechanics: Pause, Move, Lean.
    3. Watch Massage Body Mechanics: How to Use Your Legs.

    My Best Body Mechanics Online CEU Course

    A while back I almost quit massage because of pain and injuries.

    Then I spent a year revamping my massage to see if I could massage pain-free. That’s where incorporating the lower half of my body into the massage came in along with a bunch of other strategies that ultimately saved my massage career.

    I pulled all that first-hand experience together and made a live CEU class which I taught for about 5 years. During those 5 years I listened to the massage therapists taking the course and worked out the learning kinks.

    Now I have an online version of the live body mechanics class that is kink-free and will help you massage pain-free.

    Check it out here.

  • Work Hard-to-Reach Attachments Pain-Free

    Work Hard-to-Reach Attachments Pain-Free

    As a neuromuscular massage therapist, I would do anything to reach a muscle attachment—even if it meant sacrificing a thumb or a finger. But after many years of “going for attachments”, I started to run out of thumbs and fingers.

    For the next decade I worked on figuring out how I could massage hard-to-reach attachments without killing myself.

    Here’s my general formula. Later in this article, I’ll show you how I apply this formula to hamstring attachments.

    1. Don’t glide up to the attachments.

    We are gliding machines. Gliding is relaxing. Customers love it and gliding provides a lot of continuity to a massage. However, gliding, especially without moving your feet, can put you in a bad position to access a muscle attachment.

    [bctt tweet=”We, MTs, are gliding machines, but gliding could hurt us when working attachments. ” username=”Mark LiskeyMarkLiskey”]

    I’ve found that it’s better to get over an attachment and then drop down. In, I Broke a Massage Rule and I Like It!, I explain how to pause, keep your place and reposition your feet without making the stroke feel interrupted.

    1. Use a variety of tools—thumbs, knuckles and fingers.

    If you’re only using your thumbs to work muscle attachments, you’re going to burn them out. In this video, I demonstrate how to use thumbs, fingers, fists and knuckles in a variety of ways: Tools and Power Tools video.

    1. Use non-dominant hand.

    If you’re go-to tool is your right thumb, start using your left thumb more. It will feel awkward at first, but here’s a quick way to get started.

    For the next 50 massages, every time you use a dominant-side tool for attachment work (e.g. right thumb), use a non-dominant-side tool (left thumb), too.

    Make it easy when you first start by only placing a non-dominant-side tool down for 1 or 2 seconds. Gradually add more time. As you add time, you’ll naturally explore and get better with the non-dominant-side tool.

    After 50 massages, you’ll be on your way to creating a habit of using a non-dominant-side tool for attachment work.

    1. Use a hand-held massage tool.

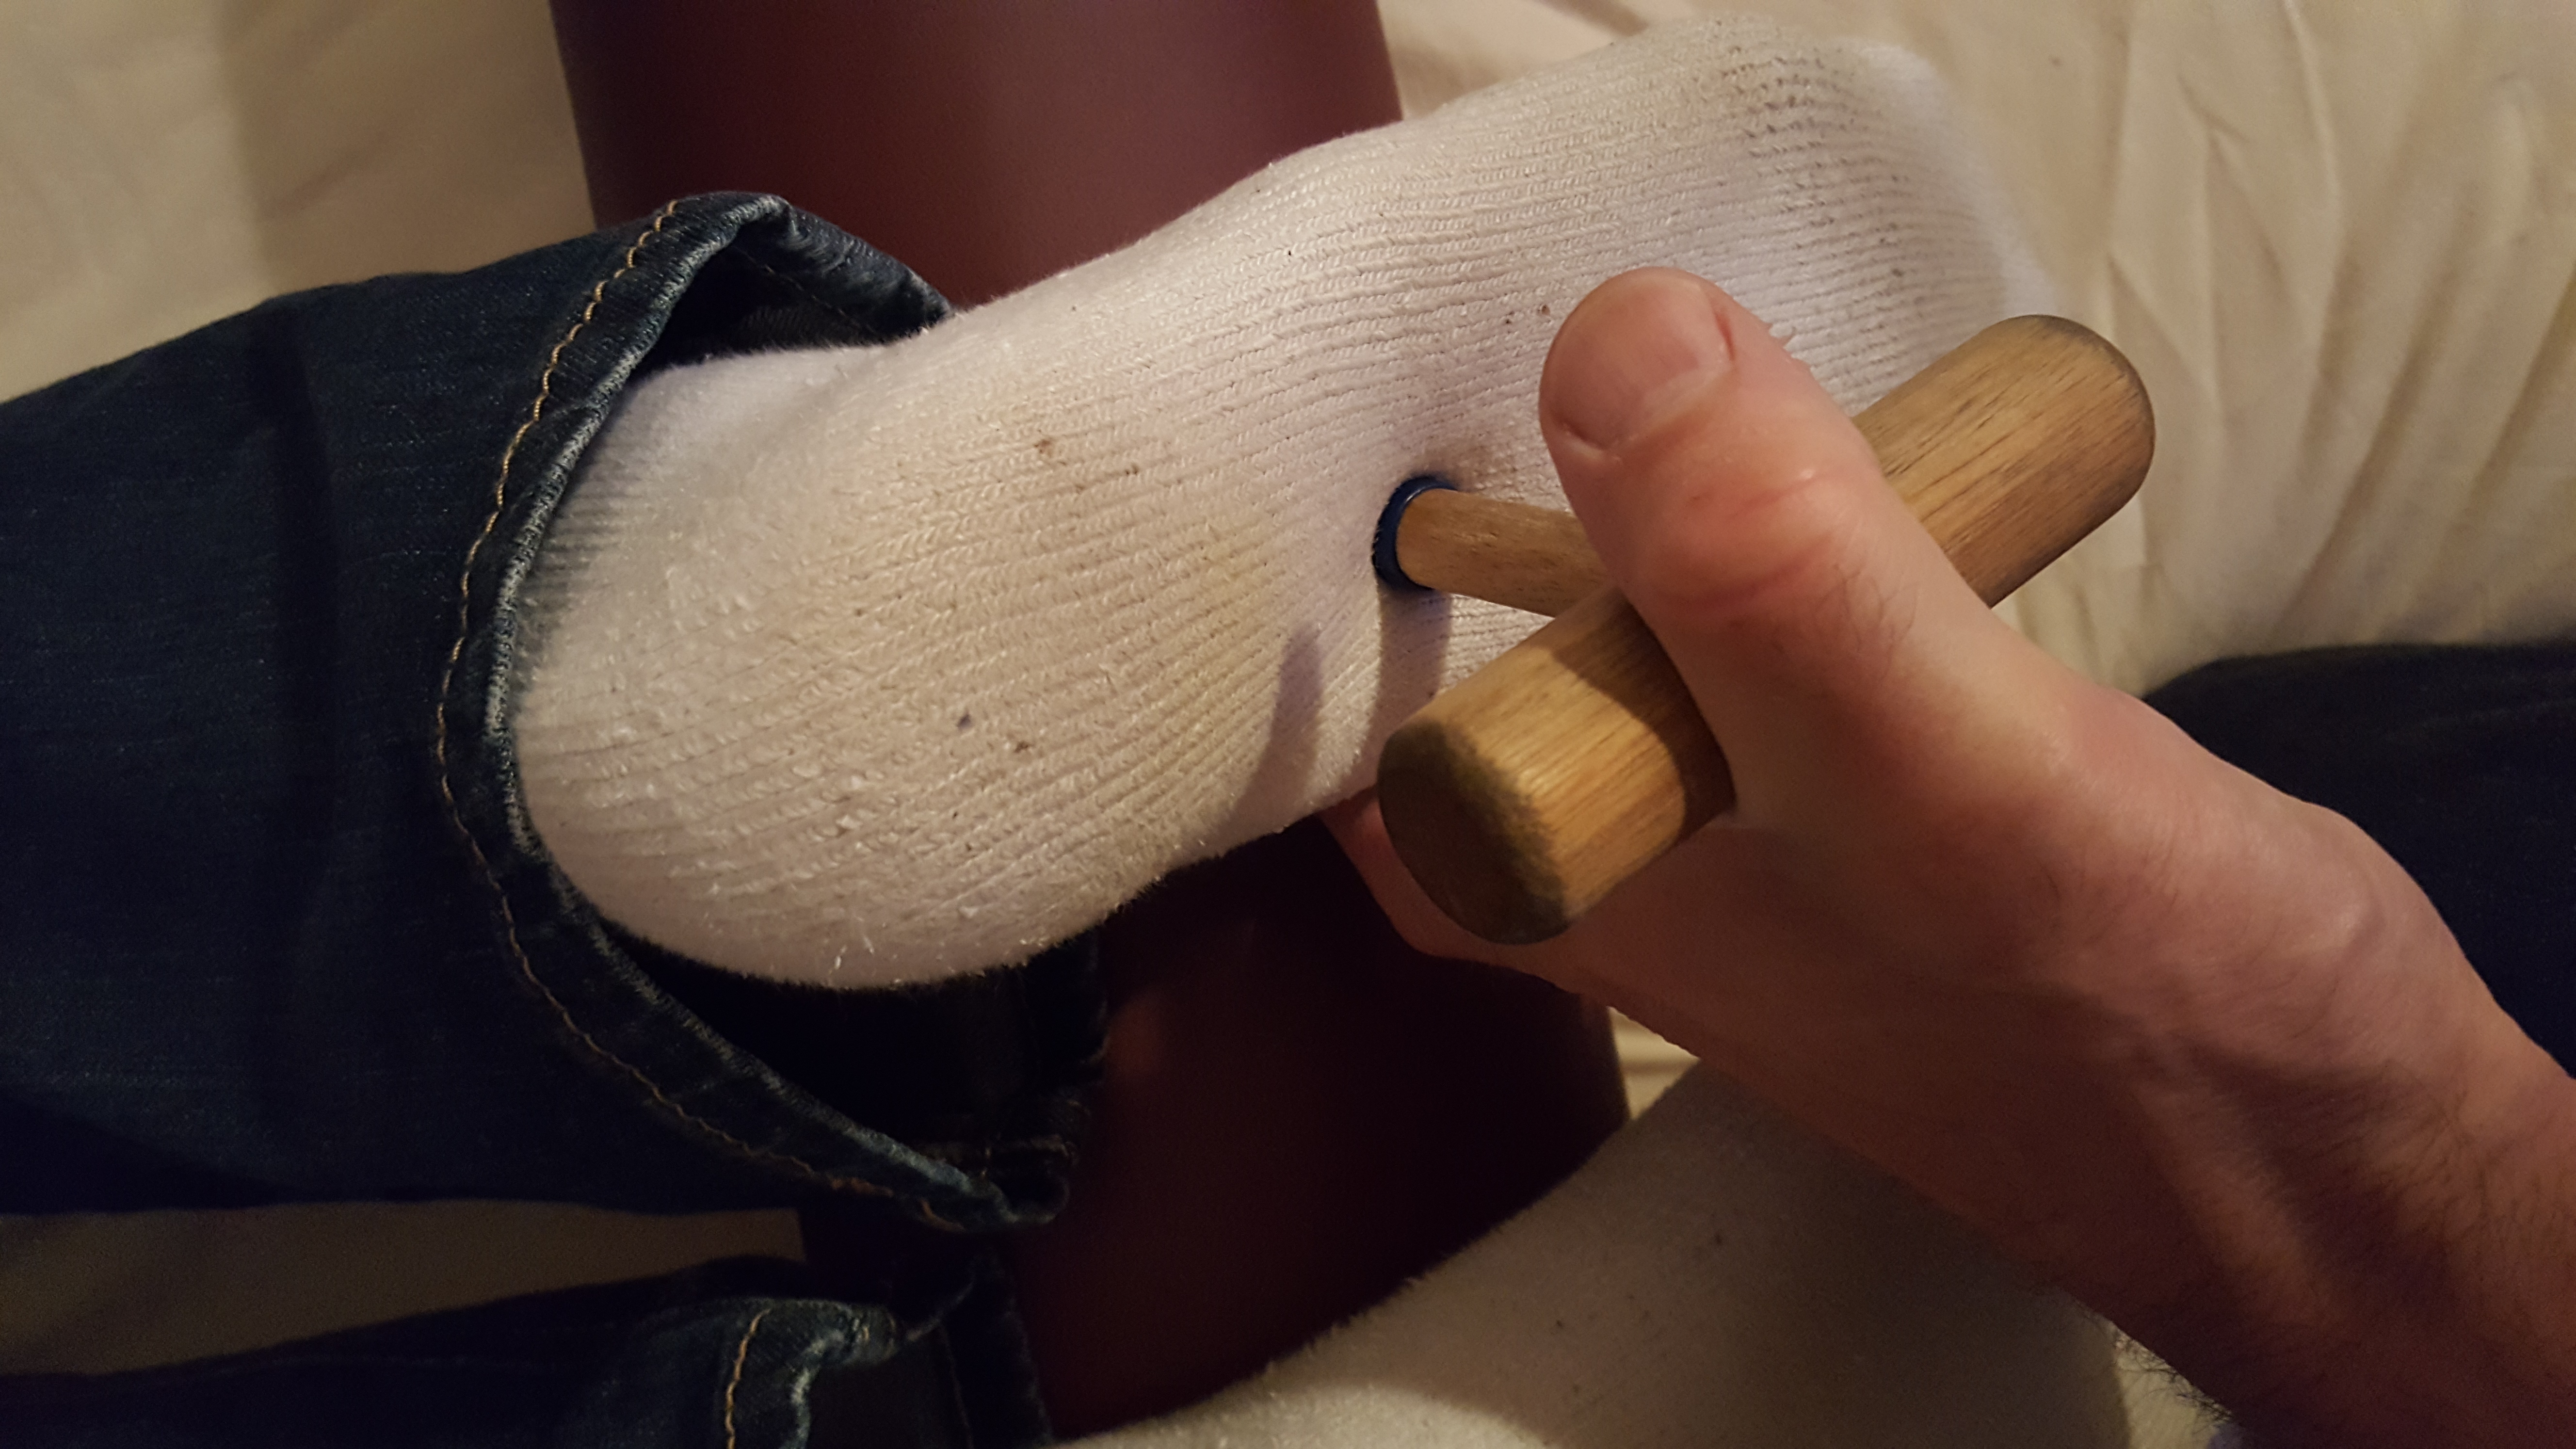
    This is my favorite. Why? Because, to some extent, I can give all my fingers a break when I’m using a hand-held tool. Getting started using a hand-held tool is like getting started using your non-dominant side: you need to create a habit of reaching for the massage tool.

    So for 50 massages use a massage tool every time you work an attachment—even if it’s just for a second. For a primer on using hand-held massage tools, check out this video: Save Your Hands Using a T-bar/L-bar video.

    Going for Hammy Attachments

    Here’s how I would use these 4 suggestions to work hammy attachments.

    First, I’d relax the client with gliding strokes on the hamstrings. Then when I was ready to work the attachments, I’d position myself over the ischium.

    Next, I’d explore the attachment area with my knuckles and thumbs to pinpoint the areas I want to work.

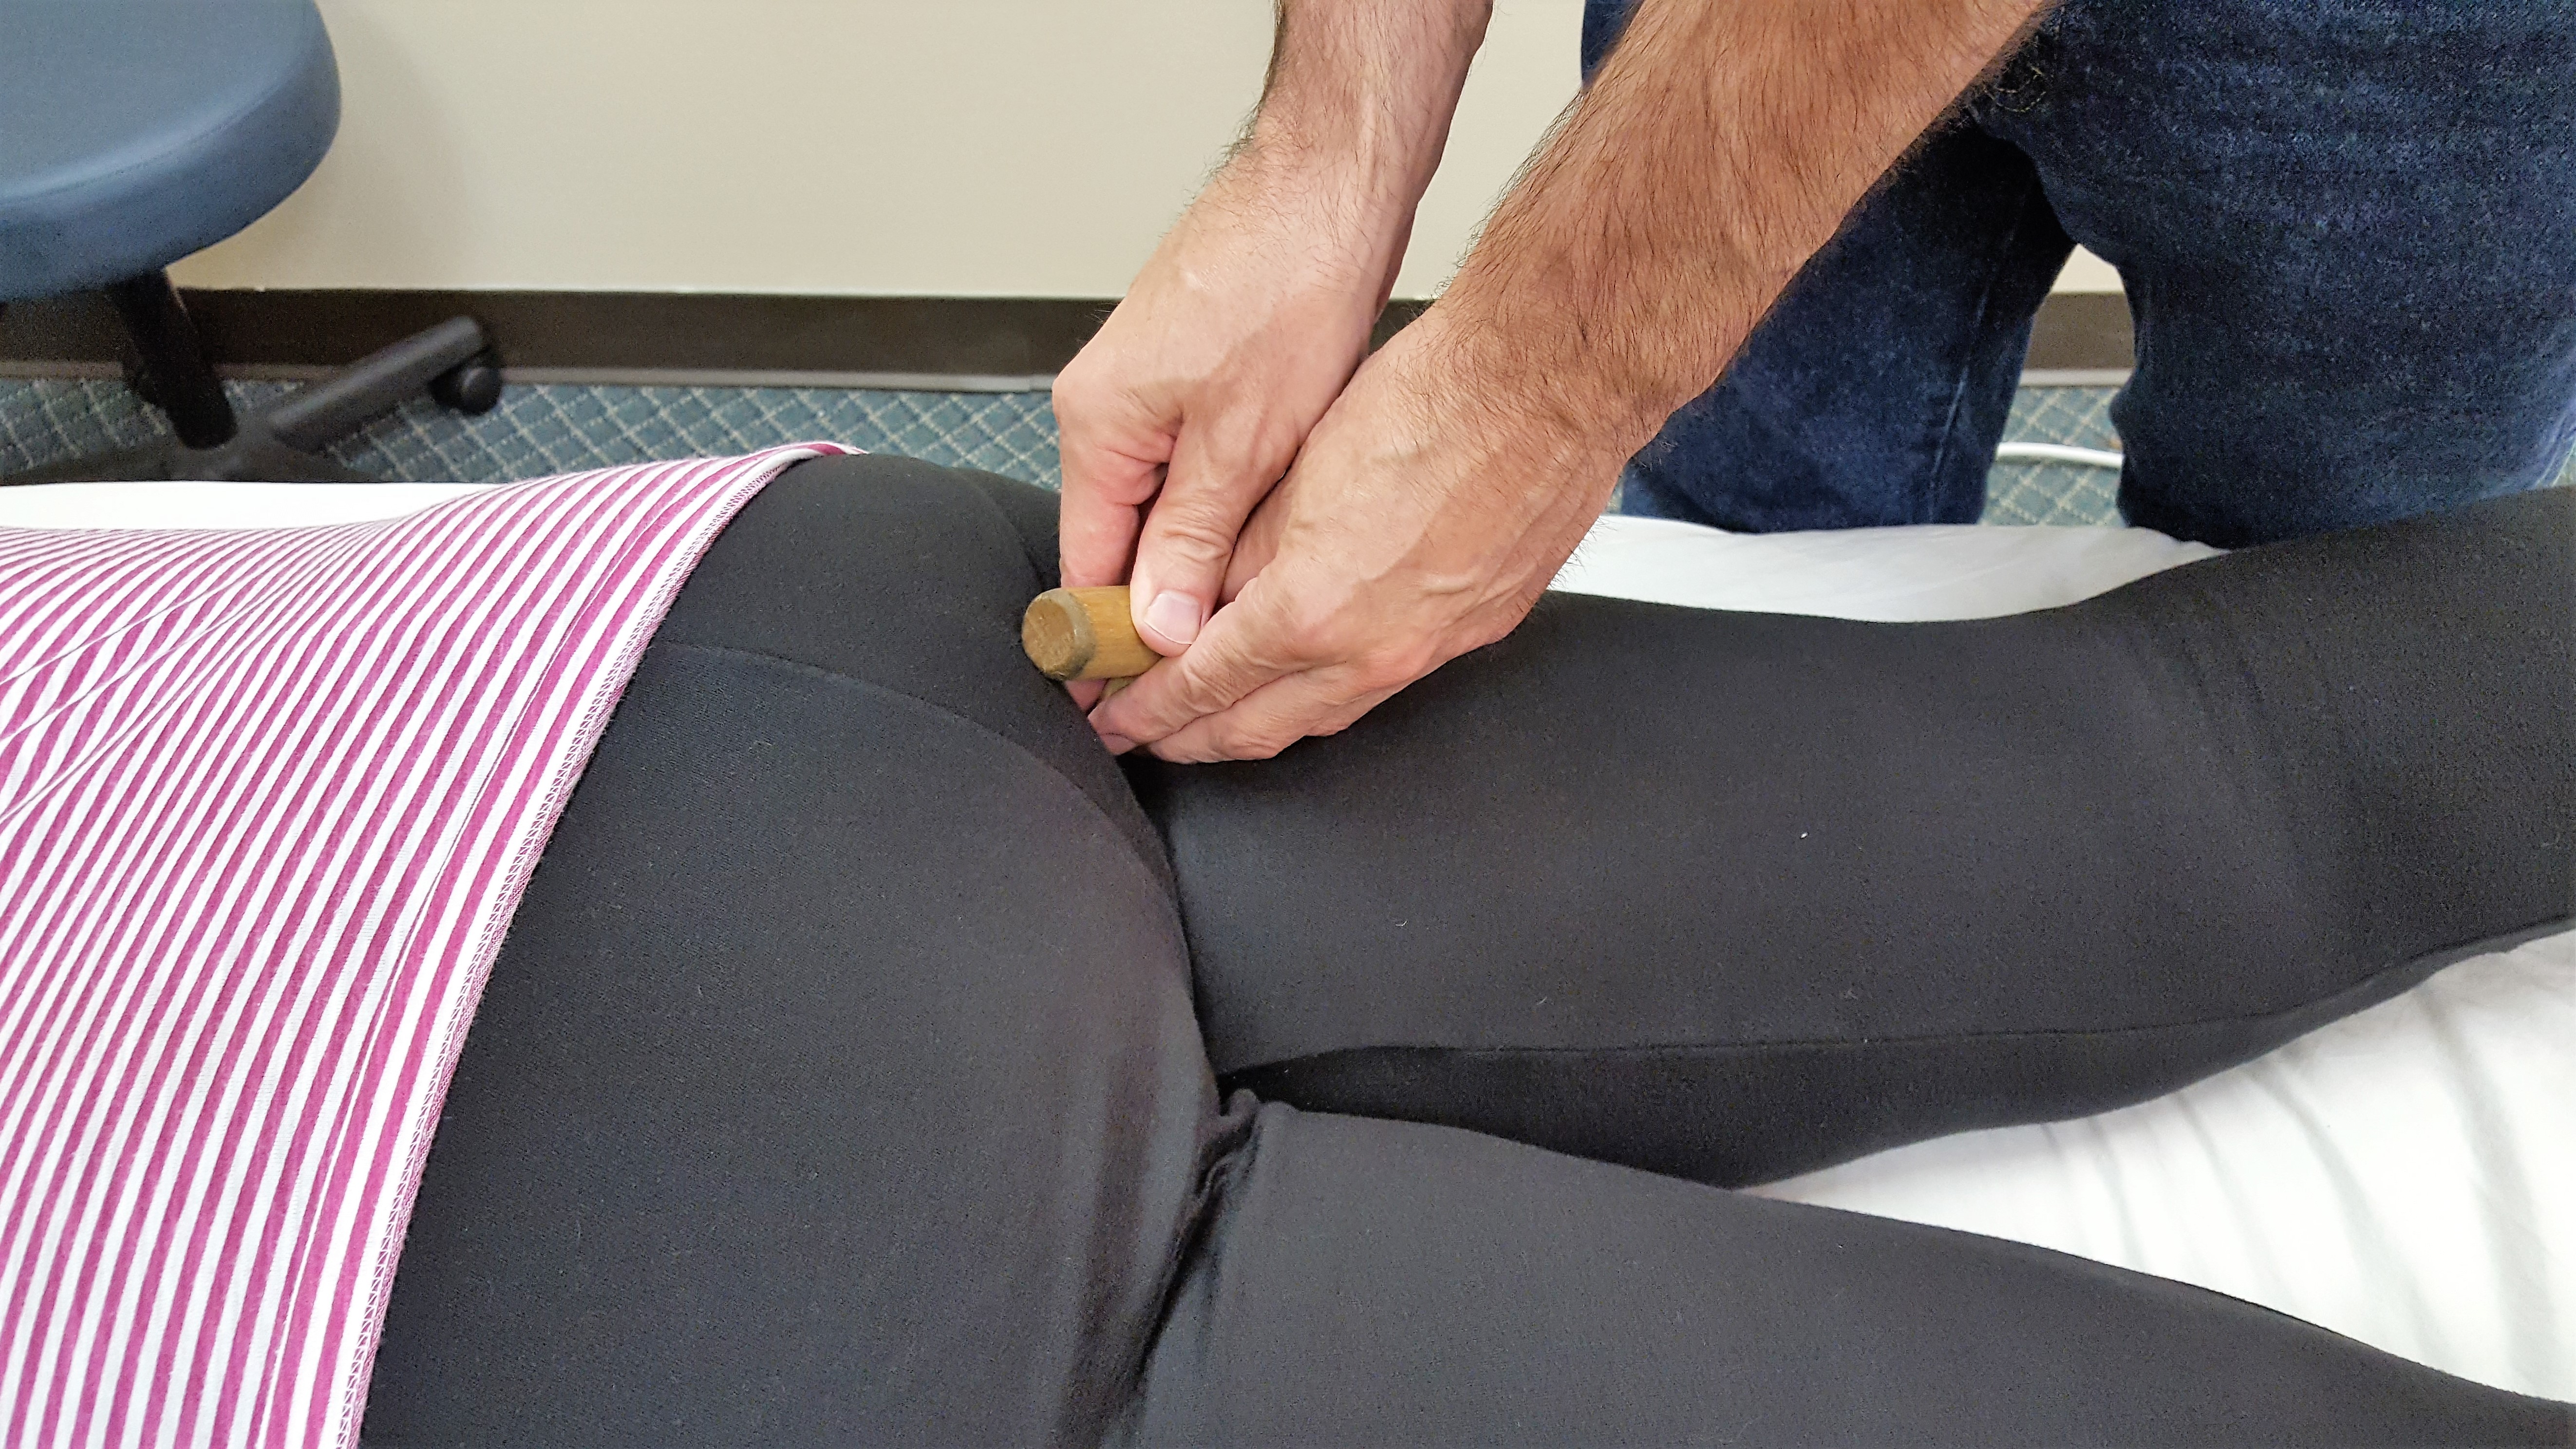
    Then I would use my T-bar and L-bar to precisely work the areas that my fingers have identified as “in need of work”. I’d also change my body position so that I can approach the attachment areas from different angles.

    I show you what I mean in this video: How to Work Muscle Attachments Without Hurting Your Hands video.

    Cut to the Chase

    Here are the Cliff’s Notes to working hard-to-reach attachments.

    1. Position your body over the attachment and then begin.
    2. Use a variety of tools—fingers, knuckles, fists.
    3. Incorporate your non-dominant side.
    4. Use a hand-held massage tool.

    If you only have time to check out one video, this one will serve you best: How to Work Muscle Attachments Without Hurting Your Hands video.  Let me know how it goes!

    My Best Massage Tools Online CEU Course

    A while back I almost quit massage because of pain and injuries.

    Then I spent a year revamping my massage to see if I could massage pain-free. Massage tools help saved my hands and upper-body.

    Most massage therapists shy away from using massage tools because, less face it, it’s hard to be sensitive with a piece of plastic or a hunk of wood–that is unless you have work-arounds.

    I use massage tools in every massage from focused pressure work to total relaxation. I can do this because the work-arounds work and are easy to implement.

    So, if you’re ready to take the plunge and delve into massage tools, I have an online, home-study course that will make your learning life easier.

    Here it is: How to Use Massage Tools (Fearlessly and Effectively).


  • Eliminate Neck & Shoulder Pain When Working Deep

    Eliminate Neck & Shoulder Pain When Working Deep

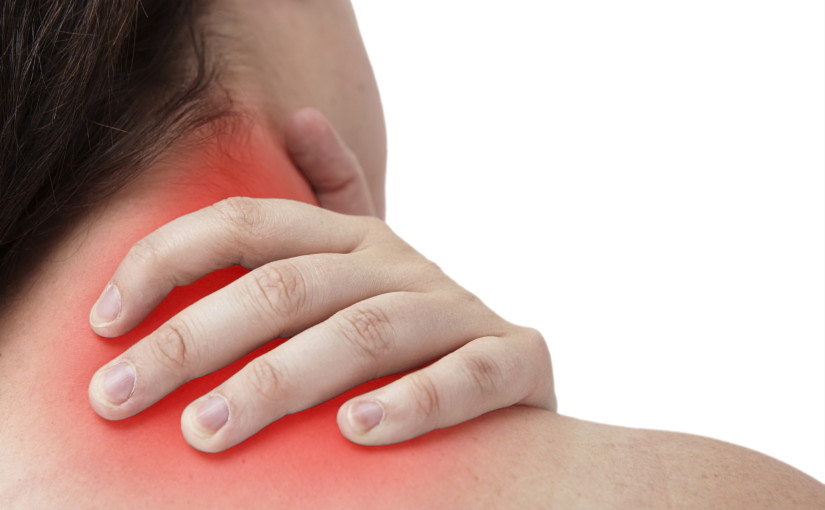
    Joanne had been a client of mine for many years and loved deep pressure. One day she asked: “Does your body ever hurt after doing massage?” To this day I wonder if my head actually cocked to the side like a confused puppy. Wasn’t the obvious answer: Hell, yes?!

    I responded with something like: “I have ways to manage.” But, at the time, the truth was that I didn’t. In fact, my left arm felt like it was going to fall off. Eventually, I got to the point where I needed to take action: fix what hurt or find a new job. And after a year or so of experimentation, I discovered if I keep my work below, close to, and in front of me, I could essentially eliminate my shoulder and neck pain.

    Keep Your Work Below You

    My neck issue (cervical radiculopathy) was causing pain in my upper back and down my arm. I could see a connection between using my left elbow and an increase in pain down my arm. If I were going to use my left elbow less, I needed a replacement. I chose my knuckles. But I couldn’t generate enough pressure with my knuckles at my normal table height. That’s when I began experimenting with lowering my table.

    When I lowered my table, my neck/shoulder/arm started to feel better, but now I was raising my shoulders to generate more pressure. What would happen if I lowered my table even more? My neck condition got even better!

    Oops, Too Low

    The next question was how low should I go? My lower back provided the answer. After a period of “ups and downs” with my table, I discovered the other two ingredients that allowed me to keep my table low enough to save my neck/shoulders/arms without bothering my lower-back.

    Close To You

    It’s the best feeling in the world when a youngin’ asks YOU to pick him up. Unfortunately, as he grows, it gets harder to do so and tougher on your back. But you may have noticed that if you can keep the child close to your body as you squat and lift him, you can reduce back strain by maintaining a neutral (not flexed) back.

    I found the same to be true when doing deep pressure. The closer I can get to the table (without touching the client with my body), the easier it was for me to keep my back neutral. I also had better leverage.

    In Front of You

    The “below” and “close to” was working well for eliminating the pain down my arm—but I’d still get the sharp pain in my levator scapulae area. I noticed that it seemed to occur more frequently when I was reaching to a side while pressing—and I didn’t have to reach too far off center to trigger the pain. To keep my work in front of me I needed to move my feet so that I would always be in a position to lean straight ahead.

    Move Your Feet

    Moving your feet may seem like a lot a work—but it probably takes more energy to press with your upper body when you’re not in a position to simply use your body weight to generate pressure than it does to move your feet and lean.

    And I promise you, in the long run, the pay-off is worth the practice it takes to make “moving your feet” a habit. I demonstrate “moving your feet” here.

    Change Your Pain Today

    For me, there’s nothing worse to my psyche then when my philosophy, who I think I am and/or who I want to be, doesn’t match my reality. I used to think that being in pain from working deep was the price I had to pay for helping someone get out of pain. But as my pain compounded, my martyrdom philosophy stopped working for me. If I couldn’t lessen the pain for myself, I’d have to find a new career.

    I was able to reduce/eliminate shoulder and neck pain when doing deep pressure—and I know you can, too. Start experimenting with keeping your work below, close to and in front of you. Don’t worry if you find that what works best for your body is different then what worked best for me. It can vary.

    My Best Body-Mechanics, Online, CEU Course

    A while back I almost quit massage because of pain and injuries.

    Then I spent a year revamping my massage to see if I could massage pain-free. That’s where incorporating the lower half of my body into the massage came in along with a bunch of other strategies that ultimately saved my massage career.

    I pulled all that first-hand experience together and made a live CEU class which I taught for about 5 years. During those 5 years I listened to the massage therapists taking the course and worked out the learning kinks.

    Now I have an online version of the live body mechanics class that is kink-free and will help you massage pain-free.

    Check it out here.