Category: Massage Pain-Free

  • How to Do a Great Massage at the End of the Day

    How to Do a Great Massage at the End of the Day

    You have 8 hours of massage to do. And your last 3 are deep tissue. How do you make the last massage as good as the first? You get hyper-efficient with how you do your work (hyper-efficient massage).

    But before you can do hyper-efficient massage, we need to talk about just doing massage efficiently.

    I use two categories to explain massage efficiency: (1) work and (2) rest/recovery.

    And you’re probably thinking resting while doing massage is called napping, Mark.

    Well, resting while doing massage is close to napping, but not quite. We’ll get into that in a minute.

    Let’s start with working efficiently.

    Working Efficiently

    Working efficiently means that you’re maximizing your productivity with minimum wasted effort.

    Here’s how I do the work part of massage effortlessly:

    1. Lean for medium to deep pressure.

    I use a lock, stack and lean technique for medium to deep pressure. You can read more about that here.

    1. Keep the feet moving.

    If you’re not moving your feet to get into the proper position to lean, your work will become harder because you won’t be able to efficiently transfer your body weight onto the client. Here’s how I move my feet:

    [embedyt] https://www.youtube.com/watch?v=omwk-NyVjZU[/embedyt]

    There’s more, but if you do these 2 things–lean and move your feet–you’re gonna be pretty efficient.

    And that will get you through the first 5 massages of your 8-hour massage day.

    Then walks in Hour 6, and Hour 6 wants a deep tissue massage.

    What usually happens next?

    Your brain hurts and your body is tired and your form starts slipping, right?

    But this is precisely the time that you can’t give into fatigue. You must get hyper-efficient (be even more efficient than you were for the first 5 hours).

    Working Hyper-Efficiently

    How’s that going to happen when I’m ready to fall on my face, Mark?

    You’re going to talk yourself into hyper-efficiency.

    “Move your feet, buddy.”

    “Come on now, stop reaching.”

    “You got this…fifteen more minutes to go…relax your shoulders….”

    As you talk to yourself you start to become acutely aware of every move you make. With this  new, laser focus on form you can correct any sloppiness that has occurred because of fatigue and you can take it a step further by removing all inefficiencies that were getting past your radar when you were less tired (massages 1 – 5 of the day).

    Now the work gets easier again and you can fight off the droopy feeling.

    But that’s only half of what you’ll need to know to be 100% hyper-efficient.

    Here’s the first step of the other half: You need to be efficient at resting/recovering while doing a massage.

    Resting Efficiently

    How do you rest during a massage?

    1. Take a seat.
    2. Rest your arms on your legs when sitting.
    3. Relax (instead of tightening up) into the lean.

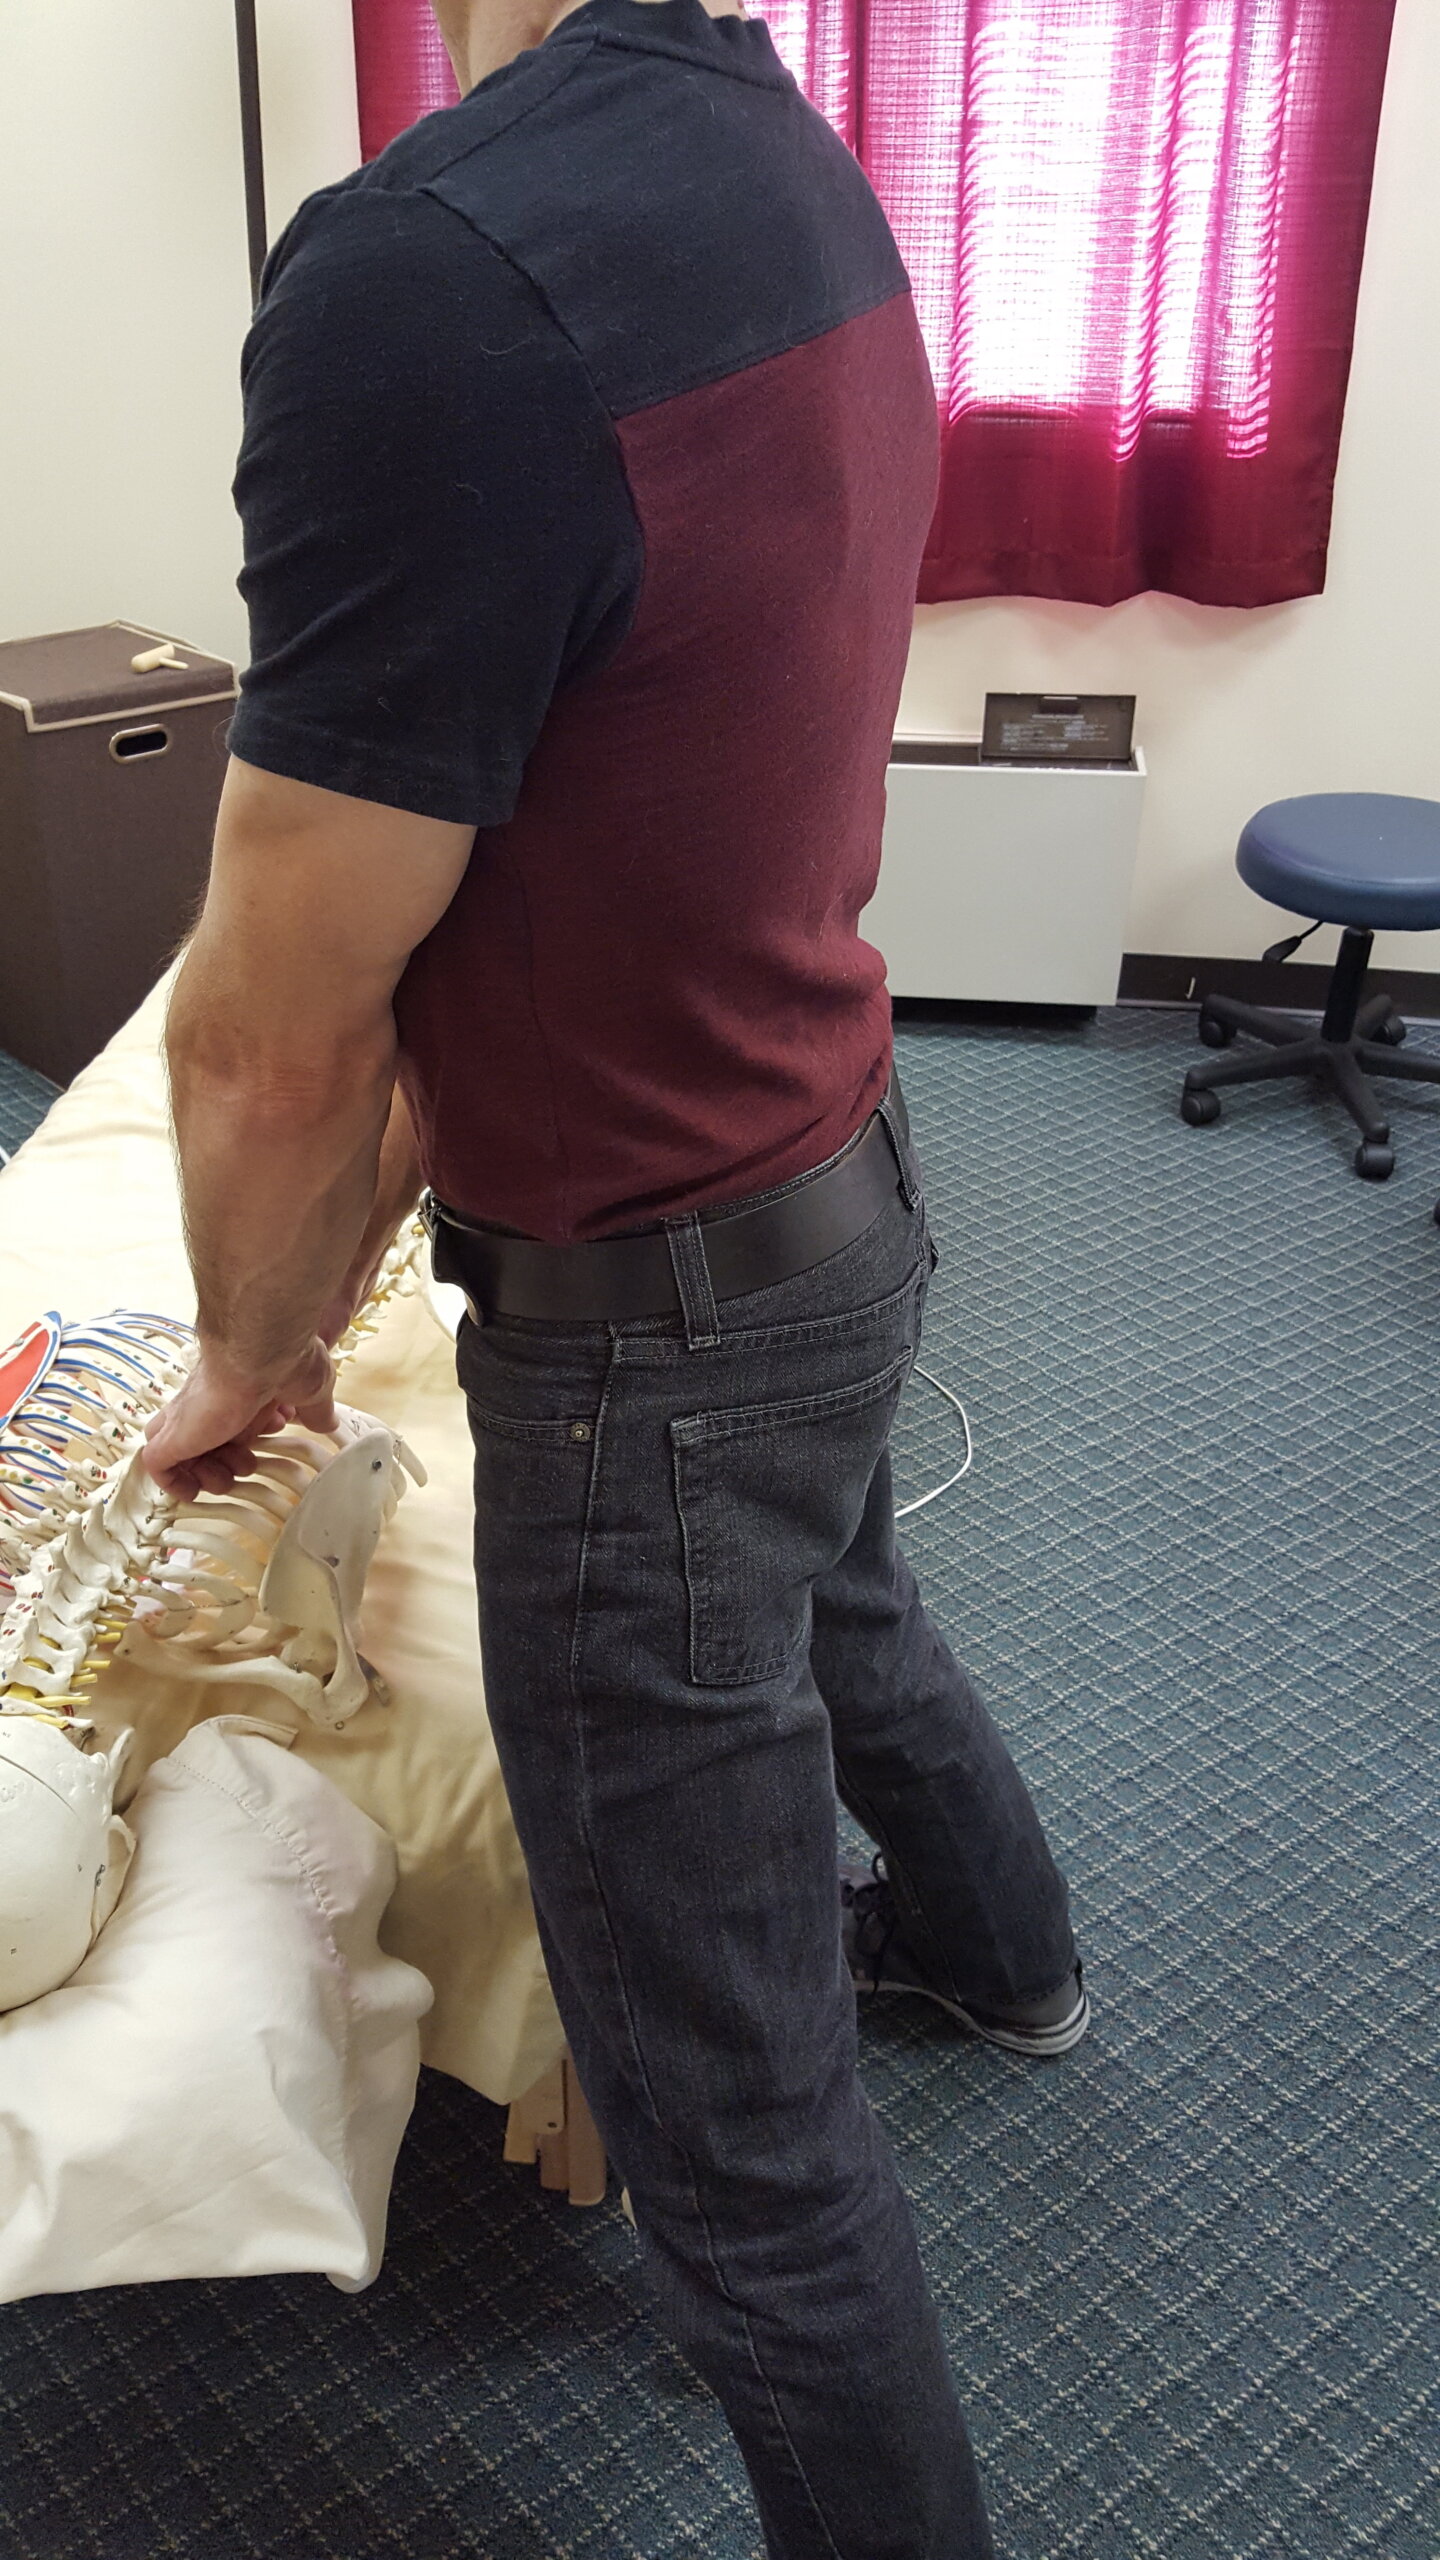
    And you can give your overworked postural muscles a break by doing this;

    1. Get upright.
    2. Lean against the table.

    Do these things to get through the first 5 massages.

    Then become hyper-efficient with relaxing to conquer hours 6, 7 and 8.

    Resting Hyper-Efficiently

    How?

    Turn “resting” up a notch.

    Look for every opportunity where you can sit, lean into the table and get vertical. 

    When you do, you’ll find more opportunities than you had thought were available. Jump on these opportunities and you’re body and brain will thank you.

    Here’s the short version.

    Hyper-Efficient Massage in a Nutshell

    Massage hours 1 -5:  Be efficient with work and rest.

    Hours 6 – 8: Be hyper-efficient with work and rest.

    When fatigue moves in, talk yourself into hyper-efficiency.

    Then you’ll start to see when body mechanic errors are creeping in and when you’re missing resting opportunities.

    Make the corrections and rest like you’ve never rested before.

    Being hyper-efficient will not only make your last massage as good as your first, it will also make you realize that you can handle much more than you had thought:-)

    Want to make sure that you can do a lot of massage and not be in pain?

    Check out Delivering Deep Pressure Without Hurting Yourself.

    It’s a 3 CEU, online, home-study course. It has all the strategies and techniques that allow me to work 6 to 8 hour days.


  • Advanced Deep Pressure: How to Bring Just Enough Pressure

    Advanced Deep Pressure: How to Bring Just Enough Pressure

    Are you getting a name for yourself because of your deep pressure massage?

    Or do your clients come to you because you’re the only one who can get that tight spot?

    Yeah, well, how ya feeling?

    Shoulder a little iffy?

    Neck tight?

    Fingers numb?

    Thumb aching?

    If so, there’s a good chance that you’re doing more work than you need to be doing.

    A while back my elbow hurt. My fingers tingled. My neck burned. And my shoulder was major crunchy.

    It was a rough time for me. I needed to figure out a new way to do deep pressure massage or find a new career.

    As I experimented with new ways (for me) to do deep pressure, like lowering my table and shortening my stroke, I discovered something else that was contributing to my pain: I was working a lot harder than I needed to be working.

    If you pride yourself on bringing it, then you probably don’t think twice about fully exerting yourself with each deep pressure client.

    The question is: Do you need to be bringing it 100% of the time with each deep pressure massage client?

    No.

    There’s wiggle room with deep pressure.

    In other words, at times during a deep pressure massage you may only need to bring 80%.

    Have a few deep pressure back-to-backs and that 20% means a lot.

    Deep Pressure Wiggle Room

    I discovered the deep pressure wiggle room when using massage tools.

    Massage tools made delivering precise deep pressure really easy. So much so that I could relax my body.

    In such a relaxed state I started to wonder how much pressure did I

    actually need to deliver to keep my deep pressure client happy?

    So I started to back off my pressure at times.

    Guess what happened?

    Nothing.

    Huh…I had thought that deep pressure was an all or nothing phenomenon, but my clients’ reactions (satisfaction with the pressure) when I did NOT bring it all the time told a different story.

    Deep pressure wasn’t and on/off light switch. It was more like a dial.

    Between a certain range, like 80% exertion (application of force) and 100% exertion, I could play.

    By the way, I don’t work hard even at 100% application of force. Here’s how I deliver pressure with minimal effort.

    So how do you experiment with the deep pressure dial and not lose clients?

    1. Take time to accurately figure out the deep pressure requirement of the client.

    Some clients don’t actually want your 100% deep. They may actually want your 75% deep or 85% deep.

    This is easy to figure out with new clients. First, talk to the new client about pressure.

    Then on the table figure out what pressure feels best to him.

    This is when you can really start to dial in your deep pressure. Let’s say Wil is on your table.

    Using your “I’m giving it all she’s got, Captain” (100% deep) pressure as a mental reference point, dial your pressure down to 80% to start the massage.

    How does that feel, Wil?

    You can go deeper.

    You turn the pressure dial up t0 90%.

    A little too much, Wil says.

    You dial it down to 85%.

    Perfect.

    But that’s a new client. What about old clients who want deep pressure massage?

    Can you dial back your pressure on them?

    Why yes you can.

    You just need to…

    2. Test “less pressure” in areas where expectations aren’t 100% deep.

    Linda, a client of 20-ish years, liked deep pressure in her upper thoracic and lumbar erectors.

    For the nearly 1000 massages I had done 100% deep over her entire back–but then when I got injured I needed to try something different.

    Here’s what I did. In the areas that Linda loved deep pressure (upper and lower back), I gave her my 100% deep.

    But in the areas that were not on her radar, like mid- and lower thoracic back, I backed off my pressure to 75 – 80% .

    And it worked.

    My body was happy and Linda never asked for deeper pressure in the non-primary areas.

    At this point I have to tell you that I’m a little nervous for my long-term, deep pressure MTs who are reading this article.

    Because even if what I say resonates with you, here’s what’s going to happen next: You’re going to do your next deep pressure massage at 100%.

    Why do I know this?

    Because that’s who you are.

    You’ve identified yourself with deep pressure (100% all in). And you don’t want to lose that identity–even for a couple of seconds–by going to light and having someone ask you go to deeper.

    Let me save you a case of cervical radiculopathy.

    You can still be Helen-The-Great-Deep-Pressure-Massage-Therapist without going 100% deep all the time.

    1. At the beginning of the massage figure out the kind of deep pressure the client actually wants.
    2. Then experiment in non-primary, deep pressure areas to see if you can dial back the pressure some.

    Can you be an expert with deep pressure fast and for cheap and get CEU credits for it?

    Yes.

    Go here.

  • How to Combine Body Parts (Save Your Hands)

    How to Combine Body Parts (Save Your Hands)

    Sometimes you just can’t change a situation. You have to suck it up and move on. Hand pain when doing massage isn’t one of those times–if you learn how to combine body parts to press and glide.

    How can I be so confident?

    Well, I’m a wimp.

    And being wimpy has pushed me to discover new ways (for me) to do massage that don’t cause hand pain.

    Here’s how it works. Basically when my hands start to bother me when I’m massaging I look for a way to make them feel better.

    I’m not talking about stretching or doing exercises after the massage.

    I look for ways to reduce or eliminate the pain while I’m working.

    This is true not just for massage but for any physical work I do.

    Let’s say I’m cutting a plastic light cover with with a utility knife and my holding hand is cramping.

    Wimpy me wants to end the pain so I hold the plastic cover a different way.

    If my right arm gets tired turning the screwdriver, I switch to using my left arm.

    Is my non-dominant arm as good with the screwdriver as my dominant arm?

    Nope.

    But after some practice, my non-dominant arm gets the job done.

    Massage is no different.

    We can change how our hands feel by making adjustments and trying out new ways to do massage.

    At this point, if you’ve read my articles before, you’re probably guessing that next words I’m going to type are going to be something about massage tools.

    No tools this time.

    Today I’m talking about how to combine body parts.

    Like a knee and an elbow?

    Not quite.

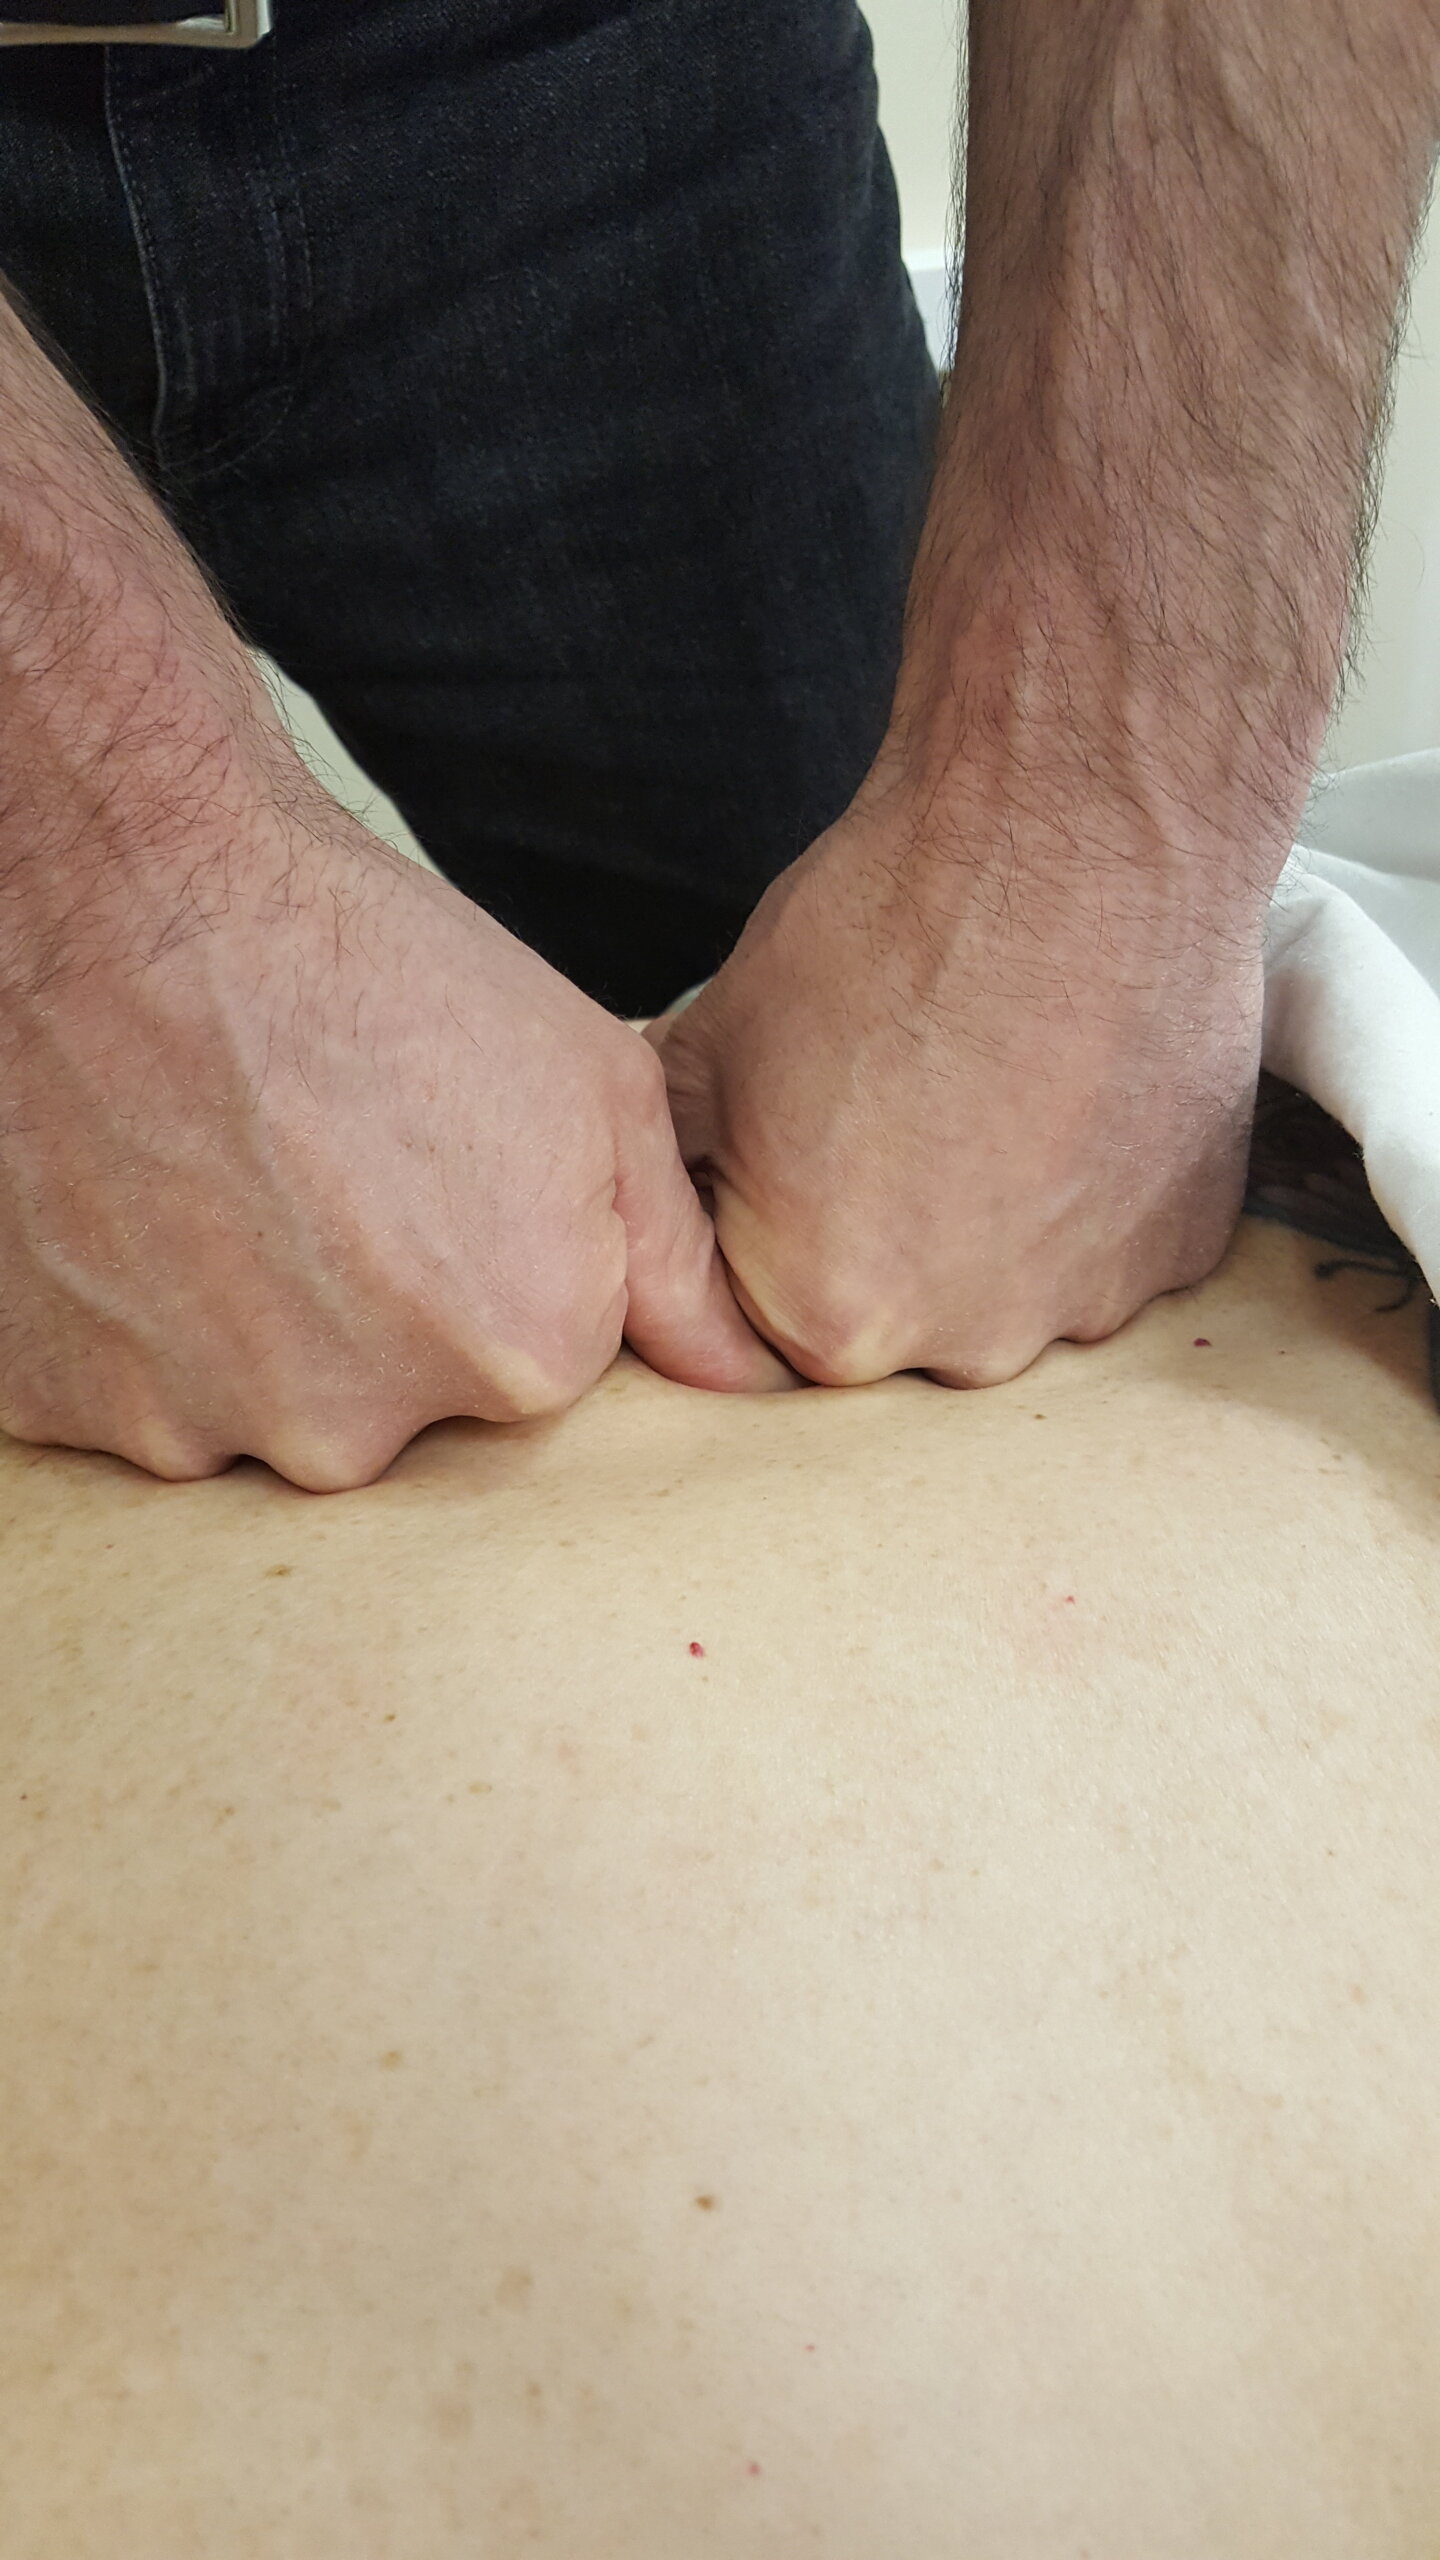
    More like a thumb and a knuckle.

    Or overlapping fingers.

    When you combine body parts to press or glide you distribute the workload so that one body part (e.g., finger) isn’t doing all the work.

    And the primary pressing/gliding body part is getting some bracing action to boot.

    Okay, enough talk. Let’s combine body parts.

    How to Combine Body Parts

    In this video I give you examples of my favorite body part combinations. Once you start experimenting, you’ll probably come up with some of your own.

    This video is about transitioning between body part combinations. The idea is that the more fluid you are at using body part combinations, the more likely you’ll make an adjustment when a finger or thumb or elbow starts hurting.

    Want to know how to massage pain-free?

    Take this pain quiz.

    You’ll get an instant video that will help you with your particular issue.

    Pain Quiz


  • Save Your Thumbs: The Mighty T-Bar

    Save Your Thumbs: The Mighty T-Bar

    I’d bet $100 that you’ve experienced this at least once in your massage career: thumb pain.

    And my guess is that the next thing you do is to search YouTube videos for thumb massages and stretches.

    But instead of just managing thumb pain, why not stop injuring thumbs altogether?

    And burn out my fingers instead, Mark?

    No.

    Use a T-bar instead of thumbs and fingers.

    But there’s a caveat here. A T-bar can actually hurt your hand if you don’t understand some basic things about holding it.

    The T-bar Structure

    The T-bar can be broken down into three elements: the handle, the shank and the tip.

    The shank is in the middle of the handle. The tip of the shank can be flat or have rounded edges. Here the tip is covered by a plastic end-cap. Other options include a rubber end cap or no end cap at all, just bare wood.

    As you can see, it’s a very simple tool. But a simple tool can be a highly effective tool. And that’s what I discovered when I first got my hands on a T-bar.

    St. John’s Neuromuscular Therapy

    I was introduced to the T-bar in 1998 when studying Paul St. John’s neuromuscular therapy (NMT). A tenet of NMT was to work the origin and insertions of muscles. To do this, you needed to be able to apply very precise and often deep pressure. Thumbs, of course, were a natural fit for this job.

    However, thumbs would take a pounding if you tried to use them for deep work in dense muscle areas like in the spinal lamina groove. Enter the trusty T-bar.

    When I first tried using a T-bar during a neuromuscular class, I was instantly hooked. Though it felt clunky in my hands, I was able to generate precise pressure like never before without thumb pain.

    After I was certified in NMT, I opened a practice. But a few years into the business, something unexpected happened: My hands hurt.

    I Didn’t Want to Quit Massage

    At first I thought I’m simply coming up to one of the reasons why MTs change careers—pain and injury.

    But at the same time, I was having non-massage, pain issues, too. A lot of my non-massage pain was due to bad techniques when working out. I decided to make some changes in the gym and those issues got better.

    So, I then took another look at my hand pain. It seemed to occur after I was using the T-bar. This made me wonder if I could eliminate my hand pain by adjusting something that I was doing  when using the T-bar.

    The short answer was yes. And it all started with my intention.

    How My Thumb Pain Went Bye-Byes

    At the time, my intention when using the T-bar during a massage was to work a tender/tight spot with precision.

    But there was a vital part missing to this intention. The missing part was “without causing me (the massage therapist) pain.”

    That may sound obvious, but think of all the times you did a particular massage technique to release a muscle, knowing that it was causing or was going to cause you pain?

    It’s just what we do.

    So, keeping this idea of “not being in pain when working” in mind, I zoomed in on how I was holding the T-bar. It soon became apparent that I was over-gripping the T-bar, and that was probably the cause of my hand pain.

    Adjustment 1: Relax Your Hand

    This is how we were taught to grip a T-bar in NMT class.

    Take note of my fingers gripping the stem and tip to control the T-bar.

    This hold allowed you to have fine-tuned control of the T-bar when working a tight/tender spot, but it also encouraged you to grip the T-bar tightly, even when applying light pressure.

    Hmm, I wondered, what would happen if I just loosened my grip some?

    Actually, nothing happened. The T-bar didn’t slip out of my hand, and I was still able to control the tip with a lighter grip.

    This begged the question: How loose can I hold the T-bar without it actually falling out of my hand? I started experimenting and found that my hands were very happy when I simply steadied the T-bar with the minimal amount of pressure required to keep the T-bar from dropping  or slipping from my hand.

    This is a loose-hand hold: 
    My fingers are relaxed and I’m using just enough of a grip so that T-bar doesn’t slip out of my hand.

    At the end of a month or so, I got pretty good with light and medium pressure, but when I ratcheted up to deep, I had to tighten the grip to keep the tool steady.

    I wish I could say that I figured out the pain-free method of holding a T-bar for deep pressure within a month or so, but I can’t.

    In fact, I went in a different direction altogether. I started experimenting with other massage tools for deep and precise pressure. And it wasn’t until 15 years later that I figured out how to use the T-bar for deep pressure without hurting my hands.

    At that time, shoulder and neck conditions forced me to radically change my massage body mechanics. One of the big changes that I made was to set my table lower than I normally had it. And when I did, the T-bar missing puzzle piece fell into place.

    Adjustment #2: Pin the T-bar

    With a lower table, my work was below me. This meant that I could take full advantage of leaning my body weight into the client to generate pressure.

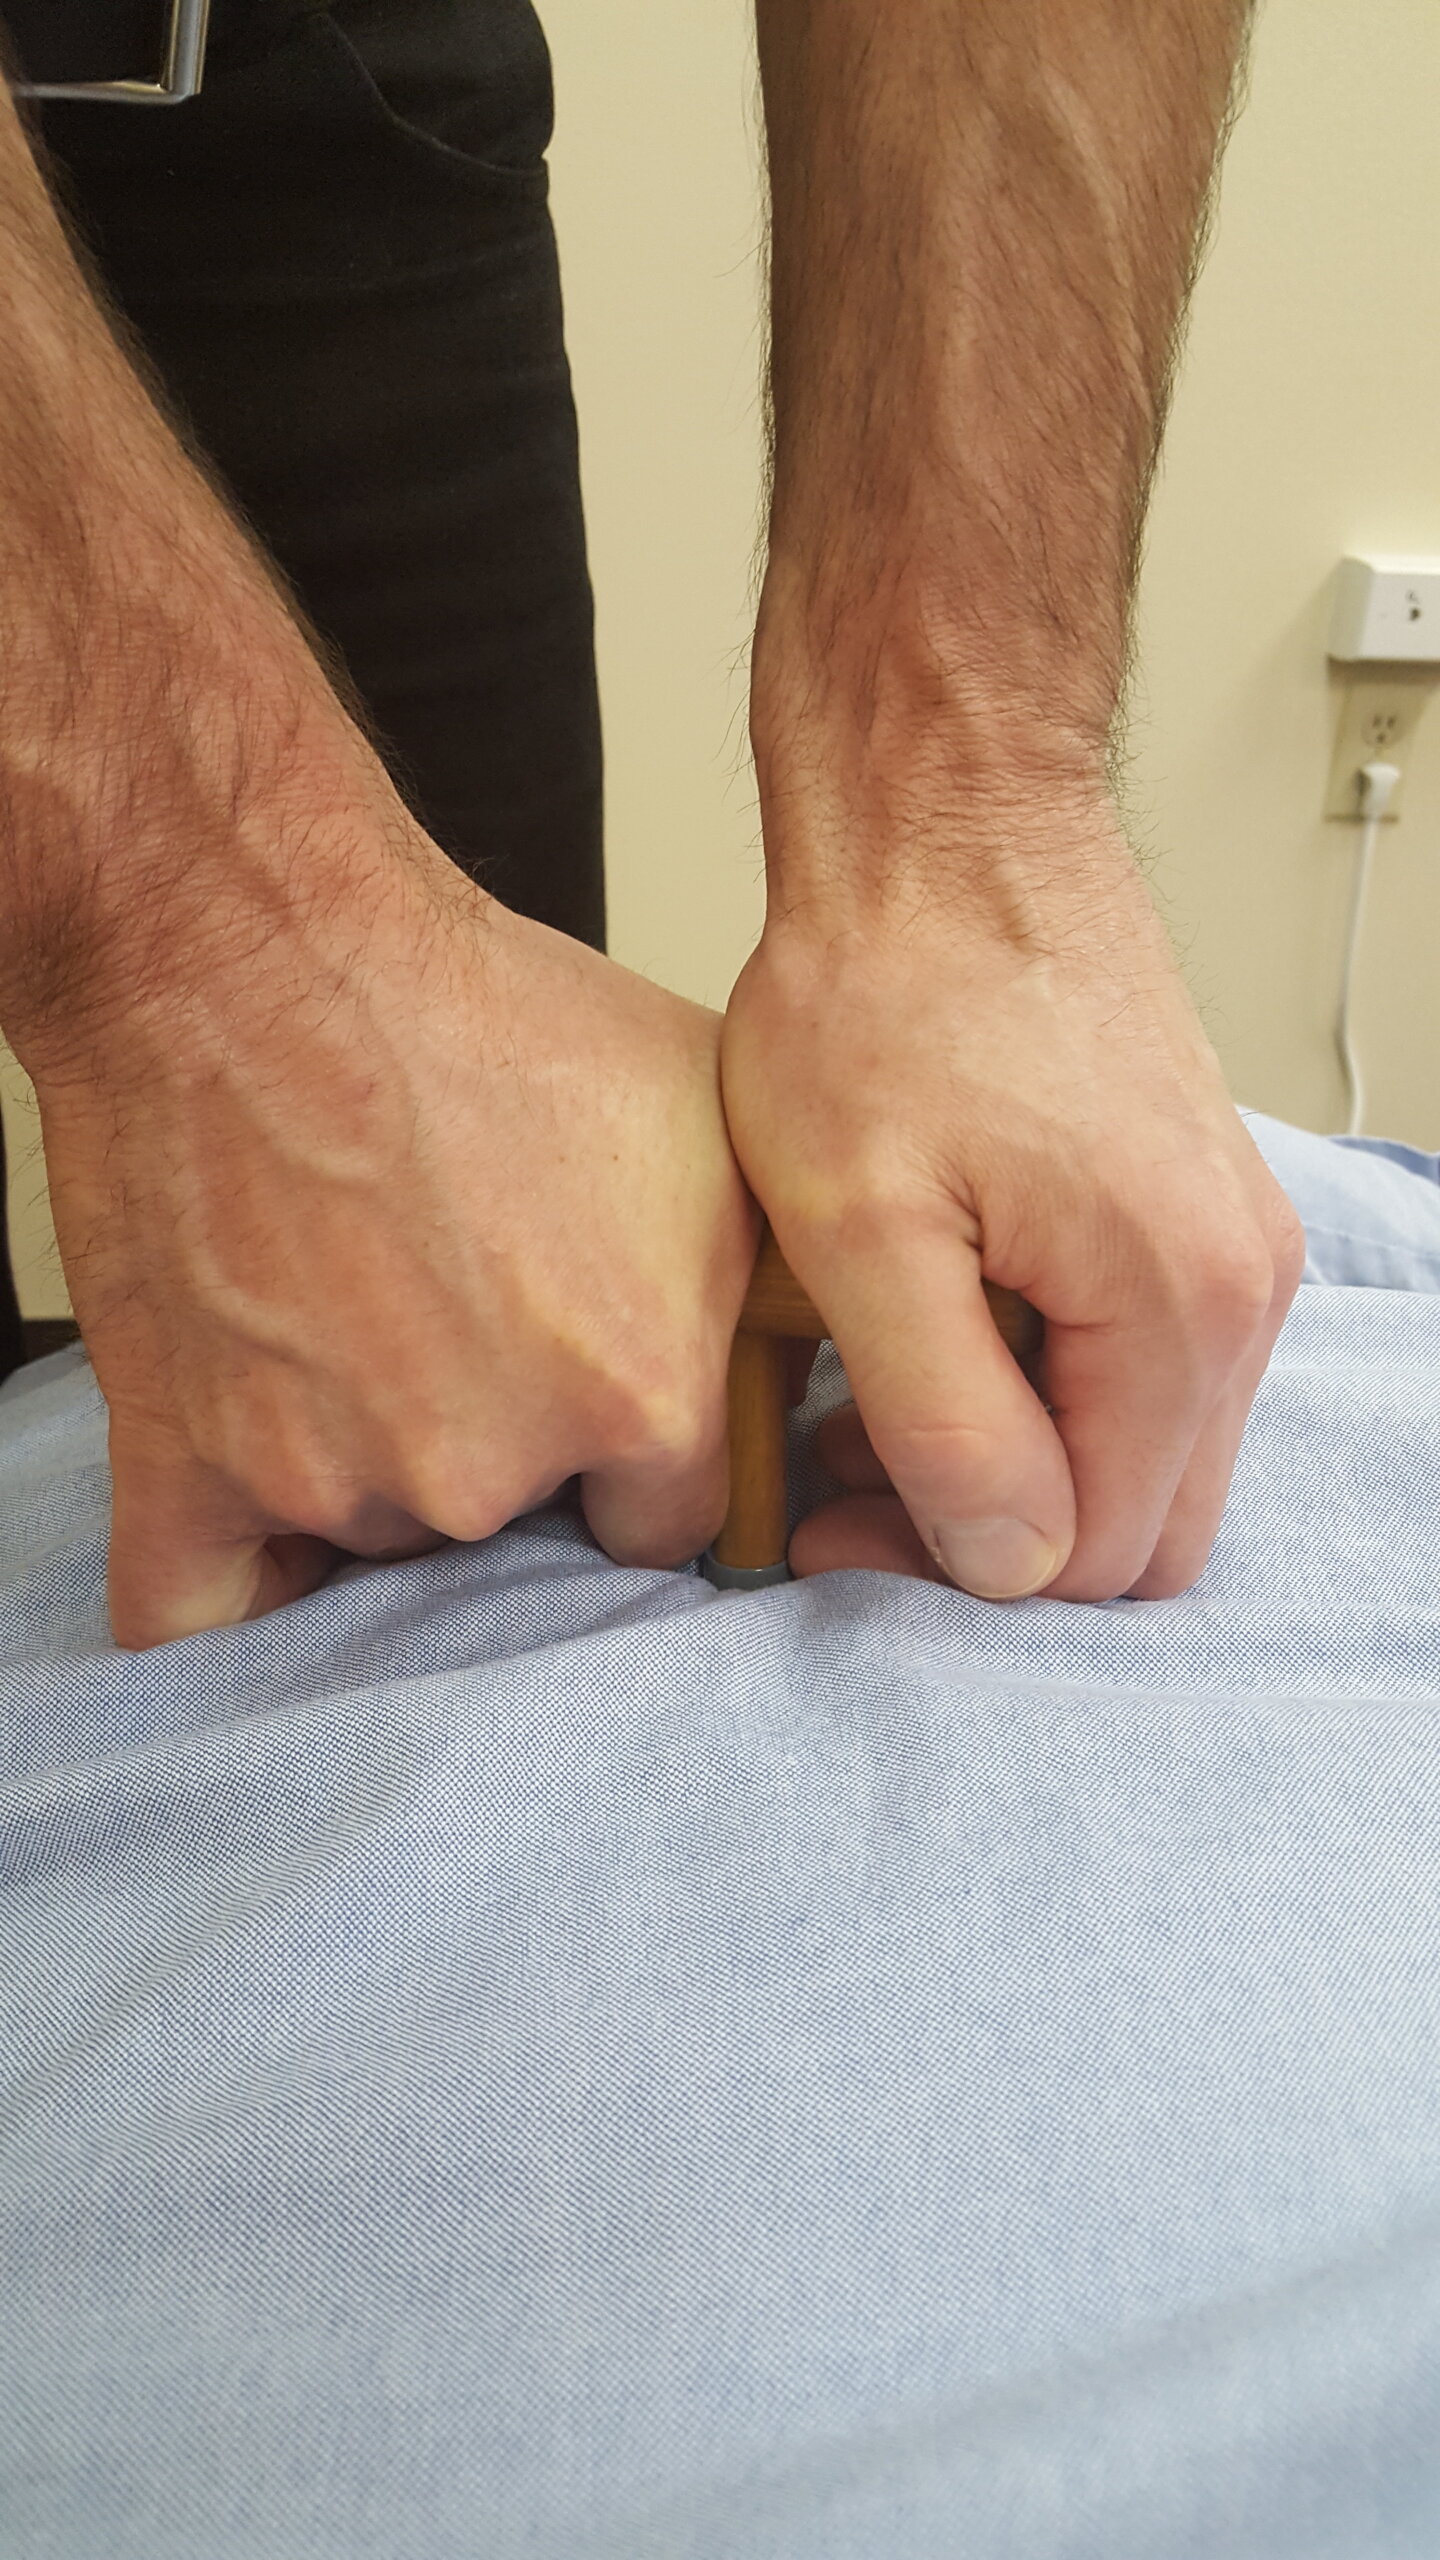
    When I leaned in with a T-bar to do deep pressure, I could pin the T-bar between my hand and the client’s body. There was no need to grip hard to hold the T-bar in place. In fact, I really didn’t have to grip at all. This is an open-hand hold.

    To execute this hold the table has to be low enough so that you can lean in to generate pressure and pin the T-bar. Here’s what it looks like when the camera steps back.

    The pin technique made it easy to hold the T-bar, but there were times when a one-handed pin wasn’t possible and/or my pinning hand needed a break. This leads us to the third adjustment.

    Adjustment #3: Use A Guide Hand Next to the T-bar

    Using a guide hand next to a T-bar is my preferred way to hold a T-bar.

    For one, I’m contacting the client with more surface area than I would with the T-bar alone. This gives the massage more of a relaxation feel.

    Two, it’s really easy to stabilize the T-bar with a guide hand, maintain sensitivity and regulate pressure.

    Three, I can shift the emphasis of pressure from tool to guide hand (hand not holding the T-bar) without having to pull my hands off the client.

    In this picture my guide hand is a relaxed fist. 
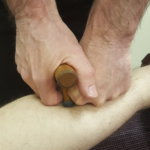
    The relaxed-fist, guide hand that’s next to the T-bar serves as a stabilizer. For broader pressure, I would direct more of my body weight into my fist. For precise pressure, I’d lean more into the T-bar. This hold is great for calves and forearms.

    This next example is a double-handed hold.

    Note that both hands are contacting the handle. Having two hands on the handle allows me to lean in with my body weight. I use this hold when I need to deliver more pressure to influence deep muscles.

    The double-handed hold is good for when you’re working thick areas, like back, hamstrings and quads.

    Also, can you see that my hands are relaxed? That’s really important because you’ll instinctively want to tighten your grip to steady the T-bar as you lean in to deliver deeper pressure.

    But that’ll be completely unnecessary. Look at all the points of contact my fingers and knuckles make with my client’s back. That T-bar is not going anywhere!

    This last hold is a wrap-around technique that works well feet.

    The great thing about the wrap-around hold is that it’s easy to control your pressure. You simply lean in. 

    The guide-hand and two-handed holds worked great for me, but I had a tendency to get really comfortable with one or two holds and I then I’d feel the overuse pain again. This tendency led to me to adjustment #4.

    Adjustment 4: Vary Your Holds

    There are countless ways to hold a T-bar. Here’s how I recommend you experiment. First, pin the T-bar between your hand and the client’s body. Then place your other hand next to the T-bar and allow that hand do whatever it wants to in order to support the T-bar.

    Just remember to keep your hands relaxed and you’ll be amazed at how many different holds you’ll come up with.

    Easier than You Think

    There’s a potential irony in massage that we all desperately try to avoid. It goes like this: We put ourselves in pain to get someone else out of pain.

    Thumb pain is not a byproduct of doing massage.

    Kick thumb pain to the curb by using a T-bar when doing deep and precise work. But first you have to learn how to hold the T-bar without gripping it.

    Here are the keys for holding a T-bar:

    1. Hold the T-bar with a relaxed hand.
    2. Pin the T-bar between your hand and the muscle by leaning in. You may have to lower your table. You can lean when you’re sitting, too.
    3. Use a guide hand, thumb, finger next to the T-bar for stability, sensitivity and as a pressure gauge.
    4. Use two-handed holds to spread the workload.
    5. Vary your holds so that you don’t overuse a body part.

    Once you get these basic things down, you’ll never have to worry about developing chronic thumb pain again.

    Looking to get a T-bar?

    For a plastic one, check out CareerExtenders.

    For a wooden T-bar, visit NeuromuscularSolutions.

    Want a custom T-bar?

    Call/text my friend Matt Johnson: 610-945-6491.

    He makes all my wooden massage tools. Prices range between $15 and $25 per T-bar.

    Want to Get Good with Massage Tools?

    Do it with one online, home-study class and some practice.

    This is the  online, home-study class that I’ve designed to get you comfortable with using a massage tool in any massage you do: How to Use Massage Tools (Fearlessly and Effectively).

    This class takes massage tools to the next level so that you can brand yourself as an expert with focused pressure: Advanced Massage Tools.