Category: Massage Pain-Free

  • How to Do 8 Hours of Massage in a Day

    How to Do 8 Hours of Massage in a Day

    Why would you want to do an 8 hour massage day?

    Here are some damn good reasons.

    Bills are due.

    You’re trying to build a massage business.

    You have a massage business but want to take it to the next level.

    You need to double your annual income.

    But isn’t that a recipe for burnout and injury, Mark?

    If you did an 8 hour massage day every day, yes.

    But if you’re using 8 hour massage days strategically, as part of a plan, then an 8 hour massage day once a month, once a week or even twice a week is not going to hurt you.

    Why am I so confident that you can handle this without getting hurt?

    Two words.

    Massage tools.

    Well, two words and a sentence: When you know how to hold a massage tool without hurting your hands, you can deliver light, medium or deep pressure (static or gliding) effortlessly.

    Come on, Mark, effortlessly?

    Yes, effortlessly.

    But before I show you how to use a massage tool effortlessly, let’s lay down some ground rules for an 8 hour massage day.

    8 Hour Massage Day Ground Rules

    1. Be strategic about saving your body starting with the first massage of the day.

    When you start your 8 hour massage day your fresh and you feel good.

    So what happens during massages one and two of the day?

    You press your thumbs into everything.

    Don’t.

    Use massage tools from the get-go so that you’re thumbs and other body parts don’t ache at the end of the day.

    Here’s another example of being strategic. If you stood at every moment during a massage in an 8 hour massage day your legs would probably rebel somewhere around hour 4 and your form would get sloppy.

    Preempt fatigue by resting your legs starting with the first massage of the day by leaning into the table or grabbing a seat on a stool whenever you can.

    2. Stay fueled.

    The time you make mental mistakes happens when your brain glucose is low.

    And by mental mistake I don’t mean you don’t know if you’ve worked your client’s right quad and have to go back and check for oil residue.

    I mean you stop getting in the best position to deliver pressure because you have no energy. Or you forget to use massage tools because your thinking is cloudy.

    How do you solve brain glucose lows?

    Eat complex carbohydrate snacks between clients.

    I wrote this article for Spirituality & Health about the effects of low brain glucose and how to avoid it.

    Okay, now we have the ground rules down for an 8 massage day. The next thing to do is to become competent with massage tools.

    I’m going to give you the most practical primer I can.

    Ready?

    Massage Tool Primer

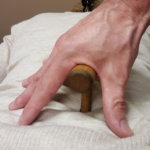
    1. Hold a massage tool so that it doesn’t hurt your hand.

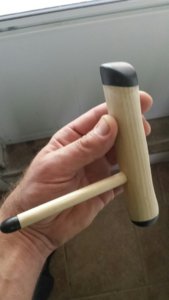
    This is how I was taught to hold a T-bar in NMT school.

    See how my finger tips are squeezing the end.

    Can you guess what my fingers felt like at the end of the massage with a T-bar?

    Exactly.

    They felt like crap.

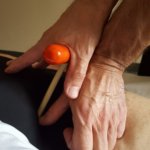
    Here’s one way I hold the T-bar without gripping.
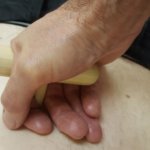
    Fingers are relaxed and happy here, right?

    In this article I show you the basics for holding without gripping.

    Once you get the hold down, then you need to…

    2. Press with a massage tool while leaning.

    Why leaning?

    Because it’s an efficient way to deliver pressure with minimal impact on your upper body.

    Leaning is not difficult.

    It just takes practice.

    Here’s how you do that.

    [embedyt] https://www.youtube.com/watch?v=LE9P3BOdxAM[/embedyt]

    Now there’s only one more thing you need to be able to do:

    3. Glide with a massage tool while leaning.

    Gliding with a massage tool is essential to know if you want to incorporate massage tools into all aspects of your relaxation massage.

    Again, it’s not hard to learn, but you do need to get your reps in.

    Here’s how you glide with a massage tool.

    Okay, let’s put this all together.

    8 Hour Massage Day Playbook

    Before you actually start the day have your physical and mental preparation done.

    1. Pack snacks to eat in between clients.
    2. Think about how you can save your body (rest body parts) when working.

    Speaking of saving your body, don’t wait for massage #3 to break out the massage tools. Break out the massage tools at the very beginning of the day. Use them whenever you can.

    To become competent with massage tools you need to learn how to (1) hold a massage tool, (2) press with a massage tool and (3) glide with a a massage tool.

    Bam.

    The 8 hour massage day is yours:-)

    Want to learn more about massage tools and saving your body?

    I have online, home-study CEU classes.

    This one will get you competent with using a massage tool: How to Use a Massage Tool (Fearlessly and Effectively), 2.5 CEU.

    Also, to get my latest weekly information, sign up below.

    It’s free:-)

  • The Question That Will Save Your Body

    The Question That Will Save Your Body

    If you’re not asking yourself this question – How can I do massage without being in pain?– then you’re probably in pain (and/or have a massage injury).

    Pain from doing massage is a big. hairy deal.

    Pain = loss of income.

    Pain = potential massage injury.

    Pain = an uncertain work future.

    My Massage Injury Story

    In June of 2013 I was in pain from my neck to my fingers.

    The orthopedist said that I had an unstable shoulder joint, cervical radiculopathy and cubital tunnel syndrome.

    He also told me to quit massage.  And part of me agreed with him. A future of working with increasing pain was not sustainable.

    But then part of me was like: Hey, buddy, you’ve gotten through a low back massage injury and plenty of pain issues before without having to hang up your hands. Figure it out.

    As you may have guessed, I went with plan B–figure it out.

    Working Plan B to Heal My Massage Injury

    At first I wasn’t optimistic because the pain didn’t budge. But as time went on, I saw small improvements. The small improvements added up and I started to see that I was making progress towards making my massage injury and pain syndromes non-issues.

    What was the catalyst for improvement?

    You guessed it. Before and during each massage I’d ask myself “How do I get the job done without causing or increasing the pain?”.

    Sounds a little obsessive, I know. But until you know what causes or exacerbates pain during a massage, you can’t fix it.

    And by asking the question you’re setting yourself up to experiment with new strategies and techniques. By the way, when you experiment some of your old massage rules will be broken.  That’s a good thing! Because they were causing you pain. (If you’re nervous about breaking massage rules read this.)

    Here are two rules that I permanently broke: I always have to release the traps by squeezing AND I always have to do my signature effleurage stroke down the entire back.

    (Warning: Your brain is going to rebel at the thought of changing some of the things that make your massage you BUT the return is “no pain”. And the new things you do will soon become your new signature moves.)

    It took me about a year for me to answer the question “How do I do a good job without being in pain?”.

    And after that year I could do more massages in a day without being in pain at 50 than I could at 30.

    Needless to say, the way I do massage has forever changed–and continues to be changed as I ask that important question during each massage.

    Why We Stay in Pain

    The reason why most of us stay in pain when doing massage is not because our mothers were mean to us. By the way, my mom was the nicest mom ever. (She reads my blog.)

    It’s actually quite simple: We’re comfortable with doing massage a certain way. And once we’re in the habit of doing massage a certain way, it’s hard to break that habit.

    [bctt tweet=”We (MTs) stay in pain because we don’t change the massage habits that hurt us.” username=”Mark LiskeyMarkLiskey”]

    But because of my dire situation, I was forced to look at my massage habits. This is what I discovered.

    How I Eliminated Neck, Shoulder, and Arm Pain

    There was a song in the 1970s by Bill Withers called Lean on Me. The famous chorus line is: Lean on me when you’re not strong.

    In massage, I found the opposite to be true: Lean on the client when you ARE strong. The more you lean, the stronger you will stay.

    I discovered this when I started to pay close attention to my neck and shoulder pain while massaging. First, I noticed that using my left elbow/forearm made my arm pain worse. So I stopped using my elbows/forearms for deep pressure. This meant I was left with knuckles and fists to generate deep pressure.

    At my normal table height, knuckles and fists were killing my neck and shoulders. And I would stand on my tip-toes to get more leverage. That led me to experiment with lowering my table. And that’s when the magic began. The more pressure I could generate from simply leaning instead of pressing with my shoulders and arms, the better my upper-body felt.

    Here are the keys that I learned for leaning:

    1. Have your table low enough so that you’re generating pressure from your lean, not your shoulders and arms.
    2. Stack your joints over top each other.
    3. Keep your work below, in front of and close to you.

    In this video, I show how I lean to generate pressure.

    The good news was that my upper body pain went away because of my lower table height. The bad news was that my lower back was now starting to feel a little funky. Ruh roh…

    Getting Rid of Lower Back Pain

    I didn’t want to give up the tremendous gains I had main for my upper-body because my table was now lower. So I experimented with potential back-saving techniques at a low table height. Eventually, I found that I could eliminate lower-back pain if I followed these 2 keys:

    1. When doing medium to deep pressure, maintain 2 to 4 points of contact with the table/client.

    An example of 2 points of contact could be a leg against the table and a hand on the client. Three points of contact could be a leg against the table and 2 hands on the client. Four points of contact could be 2 legs against the table and 1 hand on the client and one on the table.

    When you lean against the table/client, you’re back is doing less work to keep you upright. In this supported position, you can then relax your lower back into a neutral (not flexed or extended) position.

    In addition, when I lean against the table, I can easily regulate my pressure with my legs. When I shift my weight to my toes (table and client), I generate more pressure. And I when lean back towards my heals, I generate less pressure.

    2. Bend your legs to support your weight when doing light pressure.

    Light pressure requires minimal (if any) leaning. So that means you can’t let all or most of your body weight rest on the client/table. Without the support, you’re back muscles are working hard again and it will be difficult to keep your lower back in a neutral position.

    However, if you bend your knees you can center your weight and maintain a neutral back. Check out this video, Low and High in the Saddle, to see what I mean. I call the lean stance for medium to deep pressure  “high in the saddle” and the bent knee stance for light pressure “low in the saddle”.

    Kicking Hand, Wrist and Forearm Pain To The Curb

    Since I started using my knuckles and fists for deep pressure, I worried that I was going to burn out my hands, specifically my thumbs and middle knuckles.

    So I asked myself: what else could I use in muscle attachments, like the levator scapular attachment, besides my go-to thumb?

    When I gave myself time to experiment, the answer was mind blowing. Ready?

    T-bar and Thumb Combo

    My non-dominant thumb, two thumbs barred together, a knuckle on my dominant hand, a knuckle on my non-dominant hand, a knuckle and thumb together, the other knuckle and thumb together, dominant elbow, non-dominant elbow, an L-bar (my favorite massage tool), a T-bar (my second favorite massage tool), an L-bar and my middle finger, an L-bar and my other middle finger, a T-bar and a thumb, T-bar and the other thumb, an L-bar and a knuckle…believe it or not, there are more.

    Having as many pressing options allowed me to rotate body parts so that I wasn’t wearing one out.

    In addition, squeezing by pressing between massage tools, hands and/or fingers is another great way to save your hands. Here’s a squeeze by pressing video: Trap Release Using a T-bar.

    Heal Your Massage Injury and Eliminate Pain

    The way to having a happy body starts with the question: How can I do a good massage without beating up my body?

    By asking that question you establish the mindset to experiment with different strategies and techniques.

    Once you find a move that bothers your body, you can than begin to find different ways to get the job done.

    Here are some strategies and techniques that have worked for me:

    Hand, Wrist and Forearm Pain

    To eliminate hand, wrist and forearm pain think  non-dominant fingers, thumb and elbow/forearm. Use combination tools, e.g, knuckle and thumb together. And instead of squeezing with one hand, try pressing between both hands.

    Lower Back Pain

    To knock out lower back pain: for medium to deep pressure, lean into the client and table. Having 2 or more points of contact on the client/table, make it easier on your back. For light pressure, bend your legs.

    Neck, Shoulder and Arm Pain

    To stop neck, shoulder, and arm pain: keep your work below, in front of and near you.

    Once you start feeling better, you’ll never go back to the old way of doing massage. And if you do backslide, you won’t stay there for long.

    Need help with your massage injury or pain issue?

    Take the massage-pain free quiz and get an instant recommendation on what you should do next.’

    PAIN QUIZ
  • Advanced Massage Tools: Finger, Thumb & Elbow Substitutes

    Advanced Massage Tools: Finger, Thumb & Elbow Substitutes

    Do you have an elbow substitute?

    I do (it’s a massage tool), but that wasn’t always the case.

    I started my massage tool journey 25 years ago with one massage tool: The T-bar.

    The T-bar was awesome. It allowed me to easily work deep muscles, like the rotatores and multifidus in the lamina groove.

    The diameter of the tip was also perfect for arches of feet, shins, calves, hamstrings, TFLs, IT bands, forearms, rhomboids and traps.

    BUT the diameter of the tip was too big for areas like the cervical erectors and too small for bigger muscles like the glutes.

    Over the years I had developed some hacks for using the T-bar in areas where it was too small or too big. But it was never quite the same as having the best diameter-sized tool for the job.

    Finger, Thumb, and Elbow Substitutes

    There are 3 pressing tools with different diameter tips that go with me into the massage room every day.

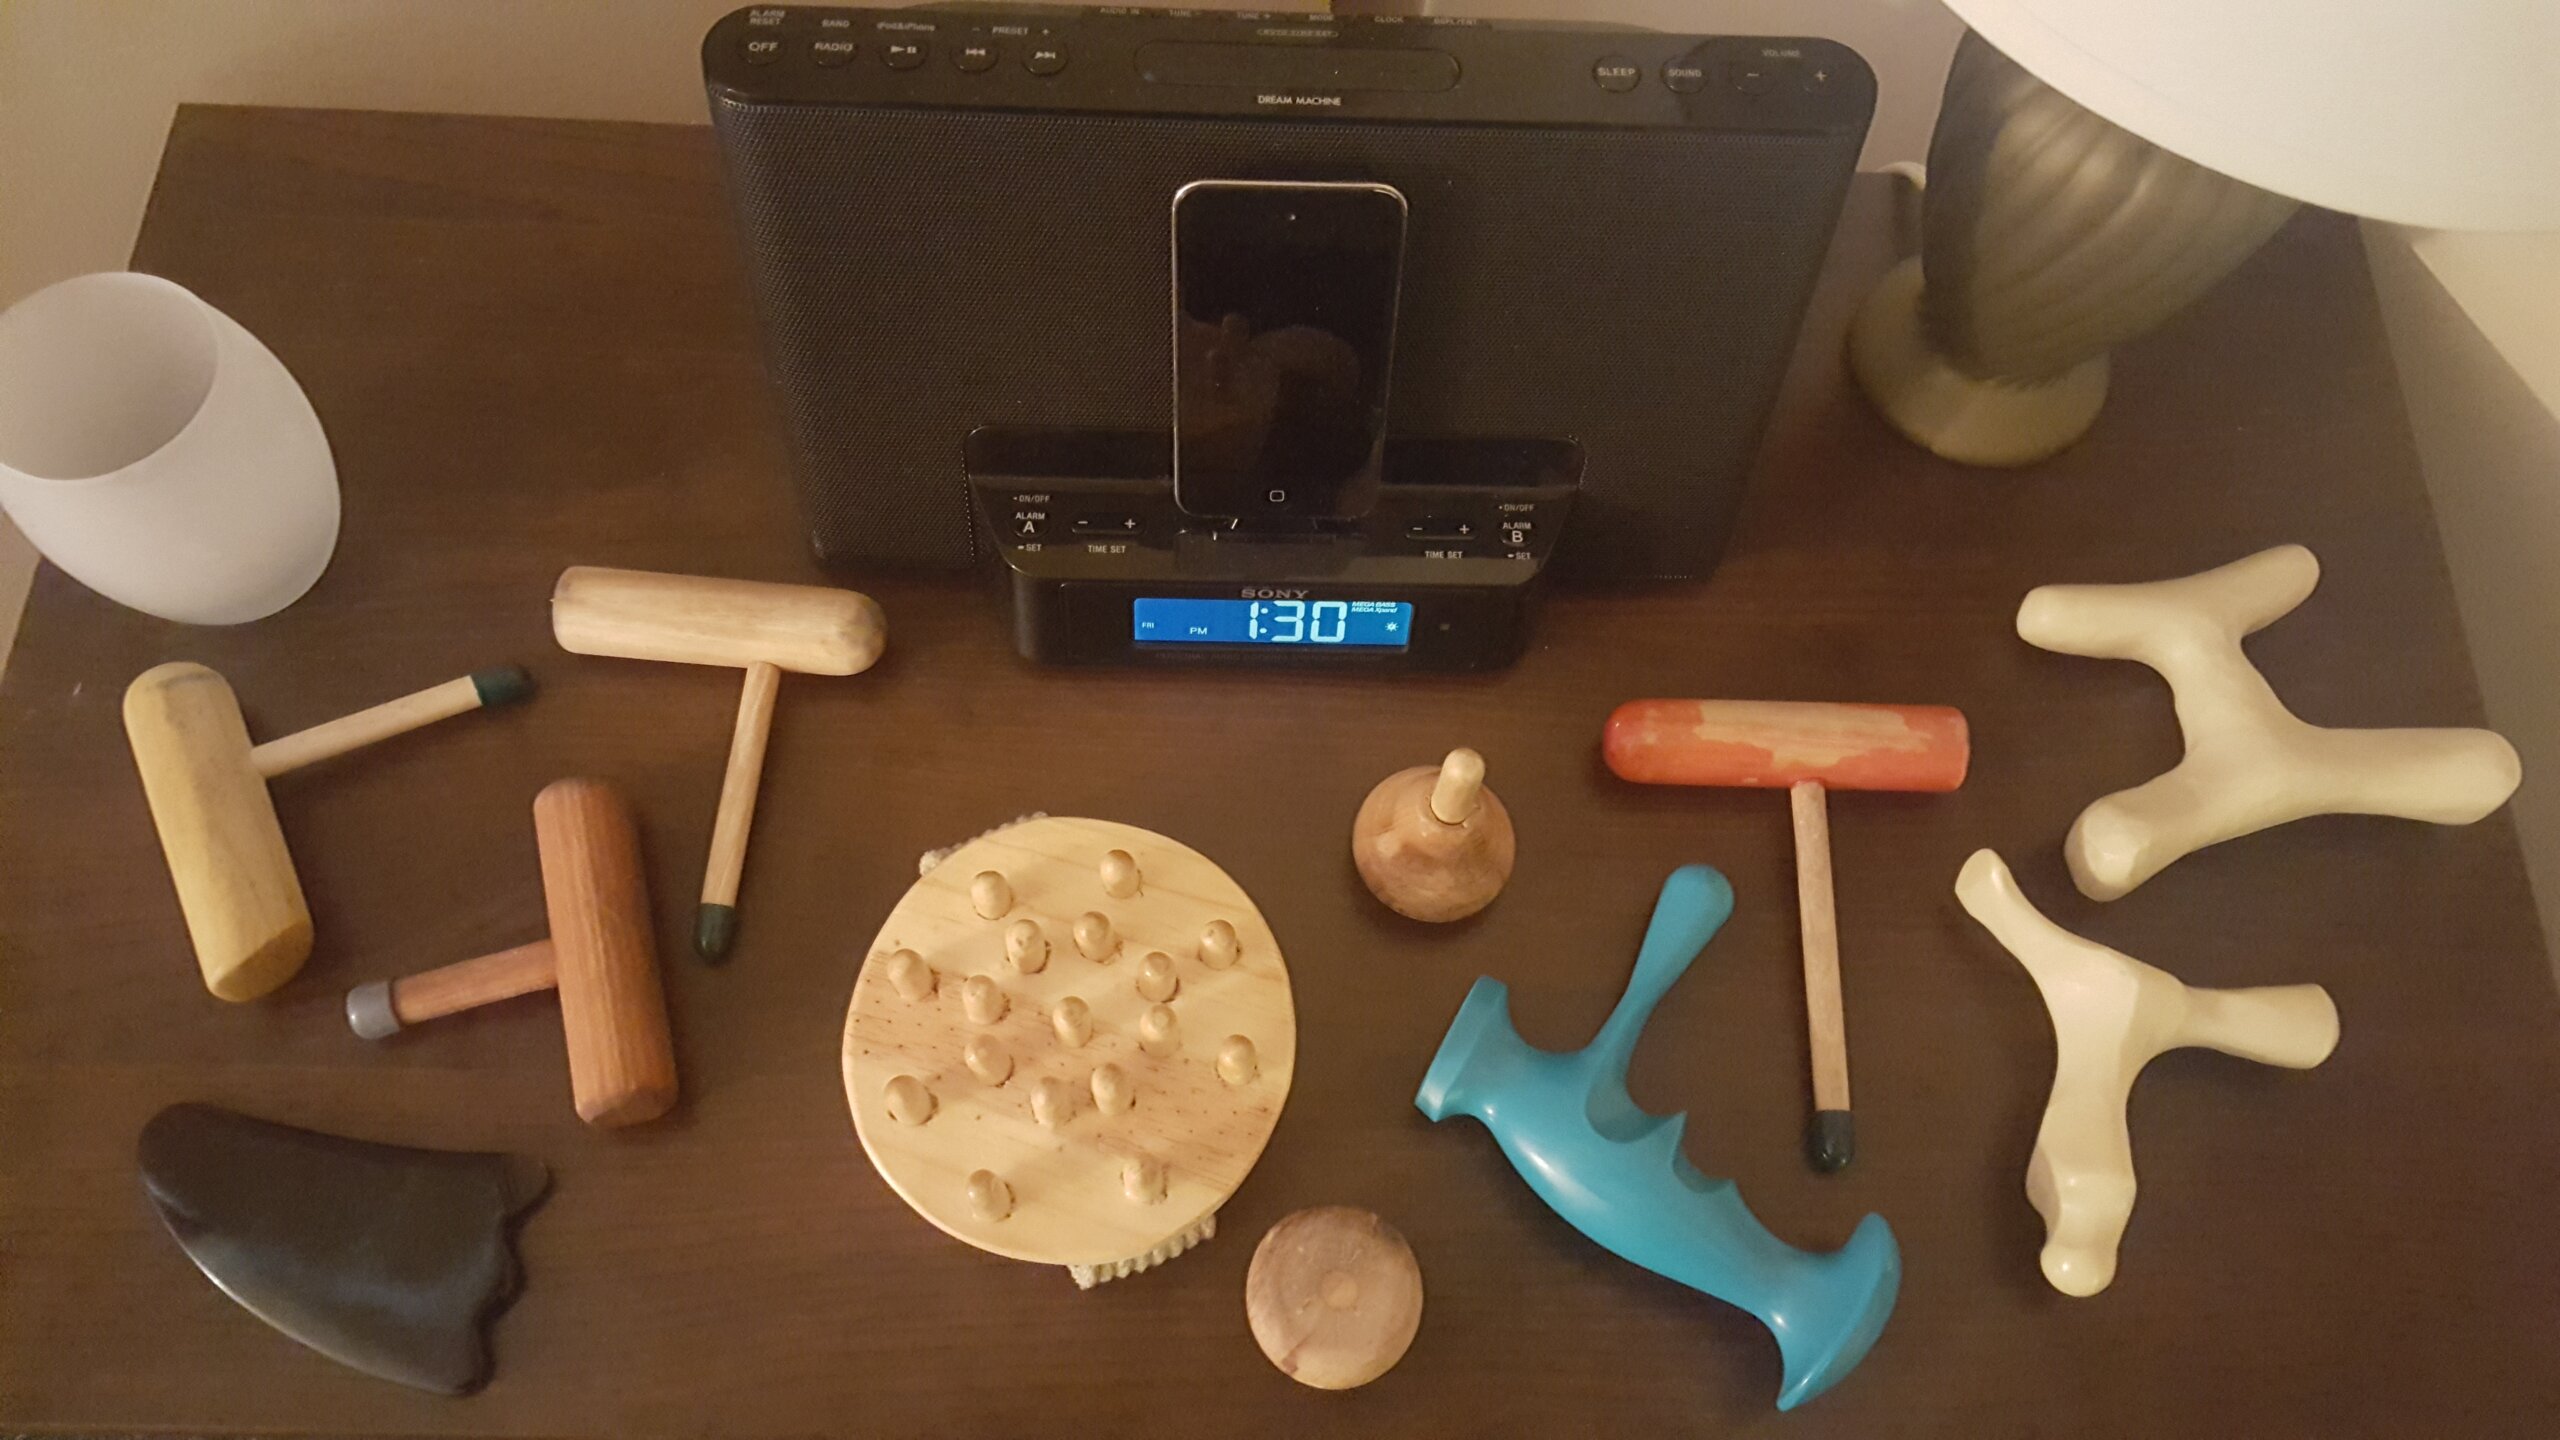
    The L-bar has the smallest diameter.

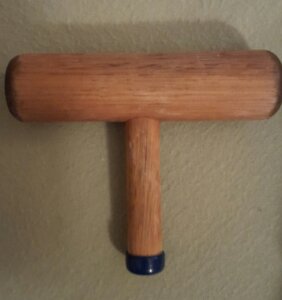
    The T-bar is in the middle.

    And a Round-Tip Bar or TheraPress Trigger Point has the biggest tip.

    I think of these 3 massage tools as body parts substitutes.

    The L-bar is an extra finger.

    The T-bar is an extra thumb.

    And the Round-Tip bar or TheraPress is an extra elbow.

    Finger Substitute

    Now I bet you’re thinking, okay, Mark, I can see how the T-bar can be an extra thumb, but how can the L-bar (smallest diameter) be an extra finger?

    Here’s how: When the client is prone and you’re working the cervical erectors, try using an L-bar instead of a finger.

    Elbow Substitute

    Here Sarah is using the Round-Tip Bar as an elbow substitute:

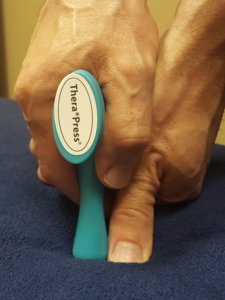
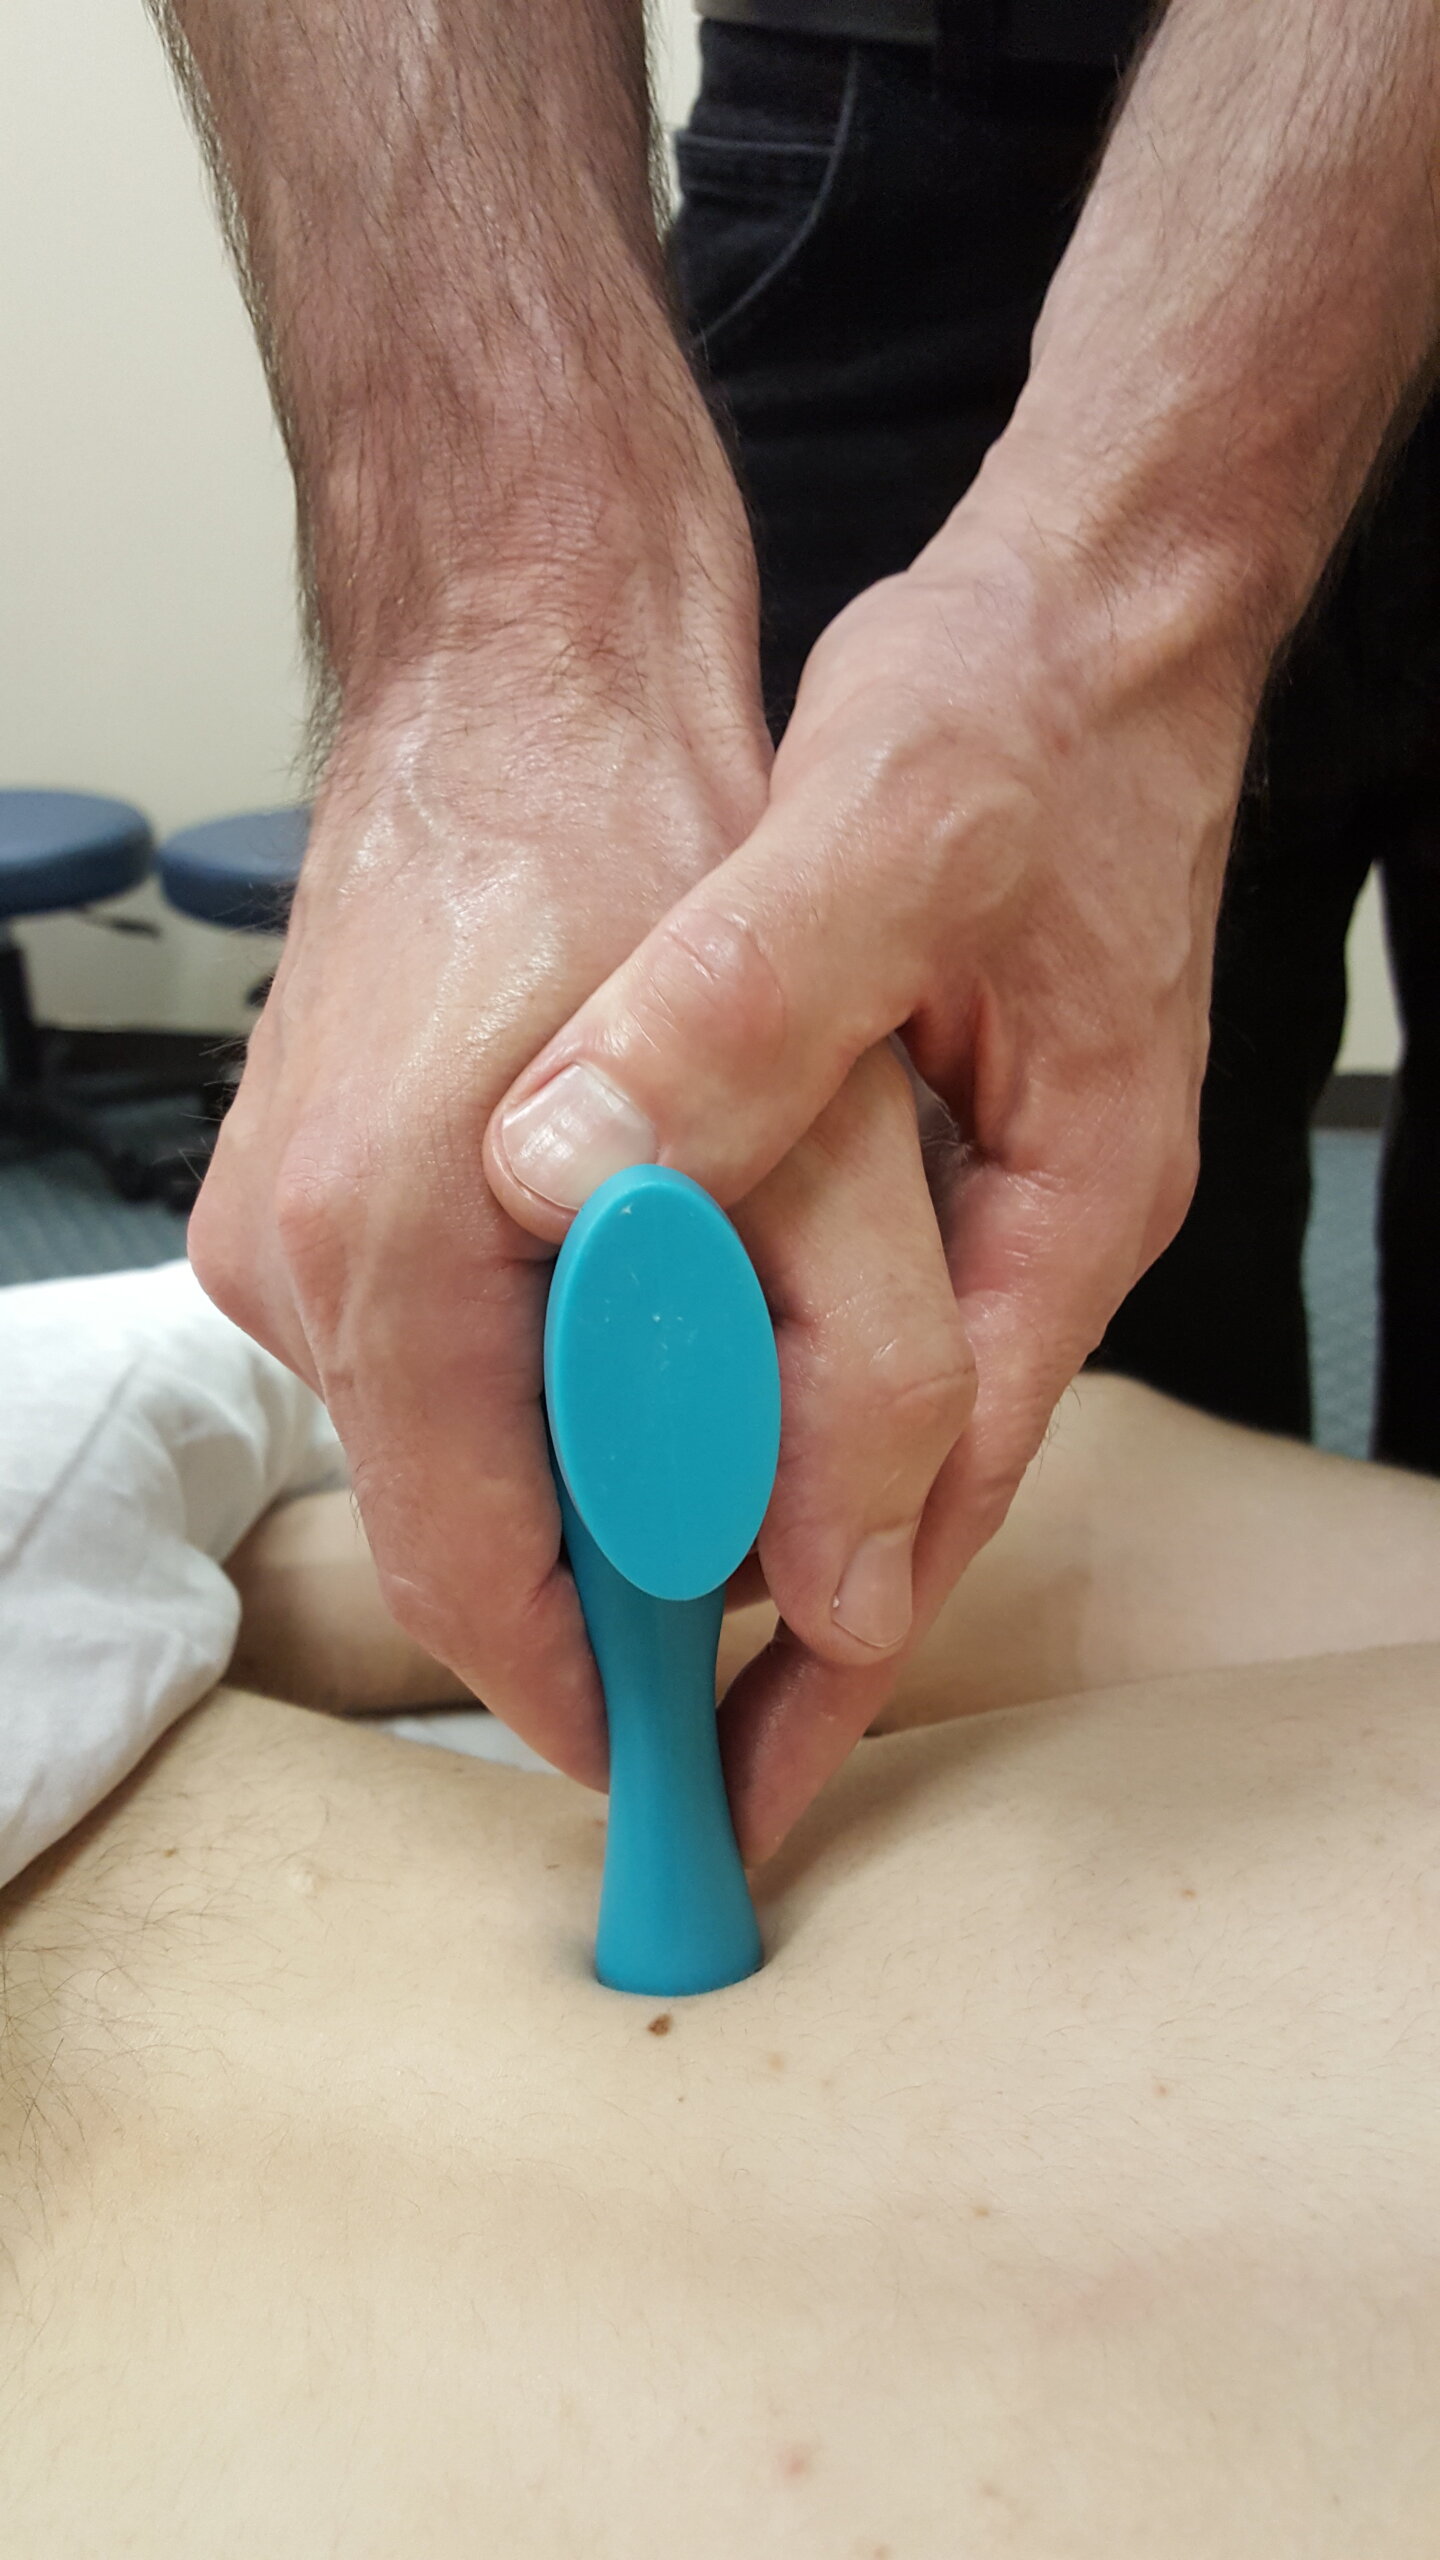
    Here’s a TheraPress used like an elbow:

    Also, if I’m doing a two-handed hold with the Round-Tip Bar or TheraPress, I make additional contact around the tip of the tool. To the client this makes the tool tip feel broader than it is.

    Below I’ve made a list of my favorite ways to use the different diameter tools.

    Finger

    (L-bar)

    Thumb

    (T-bar)

    Elbow

    (Round Tip Bar or TheraPress )

    Cervical erectors Thoracic erectors Hamstring attachments
    Levator scapular Lumbar erectors Gluteus maximus, medius, minimus
    TFL Upper trapezius Hip rotators
    Forearms Foot flexors IT band
    Thumb adductor IT band Calves
    TFL
    Forearms

    Do you need all 3 tools to save your hands?

    No.

    But it’s nice to have all the substitute options, especially if you’re doing a lot of massage or  if you’re having a busy day.

    Okay, one more time. Try using these tools for body part substitutes:

    1. Finger substitute: L-bar.

    2. Thumb substitute: T-bar.

    3. Elbow substitute: Round-Tip Bar or TheraPress.

    Check out the videos in this article to get competent with these massage tools. If you’re new to massage tools, start here.

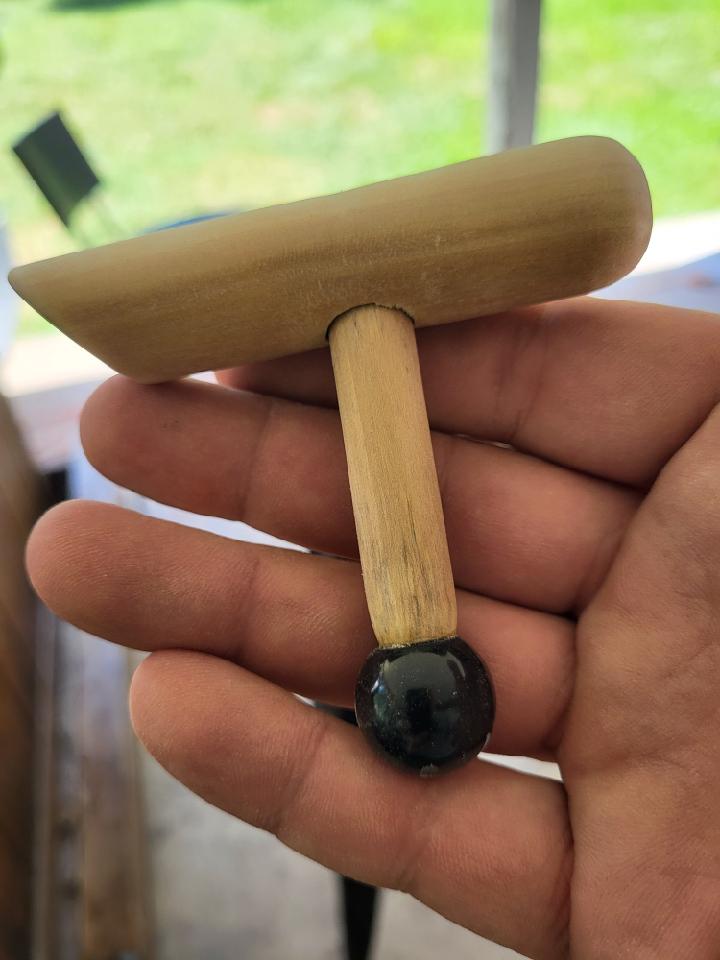
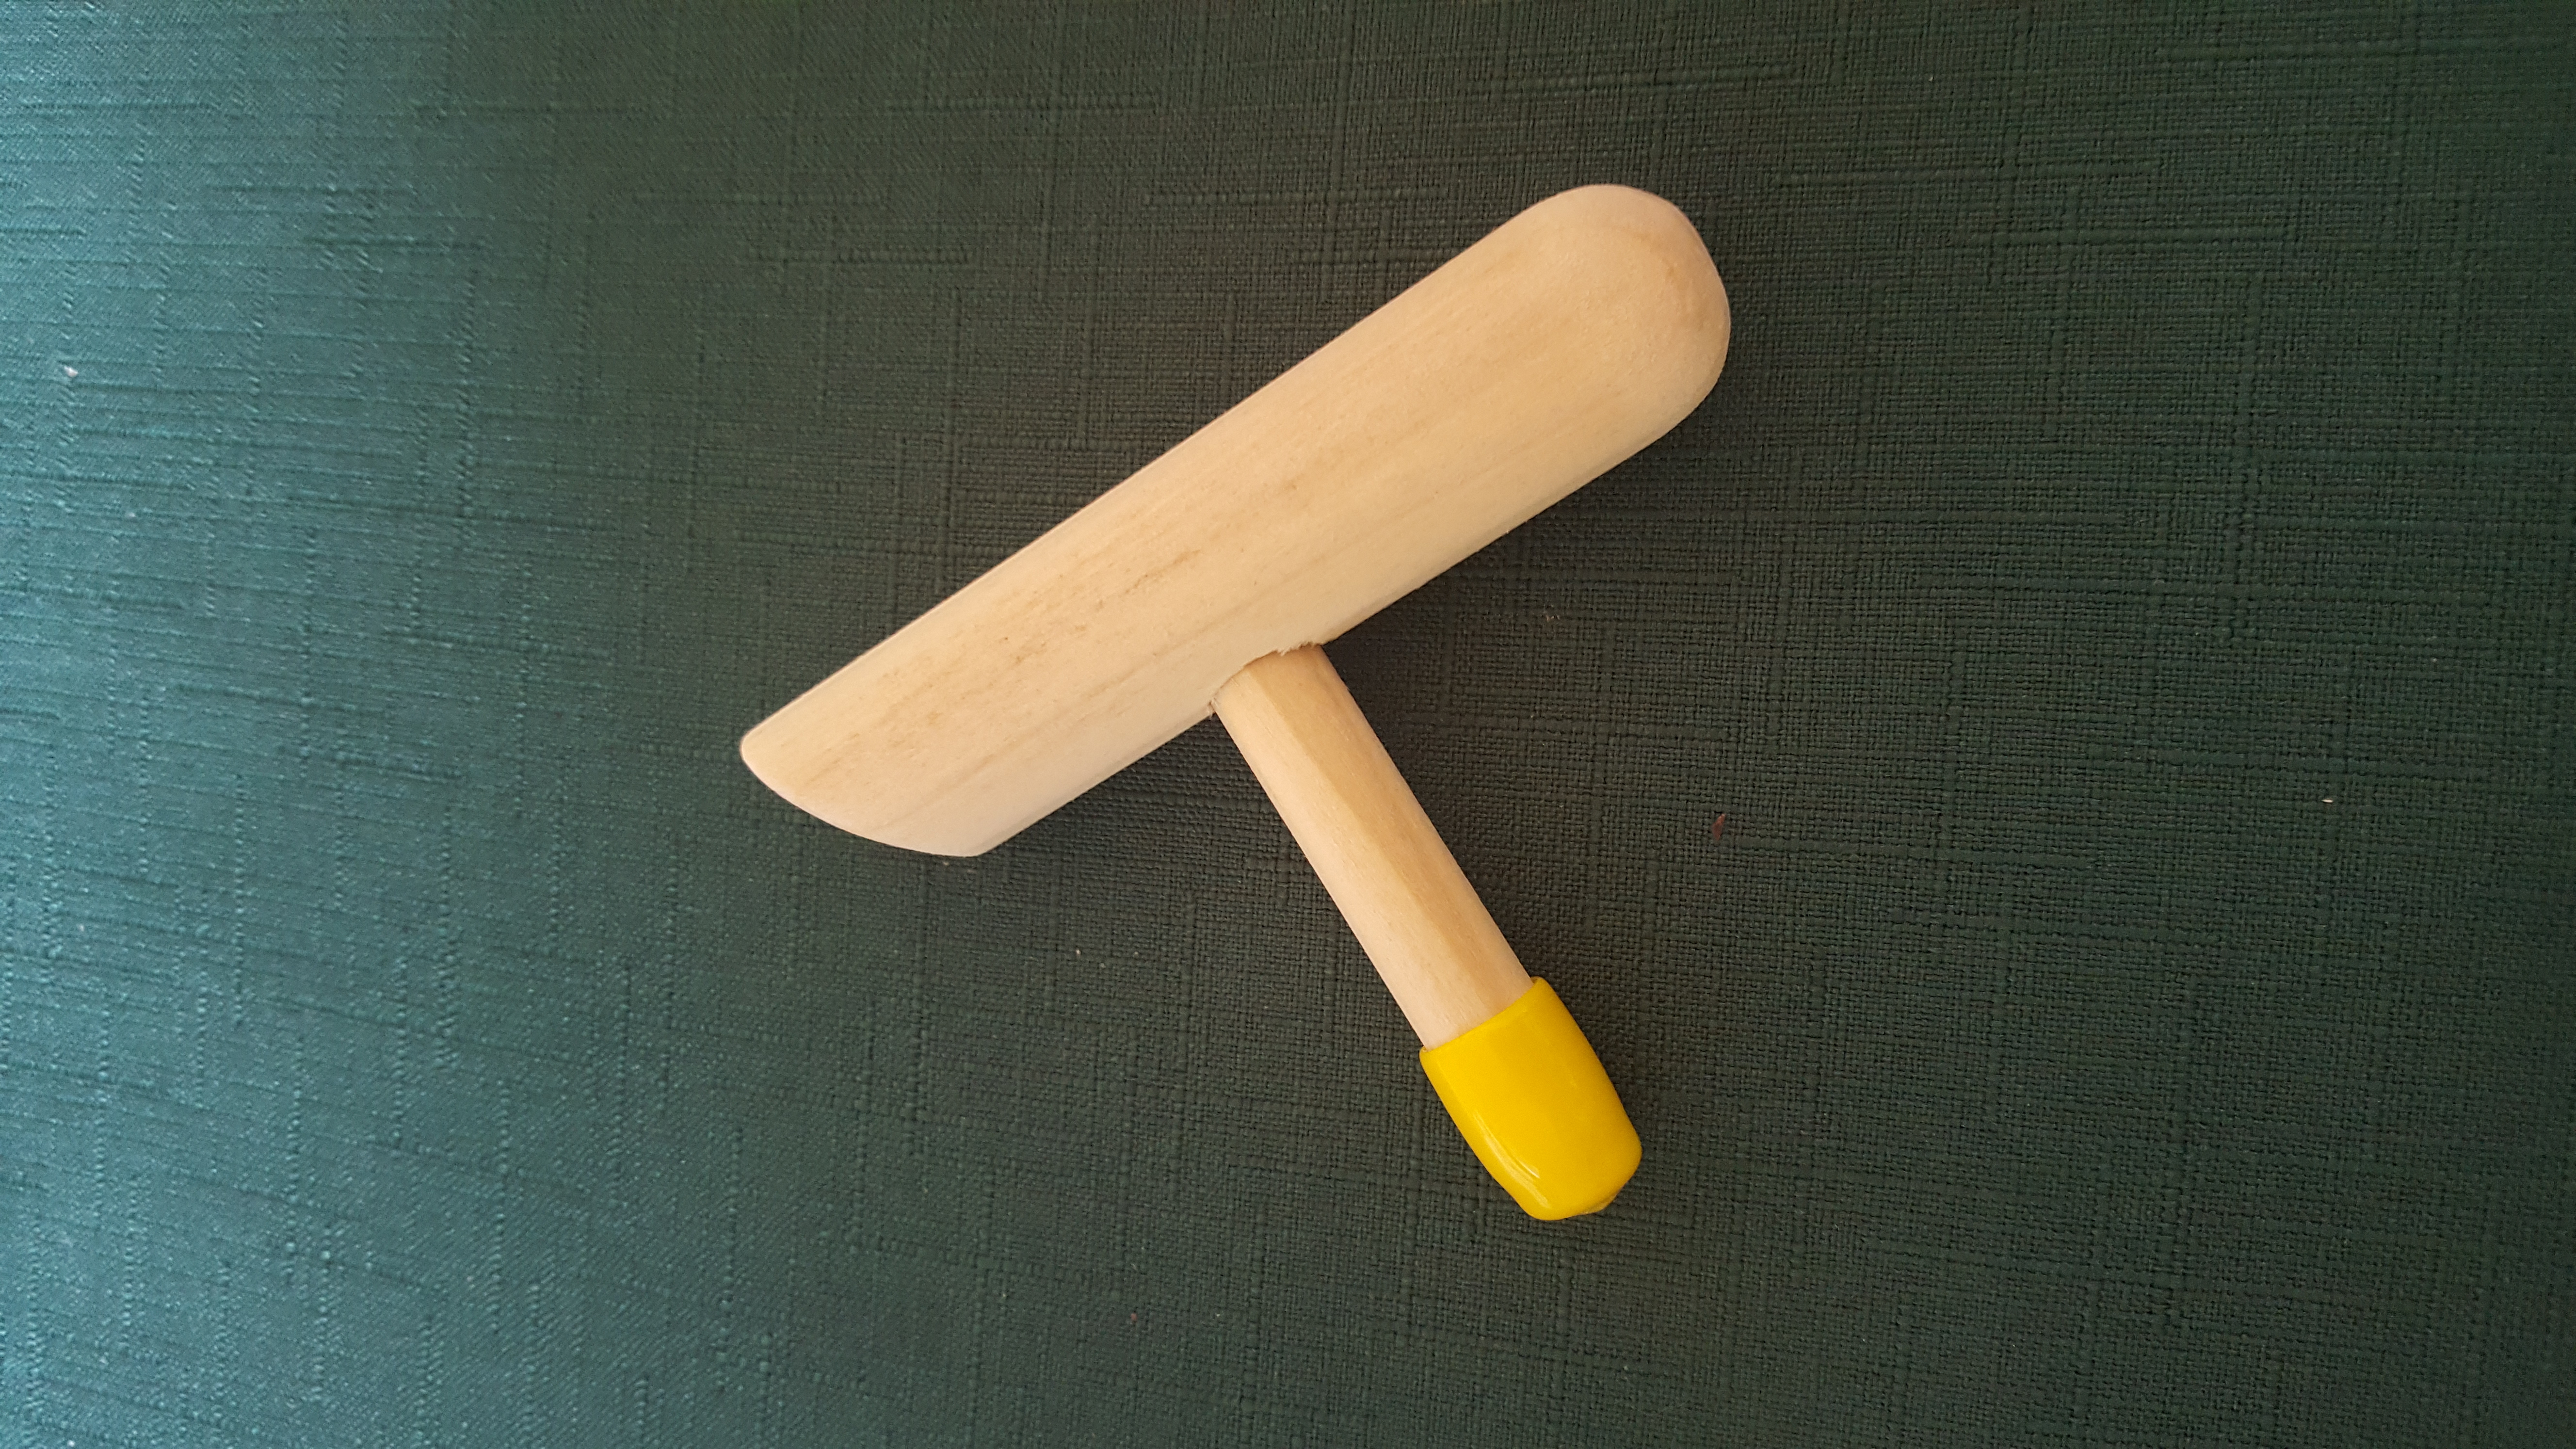
    If you are looking to purchase a custom-made, wooden massage tool, I can make that happen.

    Round-Tip T-bar with Contoured Edge – $20 plus shipping

    T-Bar with Contoured Edge – $20 + shipping

    T-Bar Small Tip with Contoured Edge – $20 plus shipping


    All three for $45 plus shipping.

    Just email me to order or if you have questions: mark@makethemostofmassage.com

    Massage Tools Online, Home-Study CEU Classes

    Massage tools have extended my massage career and increased my massage productivity. Specifically, I do more massages in a day/week/month/year in 50s than I did in my 30s.

    I’ve spent years developing and teaching the massage tools techniques and strategies that have allowed me to effectively incorporate massage tools into any massage, from relaxation to deep tissue. Now, I’ve taken the lives classes and turned them into online, home-study classes with lots of videos and guides.

    If you’re new to massage tools and want to be able to incorporate them into your massage quickly, I recommend: How to Use Massage Tools (Fearlessly and Effectively), 2.5 CEUs.

    And if you’re familiar with using massage tools, but want to take your massage tool skill level up to the point where you not only save your body but also brand yourself as a massage therapist who is an expert with precise massage, check out this course: Advanced Massage Tools, 2.5 CEUs.


  • Two Hands on a Massage Tool

    Two Hands on a Massage Tool

    A massage tool will kill your hand. I agree with statement—said Mark 20 years ago because he didn’t know how to hold a massage tool. And he definitely didn’t know anything about two-handed holds.

    I can’t blame myself entirely for thinking massage tools did more harm than good because no one that I knew back then was drilling down on how to hold a massage tool without hurting yourself.

    Truthfully, I don’t think a lot has changed. Getting the job done still takes precedence over getting the job done without hurting yourself.

    The reality is if you want to practice massage for more than a couple of years you need to know how to take care of your body while doing massage.

    Enter massage tools.

    They will save your hands (and your body) IF you know how to hold them in ways that won’t strain your hands.

    How to Hold a Massage Tool Cheat Sheet

    First, don’t think of your massage tool as a screwdriver that you have to hold tighter and tighter the harder you work.

    Think of your massage tool as an egg that you have to keep from falling over, but if you squeeze it too hard, it will break.

    You probably thinking there’s a big, fat contradiction here. If you’re pressing harder with a massage tool AND relaxing your hold (trying not to break the egg), at some point, in order to stabilize the tool in your hand, you have to tighten your grip.

    That’s what I used to think, too.

    But I found three ways to stabilize a massage tool without having to tighten up on the grip.

    1. Pin the tool between your hand and the muscle.
    2. Add a guide finger from the non-tool-holding hand.
    3. Use two hands.

    Pin the Massage Tool

    If you want to hurt your hands fast use a massage tool for medium to deep pressure without pinning the massage tool.

    What do I mean by pinning the massage tool?

    I mean this.

    The massage tool is pinned between your hand and the muscle you’re working on.

    Leaning (transferring your body onto the massage tool) is what does the pinning.

    Here’s how you pin a massage tool:

    [embedyt] https://www.youtube.com/watch?v=LE9P3BOdxAM[/embedyt]

    Add a Guide Finger

    Once you feel okay with pinning it’s time to add a guide finger(s). Besides giving you more “feel” with the tool, the guide finger/hand helps support the tool.

    Pinning and a guide finger together act as highly effective stabilizing forces so that you can loosen your hold on the massage tool.

    Here’s how to add a guide finger: Why You’re Not Using Your Massage Tool.

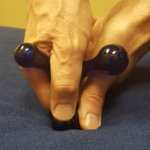
    I have one more trick for stabilizing a massage tool: Two-handed holds.

    Two-Handed Holds

    The advantage of two handed holds from a “relaxing your hand” standpoint is that you can spread the workload (holding the massage tool) out over two hands instead of one. Combine that with leaning and you’ve got some really relaxed hands.

    The disadvantage to holding a massage tool with two hands is that there’s a potential to lose your “feel” for what’s underneath your fingers because your guide finger is not down BUT that lose of sensitivity can be overcome in 2 ways.

    1. Do exploratory strokes without massage tools to determine where tight spots and trigger points are so you know where to use more or less pressure with your massage tool.
    2. Use two-handed holds that keep parts of your hand in contact with the tissue you’re working on.

    Here’s an example of what that looks like:

    See how my knuckles and fingers are contacting the clients back?

    Now look even closer. My left index finger and my right index knuckle are next to the massage tool tip. In addition to being tool stabilizers, they’re also sensors which allow me to palpate the tissue where the tool tip will be placed next.

    There are tons of different ways to do two-handed holds.

    Here I’m stabilizing a T-bar with my fingers wrapped around the top of the foot.

    There is zero strain on my hands.

    I could hold this position forever.

    In this picture I’m using two hands to hold a TheraPress massage tool.

    My finger tips on my left hand are making contact with the client’s back.

    Again, there is no strain to my hands or body.

    Best Two-Handed Holds

    So, what are the best two-handed holds? The ones that makes your hands feel good.

    That means you’re going to have to experiment. Here are my suggestions for experimenting.

    1. Pick a tool that feels comfortable in your hands.
    2. Figure out where that tool works best. (A tool that’s great for the feet because it has a broader tip may be too big for the neck.)
    3. Pin the tool with one hand and then bring the other hand on the tool for support.

    Allow you hands to move and experiment with different positions.
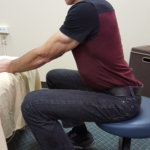
    Eventually, you’ll discover the two-handed holds that are easy on your hands.

    Don’t forget to lean when generating medium to deep pressure.

    By the way, leaning is not just for standing.

    You can lean when you sit, too.

    Want to learn more about how to hold a massage tool (and how to get more massage clients)? Join my email group and get my weekly articles. It’s free:-)

    Massage Tools Online Course

    If you’re ready to jump into massage tools, I have an online, home-study course that will teach you how to fearlessly and effectively use massage tools. 


    It’s called, surprisingly, How to Use Massage Tools (Fearlessly and Effectively). It’s a 2.5 CEU course, NCBTMB approved. Check it out here.